Showing posts with label Linky Party. Show all posts
December 2, 2013
candy cane christmas...
Another month has come and gone and we're having another Linky Party over at the Crafty Secrets blog. I hope you all will join in for your chance to win a $50 gift certificate to Crafty Vintage Girl store and every one who enters gets a $6 gift certificate just for playing along. All you have to do is create something magical using fabulous Crafty Secrets products!
Today I'm gearing up for my Christmas dinner and one of my favourite things is the table setting. I think it's the best part of the meal. This year I've made candy cane place settings. I've seen these all over Pinterest, from simple to fancy and I've decided to try it out today.
Start by gathering all of your supplies:
Gather the three candy canes and form a tripod. I used washi tape to keep them together. You could use glue, but if you plan on eating the candy canes after it's easy to peel them apart if using washi.
Wrap the doily around the journal card and add a snowflake with 3D tape. Add a chalkboard label on top with more 3D tape. Decorate with wooden snowflakes.
Tie a ribbon around the top of the candy canes and add some tinsel twine.
All ready to be labelled with some chalk and set on the table. I can't wait! It's so easy to do any theme for your table.
Be sure to check out the rest of the team:)
Vicki Chrisman (Team Leader)
Michele Kovack
Darlene Pavlick
Melissa Bove
Sheila Rumney
Kathy Clement
Elizabeth Lincoln
Cherry Nelson
Happy Holidays!
~Becks
Supplies used:
CS Christmas Image and Journal Notes
Ivory and Black Christmas Paper from CD 6
Labels:
Christmas,
Crafty Secrets,
DT,
Linky Party
July 1, 2013
patriotic party... Crafty Secrets July Linky Party
Happy Canada Day to my fellow Canadians!
Thanks for stopping by today! We have a brand new month and an all new linky party over at the Crafty Secrets blog! Be sure to link up any new creations using Crafty Secrets products to win a great prize!!
Recently over at the Crafty Vintage Girl shop we released beautiful printable double sided papers. Have you seen them?? Super gorgeous, and I'm here to show you how to make simple decorations to host your own party. While I am Canadian and it is Canada Day., there's something about American Independence day that I love.. the stars and stripes.. but more of a vintage, muted vibe. That's my inspiration today!
A trio of easy decorations: medallion banner, pinwheels, and treat bags.
First up my banner. I started by printing off the blue swirls paper from the new Rose swirls papers. Such a gorgeous blue, I didn't even edit it. Perfect colour for what I envisioned. I also printed the Red Damask. Who says you can't use patterns for the Red White and Blue? Loving the damask.. and perfect for some Christmas projects too!
To make my medallions I used my Scor Pal to score lines in a 2 inch x11inch long paper. You will need 2 of these.. It's up to you how far apart to make your score lines.The further apart the bigger the peaks and valleys. Once scored and folded into an accordion strip I double sided taped the ends together to make one long strip then taped again to form a circle.Flatten the circle towards the centre and you should get your flattened medallion. I used a big blob of hot glue on the back to stop them from popping back out of shape. Make all different sizes from different widths and pair them together. Decorate how you wish! To make the half circles, only use one strip and secure the same way. Add all circles and half circles to twine or ribbon and voila. One sweet banner complete.
Up next patriotic pinwheels... gosh these are so fun and super easy to make a bunch of! I printed the Blue Swirls and the Red from the Red Damask set on the back of each other and then cut 4"x4" squares. To make the pinwheel, simple cut diagonal from the corners to the middle, leaving a little in the middle to attach your points to. Once cut fold over towards the centre overlapping the ends from each corner and secure with a brad. Add buttons or just leave the brad showing. It's up to you. I used skewers and covered them with floral tape and then wound some butchers twine around and secured at the top and bottoms. Glue or tape the pinwheel to the skewer and away you go. (Pinwheels don't spin).
You can't have a party with out treats now, can you? Using glassine bags and the Red Damask and a red paper from CD #2, I cut 1.5"x1.5" squares.(Or you can use a punch or fdie) then cut them on a diagonal to make 2 triangles. Offsetting the triangles by half, and using a different pattern for top and bottom results in the chevron stripe. I then added a thin strip of blue to the centre. I made a 3D star and punched out tiny little stars from the scraps of the 2 patterned papers as well as a few white. Star confetti! How fun:) I added a handmade tissue fringe as wel. Adhere all to the bag and make as many as your heart desires! Fill them with goodies and pass it around. I'm fond of kettle corn, as you can tell :)
Before I get going, I'd love to introduce our 2 new Design Team Ladies. Make sure you pop by to say 'hi' and see their beautiful creations:
Kathy Clement
and
Elizabeth Lincoln
and the rest of our wonderful team:
Vicki Chrisman (Team Leader)
Michele Kovack
Darlene Pavlick
Melissa Bove
Sheila Rumney
Labels:
challenges,
Crafty Secrets,
DT,
Linky Party
June 3, 2013
plant a seed... Crafty Secrets Linky Party...
Today I'm here to share with you a tutorial to create a gardening gift. I had seen a few tutorials online and decided to try my hand and share with you all today. This is for a seed packet gift package for someone to start a garden.
I started with 3 paper bags. I like to up-cycle so these have logo's on the backs from where I had gotten them. But don't worry. You won't see them once we are done. Put the logos facing inwards towards the centre bag. Both the front and back should be free of logos. Using hot glue I glued all of the bottoms of the bags together.
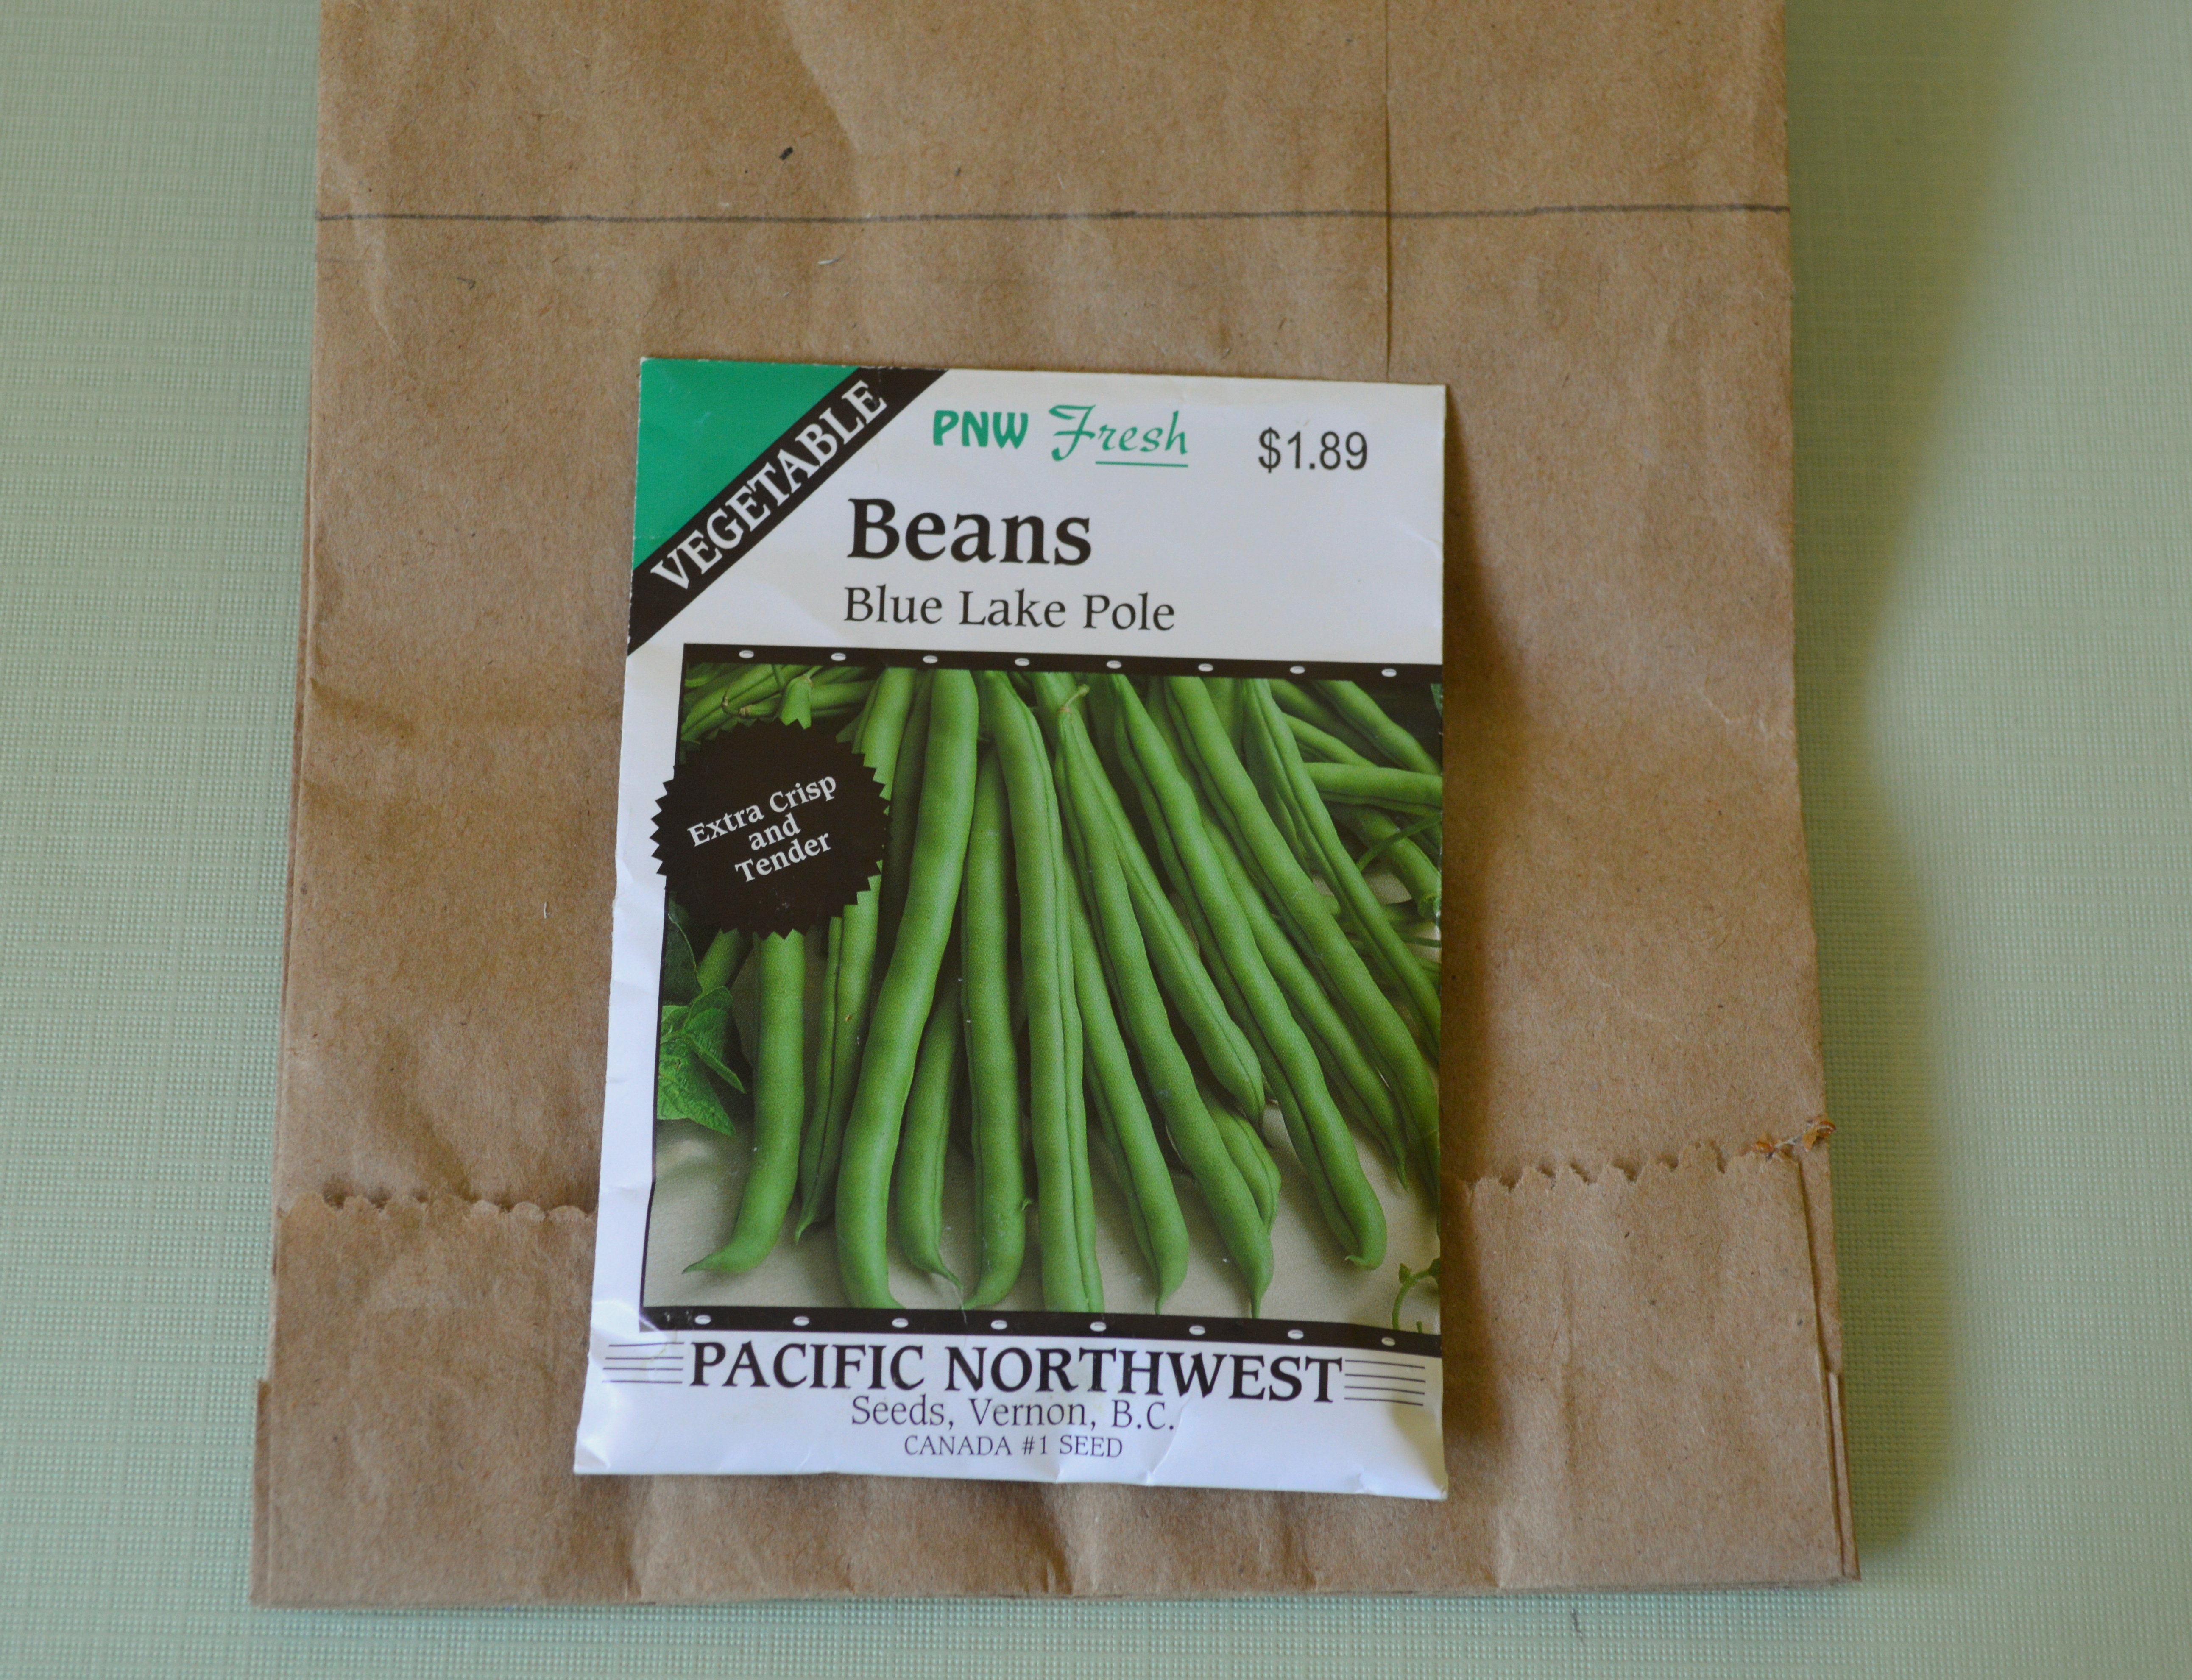
Next I took my bean packet and set it on the bag and measured so that I could trim the top of the bag so they don't stick out of the top.
Once I marked a line I cut slightly above it to account for my border punch. If you don't want to use a border punch, just leave it plain or use pinking shears. For either of the latter options you can cut right on the line.
Once you have your tops punched or cut, using hot glue again, join the back of the front bag to the middle bag and then do the same for the back bag. You will end up with 3 large pockets. Now we are ready to cover the front and back.
Here I'm using gardening papers from CD 2- Creating with Vintage Illustrations and the font included with the new Flower Garden digital set. Since I have 3 pockets I've divided up my seeds into 3 categories.
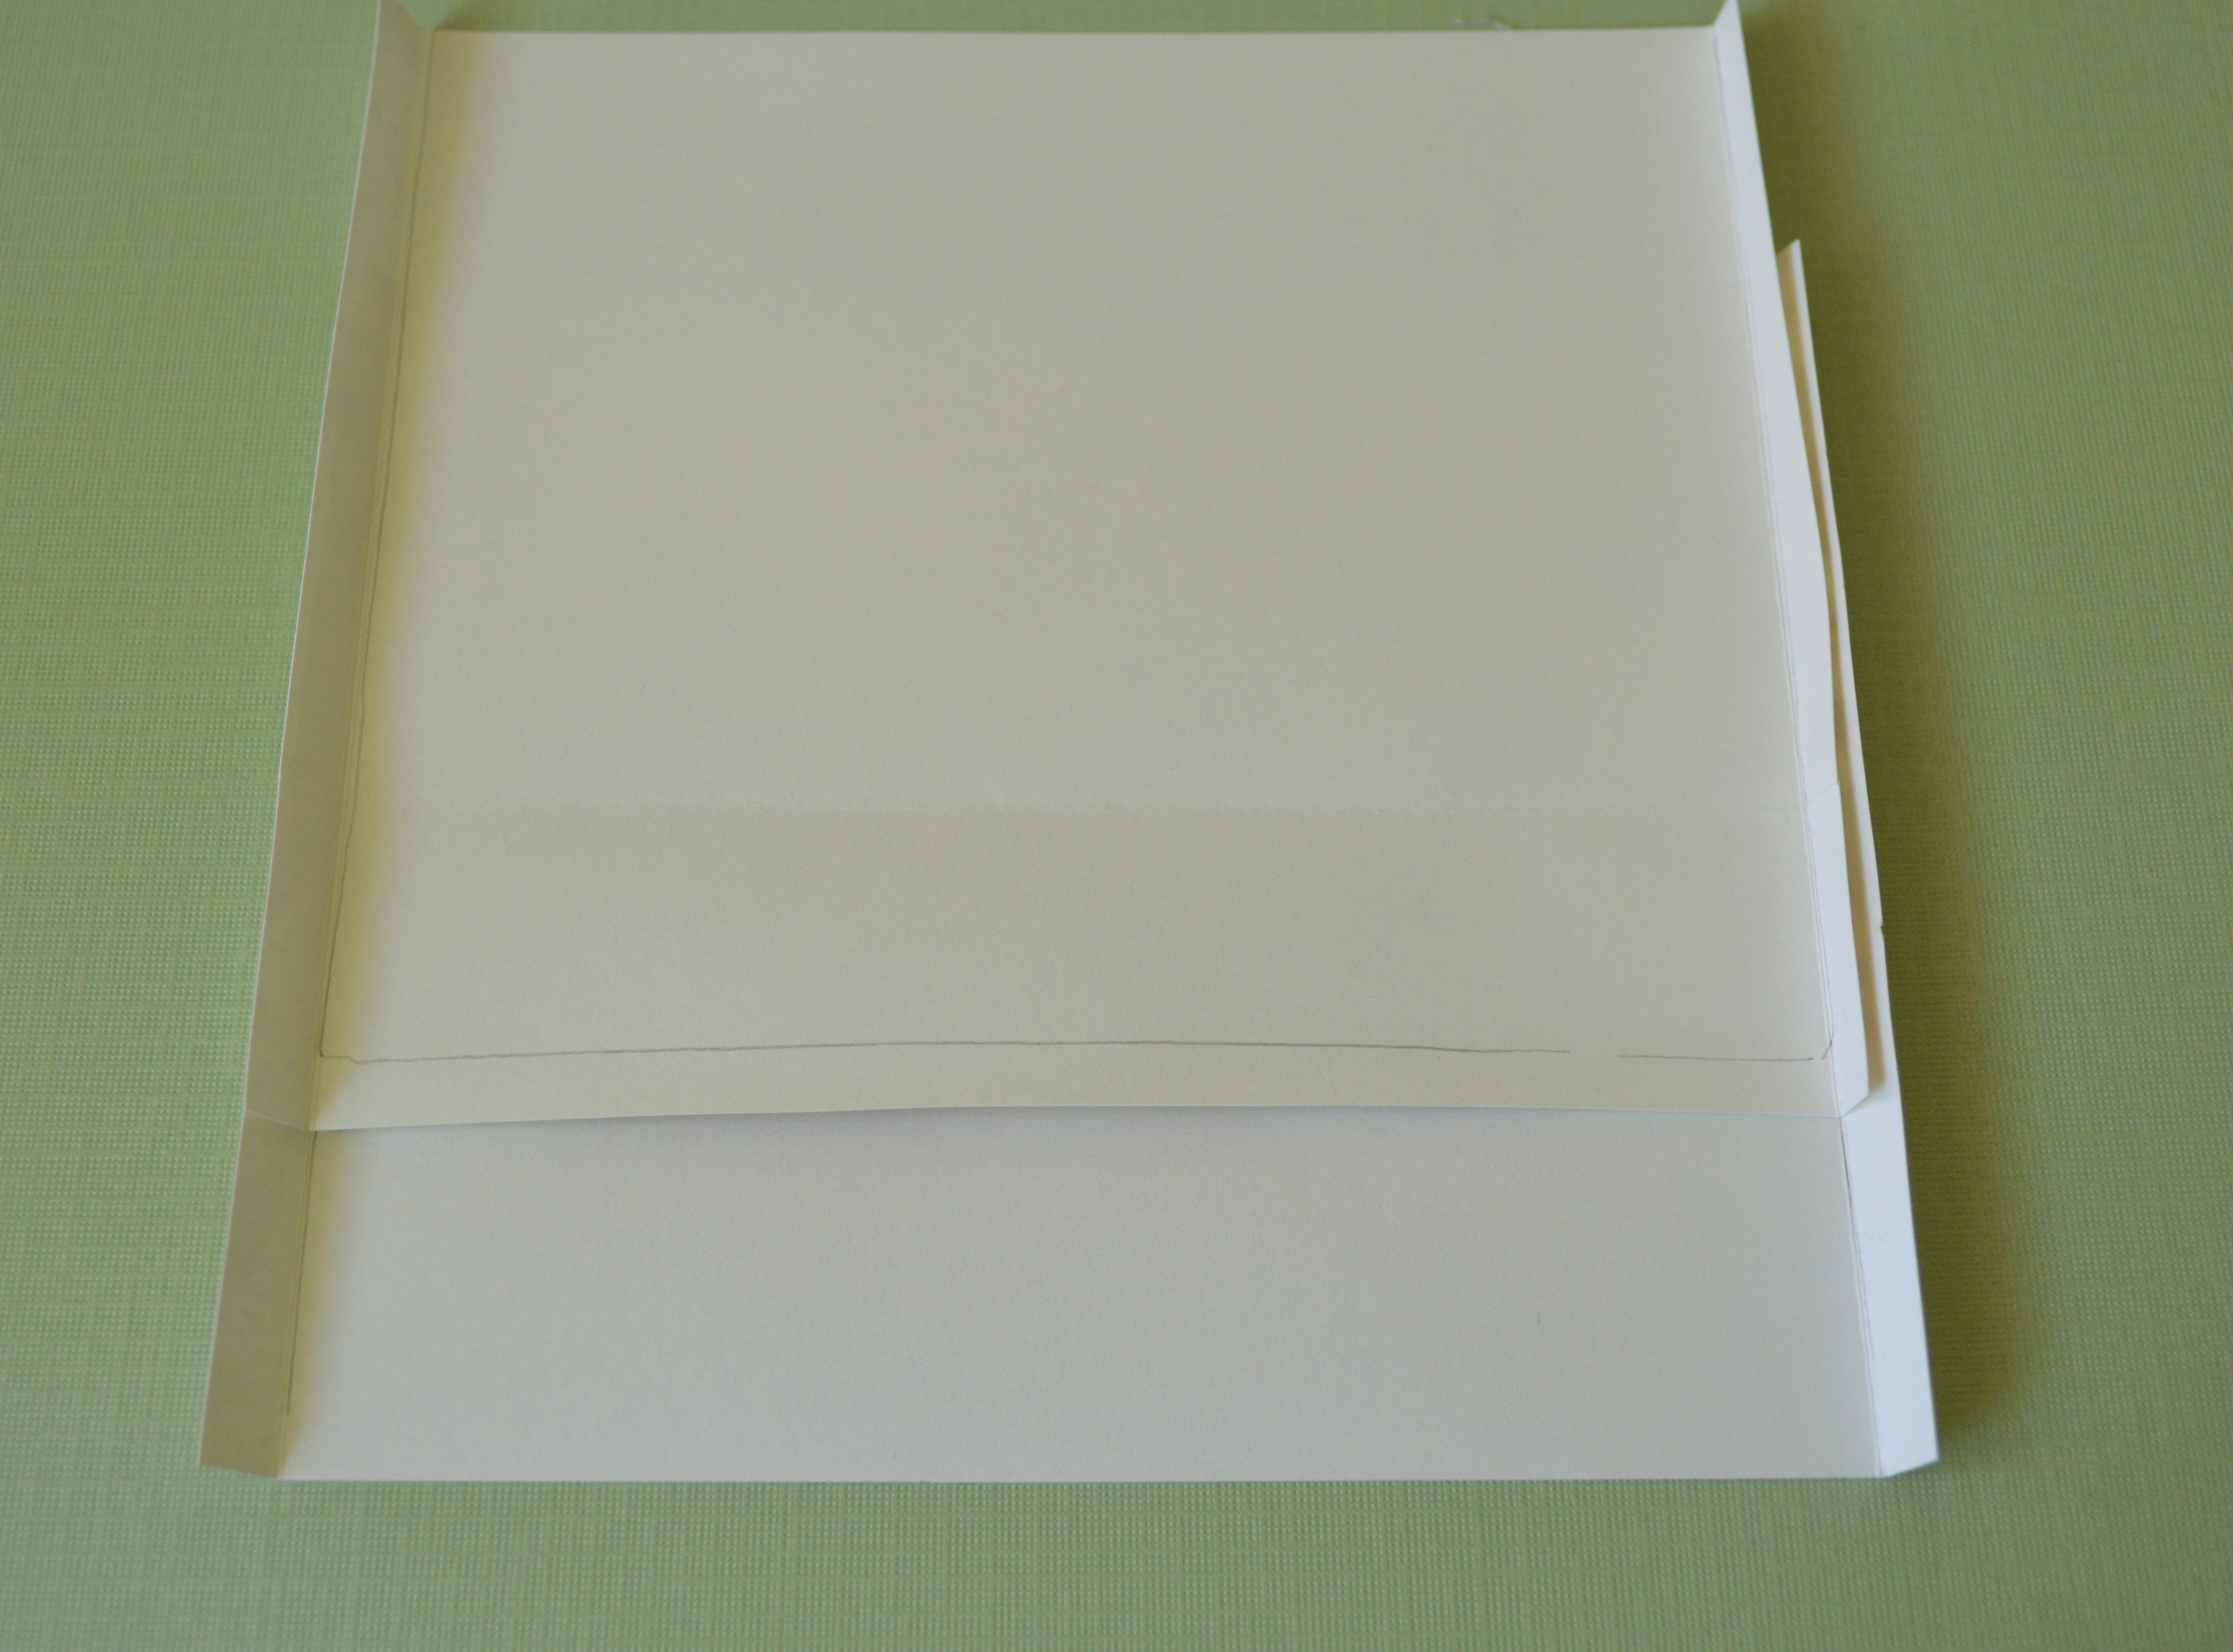
Printing 2 of the patterned papers,I used the brown paper bags and traced around them, then leaving about a quarter inch around each edge I cut it out and scored 1/4 inch on both sides. This will allow for us to join the front to the bag. I used a tape runner to add adhesive here.
The scored paper should fit just in the first fold of the side of the bag. Repeat the process for the back side and this is what it should look like.
Add the divider labels to the tops of the bags and add your seed packets.
Embellish the front and add a large ribbon to tie the packet to keep it from opening up. I created a little rhyme to add to the front to explain what the gift is...
All tied up and ready to give to someone to help them start a garden. You could add a pair of cute garden gloves as well.
Be sure to see what the other DT members have created this month:
Vicki Chrisman (Team Leader)
Michele Kovack
Darlene Pavlick
Melissa Bove
Sheila Rumney
Be sure to get crafty and link up for the chance to win a gift certificate to use in the shop:)
Stay sweet!
~Becks
Labels:
Crafty Secrets,
DT,
Linky Party,
pocket projects
April 1, 2013
sew lovely...Crafty Secrets Linky Party!
I've used the Bobbin card set as a base for most of my tags today, printed off in two sizes. I love the look and feel of these Bobbin cards. I'll have more to share with them in the next few blog posts!
My mini tag, printed out about 1/2 the size of the larger ones. With a handmade layered embellie, using the spool ends ephemera. I punched out the centre to make it look like it had been used on a machine! Some coaster board behind and then layered on top of the pretty green lacy paper from the Sewing Papers set. There a bunch of great patterns to choose from, it was hard to decide which to use this time round:)
Another spool end here.. I've used a clear dome on top to add some dimension.. Can you see the cute mini sewing machines. Aren't they just darling? Pinking shears and felt go together so well to hold my long pins.. another great vintage advert here.. you won't be disappointed with the papers!
And possibly my most favourite of the bunch, using the large corset digital stamp printed on top of the green lace paper.. all dolled up with pretty trims and ribbon.. If you look close you can see that I've laced up the corset too! Just had to add some tuile on the side..
These tags would be perfect for any sewing enthusiast. It was so much fun to play with ribbons and trims, great patterned paper and ephemera.. buttons, felt and stick pins..
Be sure to check out what the other DT gals have made, and be sure to help us welcome our newest DT member Sheila, her blog is listed at the bottom with the others:)
Vicki Chrisman (Team Leader)
Michele Kovack
Darlene Pavlick
Melissa Bove
Sheila Rumney
Happy Crafting!
~Becks
Labels:
challenges,
Crafty Secrets,
DT,
handmade,
Linky Party
November 5, 2012
Crafty Secrets November Linky Party...
Hey there!
Today marks my first post as part of the Crafty Secrets DT! Over at Crafty Secrets blog we are having our November Linky Party Challenge.. Our theme is Christmas and I'm here to share my project with you!
I used papers from the Crafty Secrets Christmas CD5 to create my stocking and for the background.. Originally the paper for the background was blue, but I went into Photoshop and changed the hue to get it to just the right colour for me. What I love about the digital files is that you can change each of them to suit your needs! An endless amount of patterned papers:) After I got the right colour I simply printed and cut to size!
For my stocking I simply printed out an 8.5x11 sheet and traced a hand drawn stencil(thanks mama) and fussy cut it out. I hand stitched along the edges, then it was all about layering on the goodies! I used some old trim to add a cuff, heel and toe piece to my pretty paper stocking. LOVE the pattern paper!
I used an embossing plate to add a little detail then added some stitching as well. The stocking rests on a crocheted star doily.
Whats a stocking without presents? I used some paper scraps I had lying around and tied with some twine and embossing thread..Made a sweet little candy cane out of a pipe cleaner to add to the red and white theme. The bow rests on one of my handmade snowflake doilies.
I hope you will join us for our Linky Party over at the Crafty Secrets blog! Just create something using Crafty Secrets products and you could win a $50 Gift Certificate for Crafty Secrets! We'd love to see what you've created:) I'm off to visit the rest of the team. Won't you join me?
Crafty Secrets Design Team:
Vicki Chrisman (Team Leader)
Michele Kovack
Julie Campbell
Darlene Pavlick
Happy Crafting!
~Becks
Labels:
cards,
challenges,
Christmas,
Crafty Secrets,
DT,
handmade,
Linky Party
Subscribe to:
Posts (Atom)