Showing posts with label pocket projects. Show all posts

March 26, 2014

love, oh love...

What I'm loving around here lately:

Warmer temperatures and longer days... spring is around the corner, I can feel it...

Up-cycled(and mainly free)new workspace desktop for my craft room...

My BBC dramas and comedies, love curling up with them(mainstream t.v pales in comparison)...

Organizing and categorizing old and new craft supplies...

Nautical themes and pale colour schemes...

New family room reno almost completed...


Getting back into exercise regimens...

Playing hockey with the girls Wednesday nights...

Phone calls to back home and to old friends...

Birthday season (part one) beginning next month...


SO much to be thankful for and to love... inspiring my crafty projects lately, thought I'd share this one with you...

Thanks for the visit!
~Becks

Curtsey Boutique Items:


March 2, 2014

celebrate today...

This year I decided to send out fun 'outside of the box' cards after the hustle and bustle of Christmas had died down. Usually each year my best intentions to get Christmas cards out fails, generally because I'm too busy making cards for other people.. I won't complain... no, never. I love seeing people's faces when they get their stacks of handmade cards made by me. Such a great feeling. So, instead of worrying about Christmas cards, my new tradition will be to send out greetings in the new year. 

Here's a little tutorial I did on my 'cards' for this year for Curtsey Boutique:


Measure and fold a medium sized glassine bag to fit inside a standard envelope. Wrap a 6 inch doily around the front of the bag and secure with tape. Fill glassine bag with various sizes, colours and textures of confetti. Add sequins. Sew top of bag at the fold with gold thread to keep confetti in.


On your computer using Word or Photoshop, create a tall rectangular greeting and print out. Trim bottom edge to make it look like a long banner. Edge with glitter and adhere using a stapler. Add snowflake embellies. Stamp a greeting along the bottom edge of the bag and heat emboss.


*Technique tip* To get a perfect straight edge of glitter all around the banner, carefully adhere double side tape to all edges making sure there are no gaps. Peel off other side and cover liberally with glitter. Press the glitter into the tape before shaking off excess. Perfect, straight glitter lines every time!
Shake up the confetti and enjoy!

Curtsey Boutique Supplies:
Medium Glassine Bags
6 inch doily
Christmas Snowflake Die cuts


Other Supplies:
Gold Thread – Ravelry
Sequins-Craft supply
Confetti
Card stock + printer
Double side tape
Glitter

June 3, 2013

plant a seed... Crafty Secrets Linky Party...


Happy June everyone! The Crafty Secrets girls and I are back to share some more fab tutorials and invite you to join our Linky Party for June. All you have to do to play along is to create something with fabulous Crafty Secrets products and link it up here on the blog.
Today I'm here to share with you a tutorial to create a gardening gift. I had seen a few tutorials online and decided to try my hand and share with you all today. This is for a seed packet gift package for someone to start a garden.

008

I started with 3 paper bags. I like to up-cycle so these have logo's on the backs from where I had gotten them. But don't worry. You won't see them once we are done. Put the logos facing inwards towards the centre bag. Both the front and  back should be free of logos. Using hot glue I glued all of the bottoms of the bags together.

009

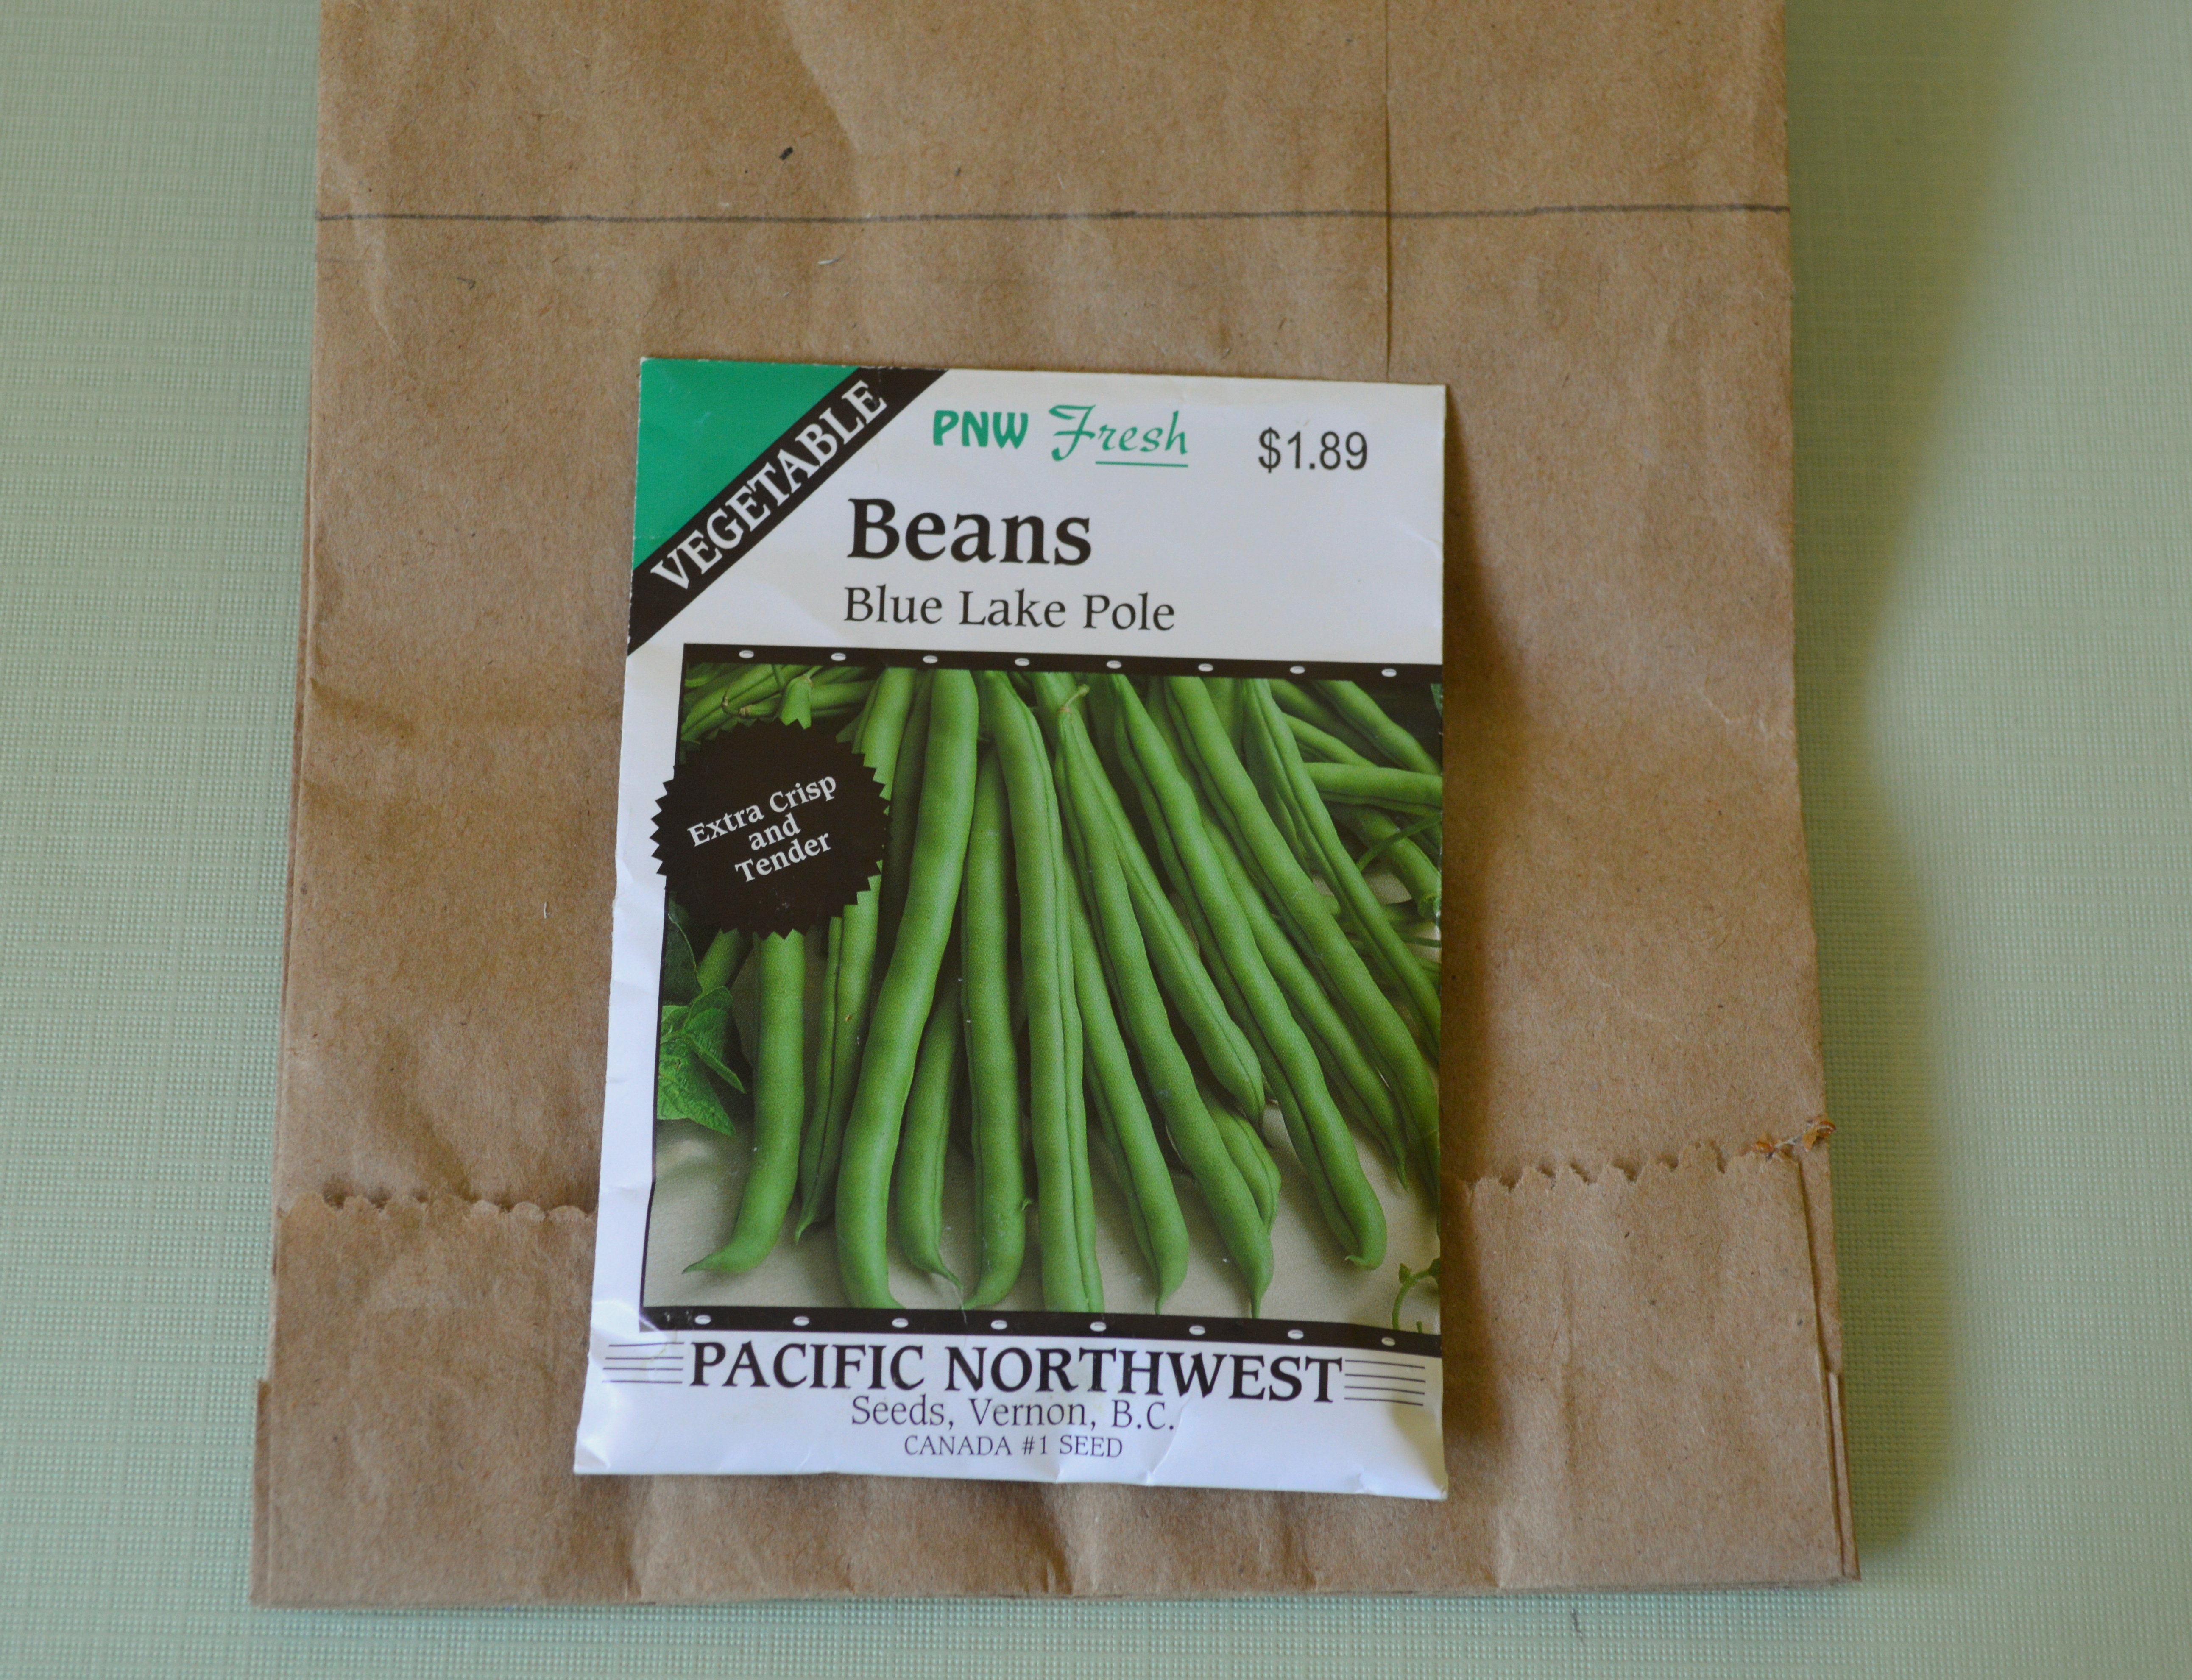
Next I took my bean packet and set it on the bag and measured so that I could trim the top of the bag so they don't stick out of the top.

010

Once I marked a line I cut slightly above it to account for my border punch. If you don't want to use a border punch, just leave it plain or use pinking shears. For either of the latter options you can cut right on the line.

011

Once you have your tops punched or cut, using hot glue again, join the back of the front bag to the middle bag and then do the same for the back bag. You will end up with 3 large pockets. Now we are ready to cover the front and back.

017

Here I'm using gardening papers from CD 2- Creating with Vintage Illustrations and the font included with the new Flower Garden digital set. Since I have 3 pockets I've divided up my seeds into 3 categories.

023

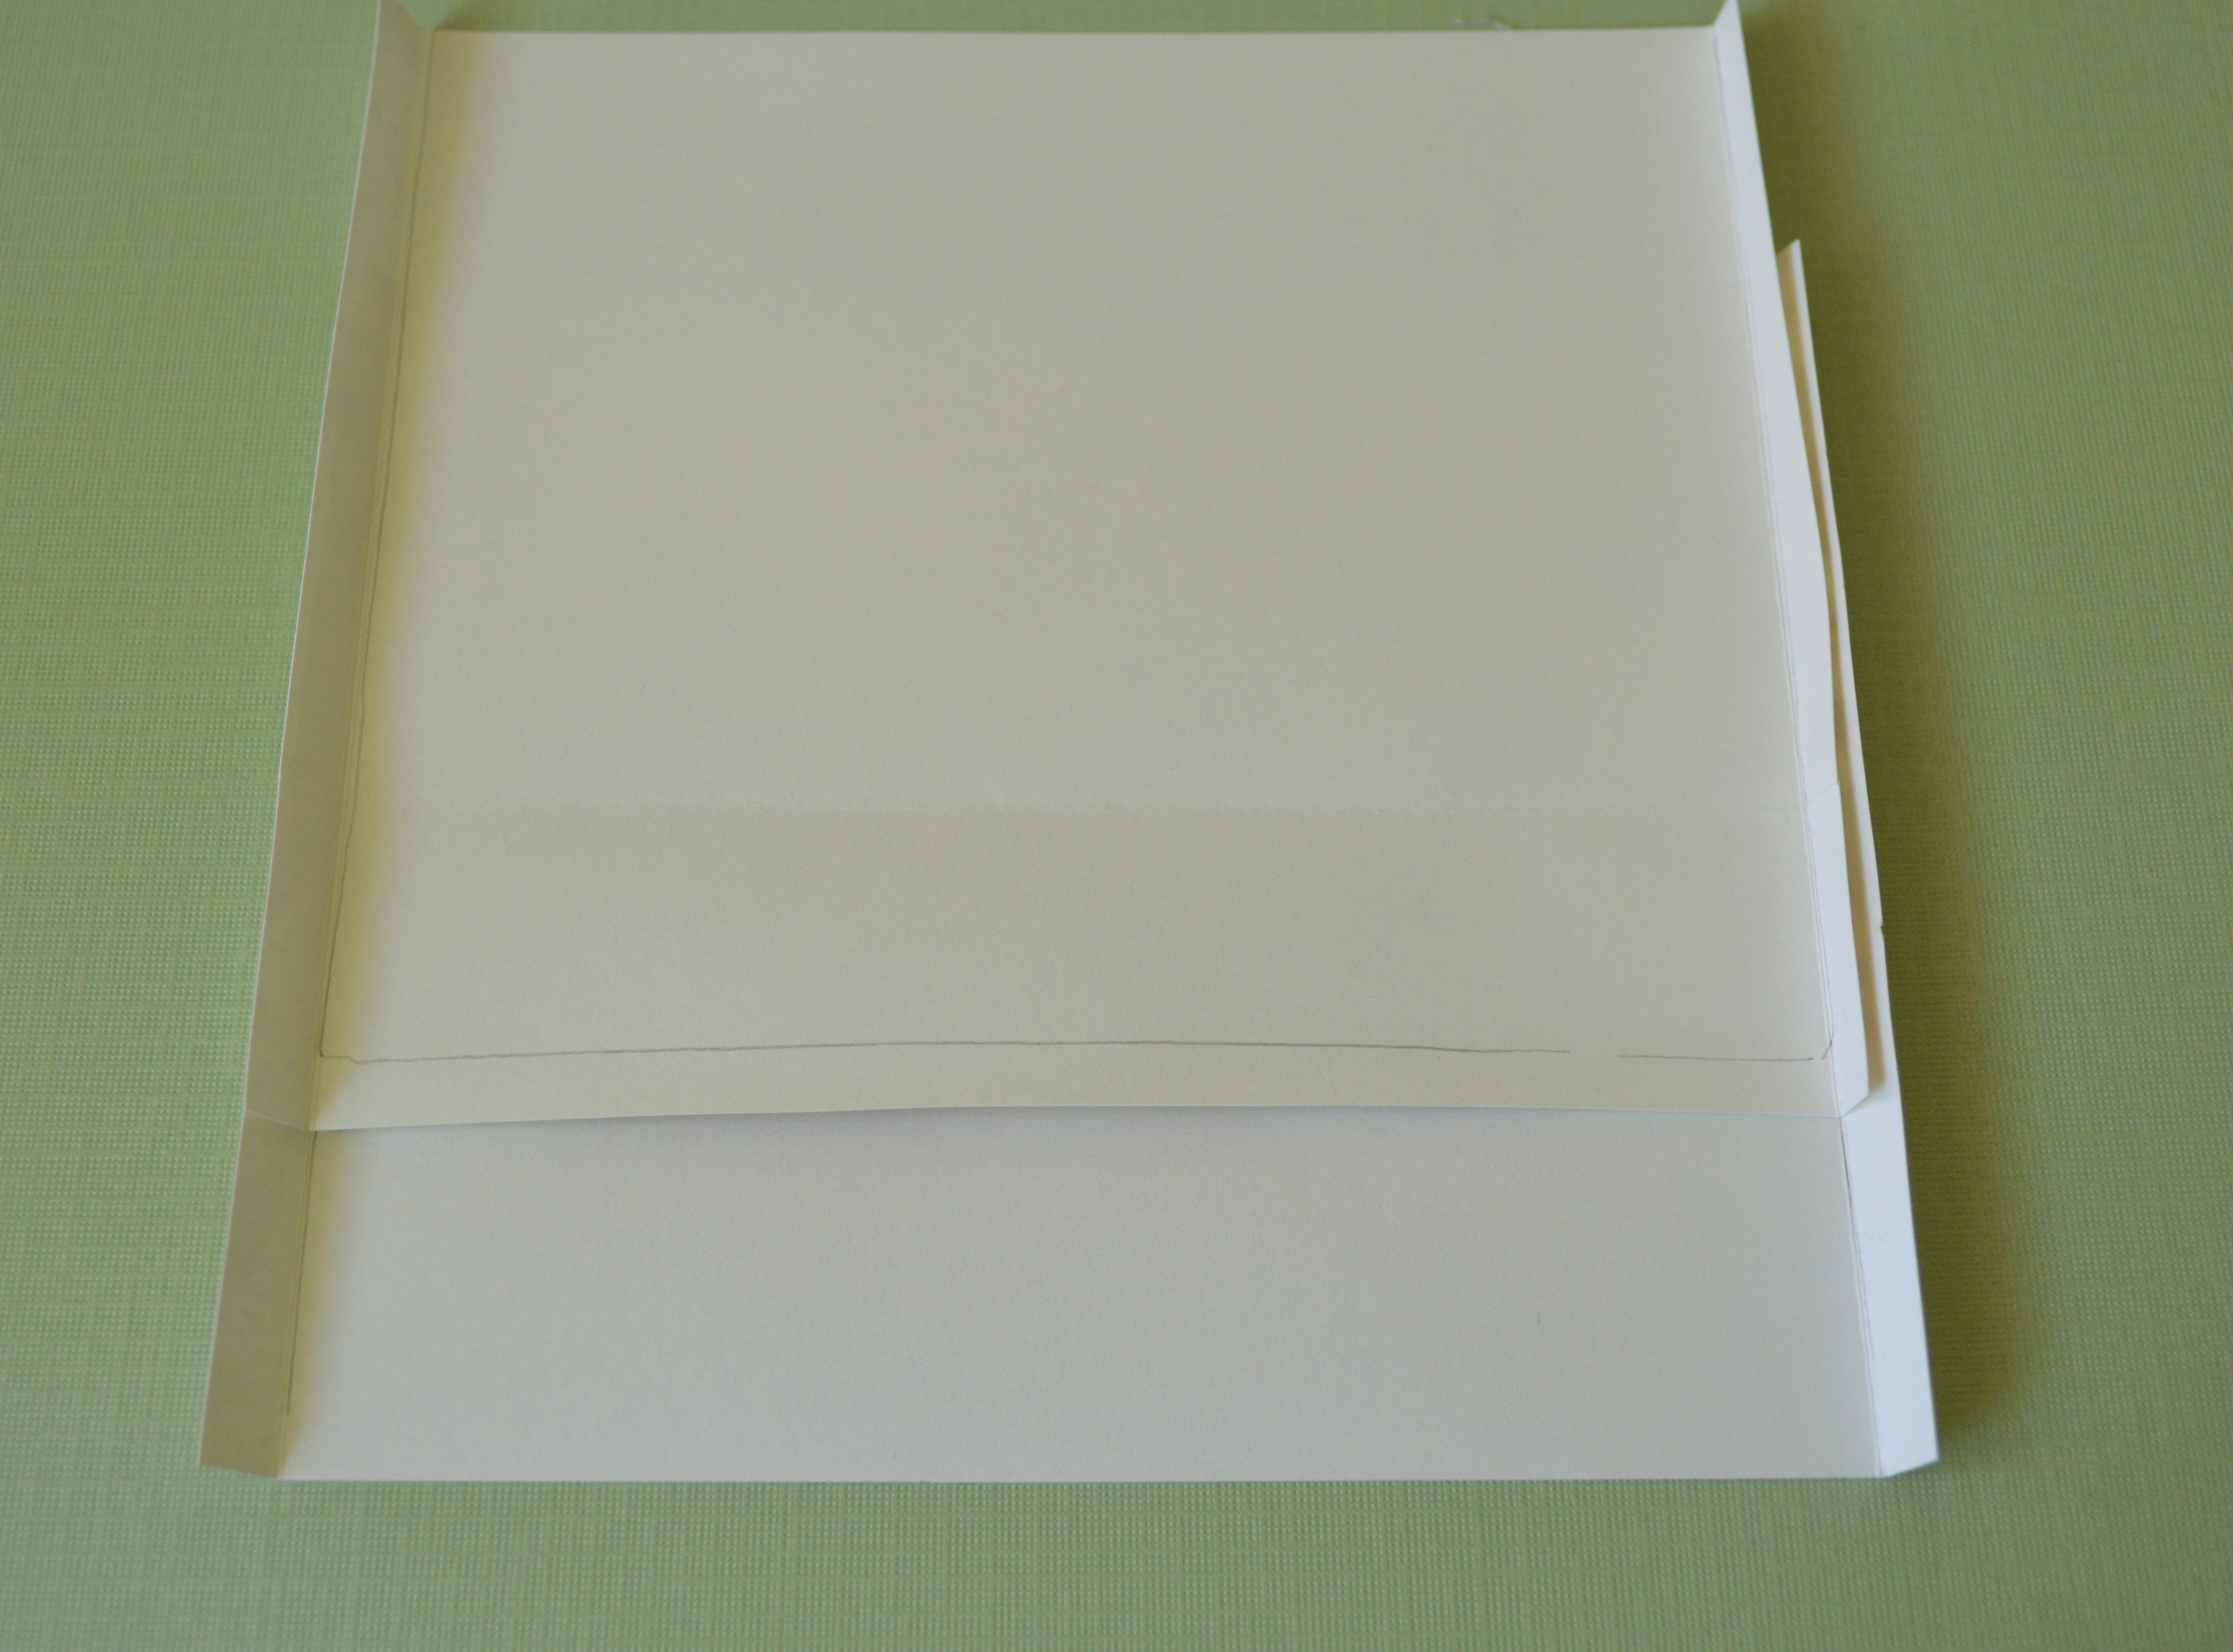
Printing 2 of the patterned papers,I used the brown paper bags and traced around them, then leaving about a quarter inch around each edge I cut it out and scored 1/4 inch on both sides. This will allow for us to join the front to the bag. I used a tape runner to add adhesive here.

025

The scored paper should fit just in the first fold of the side of the bag. Repeat the process for the back side and this is what it should look like.

033

Add the divider labels to the tops of the bags and add your seed packets.

043

Embellish the front and add a large ribbon to tie the packet to keep it from opening up. I created a little rhyme to add to the front to explain what the gift is...

039

All tied up and ready to give to someone to help them start a garden. You could add a pair of cute garden gloves as well.
Be sure to see what the other DT members have created this month:
Vicki Chrisman (Team Leader)

Michele Kovack

Darlene Pavlick

Melissa Bove

Sheila Rumney
Be sure to get crafty and link up for the chance to win a gift certificate to use in the shop:)
Stay sweet!
~Becks

April 28, 2013

beautiful spring...TSTR #164

Hi there!
Hope your weekend was wonderful! I'm back with the Shabby girls for our brand new challenge set for us by Lenet over at The Shabby Tea Room!. Lenet asks that we create a card or project using:
                                              *COLOURS from the photo
                                              *FLOWERS
                                              *LACE
                                              *RIBBON


Our sponsor this week is the Cutting Cafe and I chose to use the Seed Packet file. SO much fun to make my little tea bag holder. Play along and you could win 3 files of your choice. How fun! This little project of mine was so simple and quick to whip up. Just a perfect pick-me-up for a friend. I used Paper Sweeties "I'm Having a Tea Party" for the sentiment and sweet tea pot image!


Be sure to pop by the rest of the Shabby Team to see what they created this week!
                                        
                                        Debbie- Paper Sweeties

                                         Lenet- To Scrap or Not to Scrap

                                         Rebecca- Paper Primrose

                                         Tracey- Trace Elementz

                                         Starr- The Paper Chase


See you in the Tea Room!
~Becks

April 27, 2013

mason mini...

side view

I'm back again with a mini-album I've made using the new Crafty Secrets Button Up digital stamp set,  the new Sewing papers and Ephemera digi's available at the CraftyVintageGirl store. These digi's are choc-full of gorgeous images to play with! I used the pretty Mason Jar stamp to make the pages of my mini here today. What I love about these is you can re-size and re-colour them to suit your hearts desire!

front cover

After changing the colours to a pretty pastel blue and pink from the original black, I added all sorts of fun embellies; Stitching, a fabric yo-yo..distressed chipboard and those great scissors and spool from the ephemera pack.

scissors close up

I used some Glimmer mist and inks to add colour to the scissors and dimensional glue to give it a nice raised texture and glossy shine.. I'd love to own a pair of ornate scissors like these. Wouldn't you?

button card close uppage 2

I fell head over heels for the sweet button cards and have used them a few times (here and here) and had to include one, complete with matching buttons. On the back of each jar is a measuring tape paper pocket to tuck some goodies into!

button frameupclose button frame

One of my handmade paper-clay frames sits on top of a pretty ornate frame, I fussy cut from one of the frames found in the ephemera. Some trims and a journal tag top off this mason jar page.

bluebird057

I just had to include this cute little birdie..stitched and with a dimensional wing..he matches quite well with the spool top.

050

A kraft envelope to tuck in some more goodies. I tried to limit patterns and colours and keep them all the same, repeating elements to get a more cohesive look to my mini..

062059

A pretty little needle packet all dressed up pretty...

071072067

Vellum pocket holds a sweet sewing saying and a 3-D lid topped with pretty ribbons rounds out this little pocket project of mine..

104 

One more shot of the layers, just because I love looking at the mis-matchedness of it all...
Have a wonderful weekend friends!
~Becks

January 27, 2013

cute as a button...TSTR #151

Debbie has a wonderful new challenge for us this week over at The Shabby Tea Room. She asks that we create a card/project using:

photo inspiration #151
                                                                 
                                                            *COLOURS in the photo
                                                            * BUTTONS
I loved the mittens in the photo and decided to try my hand at making one for my hot chocolate/biscotti gift set. Loving the mint green!

SAM_4102

Our sponsor this week is Bugaboo Stamps and I've used the Winter Circle Sentiments- Warm Wishes digital stamp. Play along and you could win 7 digital images!  Seems a fitting sentiment as the temps here have been close to -40C with the windchill here in the North.  Love those extra large chandelier drops!

REBEKAH TSTR #151

Some hot chocolate mix and marshmallows plus a biscotti would make a great gift to ward off the cold.. Why don't you grab a cup and join me in seeing what the other Shabby Girls have created this week:
                          Debbie- Deb's Simple Treasures

                          Lenet- To Scrap or Not to Scrap

                          Rebecca- Paper Primrose

                          Tracey- Trace Elementz

                          Starr- The Paper Chase

Happy Monday! Hope you'll play with us this week!
Becks

August 19, 2012

shabby patterns...TSTR #128

Happy Monday everyone! It's time for a new challenge over at The Shabby Tea Room. Tammy is our hostess this week and she asks that we use:
                                                
                                                   *COLOURS FROM THE PHOTO
                                                   *INCLUDE FLOWERS
                                                   *INCLUDE A DAMASK PATTERN


We are doubly lucky to have two sponsors this week in the Tea Room: Creations by AR, and Debbie's new company, Paper Sweeties! You have the chance to win 2 templates from Creations by AR and a stamp set from Paper Sweeties! Are you ready to play???


 I got to create with the Library Pocket Set this week and decided to make a mini book. The template comes with two inserts; a tag and the library card. I chose to use the card for my creation. I cut it out of the same flowery damask paper I used on the pocket, and topped it with some sticky back embossed borders.


 All three pockets were made from a manilla file folder, and dressed up using bits and bobs.. The inserts will hold photos and I plan on writing on the backs as well!


Separated and held together with rings. The mini can also be easily expanded by making more sweet little pockets!

I hope you will join us this week and play along for some really great prizes! Check out the rest of the Shabby Girls to see what they got to play with this week!
                          
                          Debbie- Deb's Simple Treasures

                          Lenet- To Scrap or Not to Scrap

                          Tammy- Paperie Sweetness

                          Fran- Purple Peanut's Crafty Blog

                          Starr- The Paper Chase

Cheers!
~Becks

July 29, 2012

sweet summertime...TSTR #125

Hello my sweets!
Hello new challenge over at The Shabby Tea Room! This week the lovely Fran is our hostess and she asks that we use:
                                       * THE COLOURS IN THE INSPIRATION PHOTO
                                       * FLOWERS
                                       * A STAMPED ELEMENT


JustRite Stampers are our shabby sponsors once again and I chose to work with Seeds of Summer (one of my faves!) and Botanical Butterflies.Play along this week and you have a chance to win a fab prize pack of Vintage Label and Banner Dies, as well as Violette Vintage Labels!


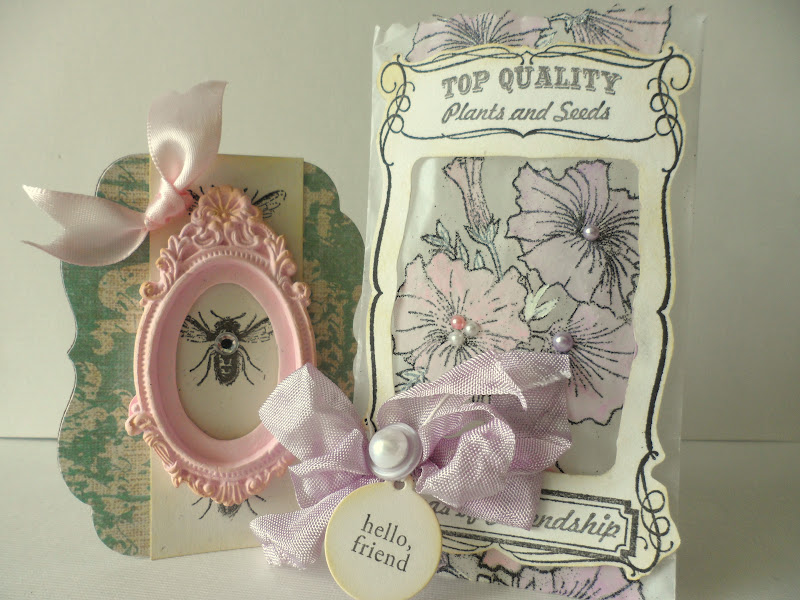
I've been obsessed of late with packs and pockets, and followed my love and made three in different styles, using the Seeds of Summer set. I made some wax paper baggies and stamped diretly on, then heat embossed. How I love the effect! I used acrylic paints to colour in those gorgeous petunias.


Stamping directly onto wax baggie then embossing with black powder, this has to be my favourite of this trio!


A file folder turned into a flower pot pocket....perfect for tucking seed packs into.


Join our challenge this week and pop by to visit the rest of the Shabby Girls to see their gorgeous projects!

                          Debbie- Deb's Simple Treasures

                          Lenet- To Scrap or Not to Scrap

                          Tammy- Paperie Sweetness

                          Fran- Purple Peanut's Crafty Blog

                          Starr- The Paper Chase

Cheers!
~Becks