November 14, 2011

clean mind, clear mind...

 E.T.A- This card was chosen as winner over at CCCB for week #82!!! Happy Dance :) Thanks so much to the DT for choosing my card! It's such an honour :)
 I spent the weekend reorganizing and cleaning my craft room.. it was to the point where I thought the floor had disappeared...do you get that way? Please tell me its not just me... I get so frustrated and run down creatively to see everything everywhere. Upended and hanging out of boxes and shelves, and I just can't concentrate or create.. every now and then I have to stop and clean up and clear away the clutter just to be able to breathe..a clean space equals a clear mind.

I will say that I had some 'help' in the state of my room lately...'help' in the form of a four-footed, Siamese mess maker..who loooves to climb up on my desk,(which is small to say the least)plonk herself down, and stretch right out- usually on top of my current project- and then proceeds to fall asleep.. great job little one... not so great for me. I usually end up working on my lap on a piece of cardboard.  Needless to say when she stretches out she generally pushes everything off the desk onto the floor.. I think its her way of getting back at me for lack of attention..

That being said I was able to go through and organize all of my bits and bobs...I put in a new shelf organizer into my closet cubby hole and really organized. I love the way it looks...everything put back in a proper place. Found all sorts of neat things I forgot I had; even found a bag I had brought back home in September from my trip and didn't put away. It was fun to rediscover all the goodies my aunt had given me.
 Just popping in with a mini thank you card I made for my friend Sandy for ordering her Christmas cards through me. Kept it pretty muted and used one of my cameos. *sigh* I can't get enough of them. Some of you have asked me to do a tutorial or asked how they are made. I use silicon molds and carefully set the white polymer clay into the mold and then layer over the background colour. It takes some practice to get just right and all in the right places, so no two are ever the same and they are all uniquely different from the last. I hope to have a bunch of cameos of all sizes up in the Etsy store soon.. Have some things to work on but fingers crossed they will be posted soon for anyone who likes them.
As usual just squeaking in to the challenge over at City Crafter Challenge Blog.. the theme is 'Thanksgiving'.. Here in Canada we celebrate it a good month before our American neighbours.. but it is fun to play along none the less..
Give them a check, I bet you get hooked into the challenges too..
Thanks for the visit!
~Becks

November 11, 2011

mama...


Mother is a little girl who trod my path before me;
Just a bigger, wiser little girl who ran ahead-
Bigger, wiser, stronger girl who always watches o'er me,
One who knows the pitfalls in the rugged road I tread.


Mother is a playmate who will always treat me kindly-
Playmate who will  yield me what true happiness demands.
She will never let my feet stray into brambles blindly-
Mother's just a bigger little girl that understands.


Mother is an older little playmate who'll befriend me-
Yesteryear she traveled in the path that's mine today.
Never need I fear a foe from which she might defend me-
Faithful little pal who ran ahead and learned the way.
-Author unknown.
Such a beautiful little poem... it speaks to my heart. It is of course for my mama..who's birthday is today. Whom I miss so much..wishing I could tell her in person Happy Birthday.


I hope she likes this card...I made it with her in mind. Had such a great time coaxing it into existence...


Lots of lovely layers...a handmade stick pin upturned; made by my talented blog buddy Stella..such a sweet gift that she sent to me.

It is soft and sweet just like my mama...and of course one of a kind.
Happy Birthday mom, wish I were with you all to celebrate.
Sending love, as always, across the miles.
All my love,
Becks XO

November 7, 2011

old man winter...


I know he's coming... peeking at us from round the corner...the temperatures are falling steadily.. I am not ready; though I am prepared. Winter gear and clothing are all hanging in the closets.. recipes scoured for hearty warm filling dinners...We've been lucky so far this year to only have had a light dusting of snow one morning...it didn't stay too long, done in by the mid day sun... Last year we had more on the ground for Halloween.

So this year I know we are lucky not to have had it this late into the year... I know it will not last, and part of me can't wait for the winter wonderland to begin.. Although I hate going out in the snow, I love being snug-a-bug warm and cozy inside, watching it fall outside, gazing at it from the bay window in my living room...it is so calming and so peaceful and adds to the feeling of the holidays. To me, it doesn't feel like Christmas time until there's snow on the ground.. who would have thought that being an island girl majority of my life, I'd come to love when it snows.

I need to get crafty and start making some holiday decorations.. I know it will be here too soon and I want to be ready and enjoy it for as long as I can. Being this is the second Christmas in our new house, I've yet to decorate or have any Christmas/winter decorations(last year I escaped it all and went home for Christmas.. ) I am totally digging a shabby, vintage inspired theme...I'm thinking burlap wreath and linen runners on the tables, chunky pillar candles...pine branches and glitter on everything...a more muted colour palette of hunter greens and deep burgundy and cream.. there has to be cream. I am anxiously awaiting my Santa Claus special order doll from my mama (who just so happens to be an awesome doll artist..more on that to come!) I just hope my mischievous, fur-faced Siamese shadow will leave him alone..

Remember my tutorial on how to make ornament wreaths? Well here's some of the cards I made for my dear friend Sandy; a former co-worker of mine..a great soul and wonderful person to be around..we hit it off and the rest is history as they say..
I have to admit, these are some of my favourite Christmas cards to date. I always find them so hard to do, even tho they are in bulk. Something I struggle with year after year. Maybe I just need some retail therapy to have more Christmas-y things on hand  :P

I love the combination of kraft and white..can you see the shimmer of glitter? I used my beloved Tattered Angels Glimmer Mist in 'marshmallow'..doesn't that sound scrumptious? die cut sheet music as a base for the wreaths and some little tags- just because I can't live with out them. I heat embossed the sentiment (love PTI's Snowflake serenade) and stamped some falling snowflakes.. I have to say I'm partial to the cream holly wreaths than the green ones..

I think I hear old man winter knocking on the door...
Night!
~Becks

November 2, 2011

p.s.a...

Just doing my part..
A public service announcement of sorts:) Have you heard? Pixie Dust Paperie is having a giveaway!!
If you haven't been before its a great place to get the neatest kits..a new one released each month and this month is sure to delight!
Why not check it out here?
You won't be disappointed!

November 1, 2011

the witching hour...

All the ghouls, goblins, witches and monsters have come and gone for the night. It was such a treat to see all of the costumes; hear the excited chatter as they clambered up the stairs and rang the doorbell...
Even I got in the Halloween spirit this year again..dressing up as a firefighter. My FIL was a firefighter for 30 years and my guy inherited one of his helmets from when he was Captain.(he retired as a Platoon Chief) So, upstairs it came and along with a jacket of my guy's and one of my FIL's Fire Dept badges, and I became a firefighter for the night. The kids certainly got a kick out of it.
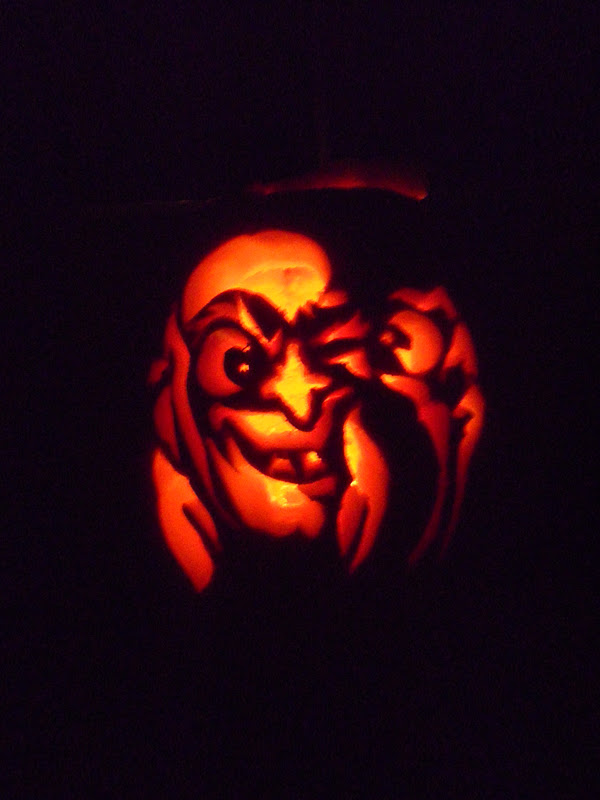
I love Halloween time of the year.. we carved our pumpkins again this year(you can see them here..) with my family-long distance via webcam.. always so much fun. We all get better and better with each passing year. There are plans in the works for all of us to be together next year for pumpkin picking in the fields(one of my favourite activities) and a carving marathon.
Along with Halloween, October and November bring with it many birthdays.. some of my most favourite people were born this time of the year. I love that all the birthdays are grouped together; April-June and October November. This card was made for my best friend.. and I love how it turned out.
So many dainty layers of paper and fabric trims...an organza rose with one of my handmade cameos. I'm still having a love affair with them.. Lacy goodness peeks out...another handmade goodie- the little key; all painted and glittered up.. and a little personal touch- The stamped 'C' in the corner banner...in honour of my besties first name. I love personalizing cards for the recipient...makes all the more special.
I am off now, going to try and relax after being on my feet for all 171 kids that popped by.
How was your Halloween night?
Thanks for visiting,
~Becks

October 31, 2011

boo to you...


                                                     Happy Halloween!!

October 20, 2011

wreath wrap up...{tutorial}

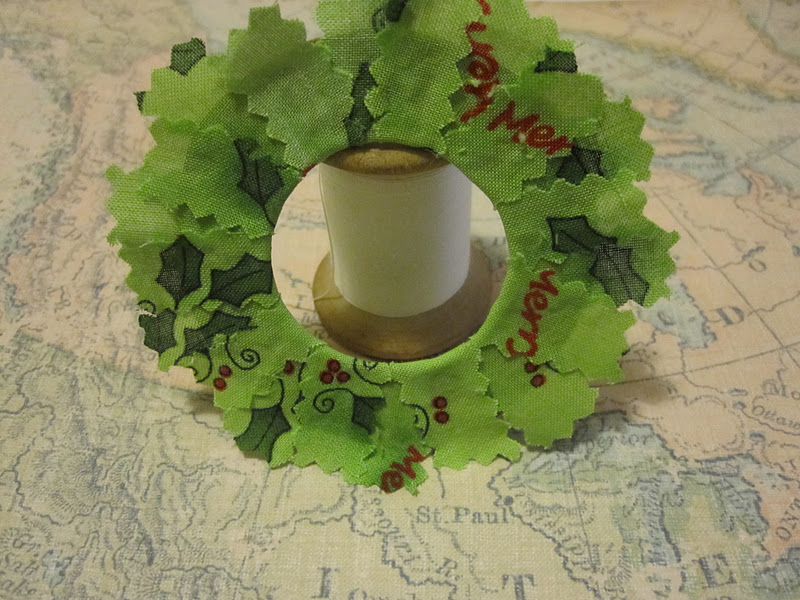
I'm in Christmas card mode courtesy of a dear friends request for some... She selected the reindeer wreath ornament cards I had put up on the blog last year here and again here. Awhile ago one of my blog readers asked for a tutorial on these and I finally have gotten around to it.
Lets get started shall we?

Supplies:

*fabric scraps or fabric cut into strips.
*thin cardboard and card stock
*glue(Fast grab Tacky glue is my fave here)
*hot glue gun and glue
*ribbon
*buttons
* sheet music or old bookprint
*glimmer mist or glitter(optional)
*scissors
*pinking shears


Start by cutting out a circle of cardboard the size you want your ornament to be. Cut a smaller circle out of the middle. Mine are roughly 3 inches wide.


Cut fabric into strips..mine were about 1/4 inch wide by an inch and a half long. I used pinking shears to give the edges some character.
Starting the first layer:
This is my new best friend. Last year I used hot glue to glue all of the layers. It is effective but you have to be very sparing with the application of hot glue (in my opinion). This glue is awesome for keeping the layers where you want them to stick. And no burnt fingertips either is always a plus in my books. :)
 
Glue strips onto the circle leaving a bit overhanging into the middle of the circle. Turn circle over and glue down the bits overhanging to make a smooth inside of the wreath.
Glue more strips in between to complete the first layer.
Add in another layer of strips on top of the first layer (let the first layer dry first..I did a bunch of ornaments at a time layer by layer) Allow for different lengths for each layer. I ended up doing 3 in total. Stagger the layers over the seams of the previous layer so you get a nice effect in the end.

Here's an example of each step in the process. You can see how it gets filled out as you add layers.(click on picture to enlarge)
 For a little extra shine and to make it more festive I used my Glimmer mist in Antique gold..you could use really fine glitter and adhesive spray should you wish. Spray all over finished wreath before added embellies.

 Once your wreaths are all glittered up, cut circles of sheet music(or old book print would look fab as well) slightly bigger than your inner circle. Glue to the back of the wreath over the fabric scraps that have been glued down layer by layer.
**tip: trim all the excess fabric bits off to make finished product look nicer. **

Cut ribbon to make a loop to hang your ornament by and using hot glue, attach to the back of the wreath before securing a card stock circle the size of the finished wreath to hide all the mess we've created.I secured mine with hot glue as I found it made for a better finished product. (As you can see I changed models in between steps..ignore this. lol)
Add a handmade bow and a button as well as some embellishments to the wreath. Mine are from a package of confetti my mom got for me years ago. Attach to a card with some re-positionable adhesive, add to a wrapped present..sky's the limit. I've also thought of adding a nice diecut circle to the back card stock, to add a handwritten message to the back of the ornament.
Voila! Simple as pie and easy to whip up a big batch.
I'll be back to show how I used these babies on the cards for my friend.
See you soon,
~Becks