Hi friends,
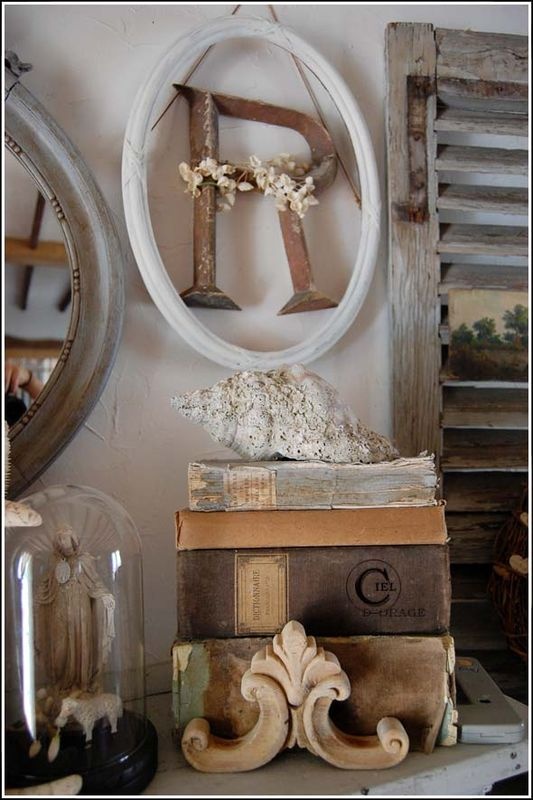
Over at The Shabby Tea Room blog I'm hosting our weekly challenge and invite you to join us for 'Monogram Madness'
I
ask that you create a card/project using a monogram as a focal point.
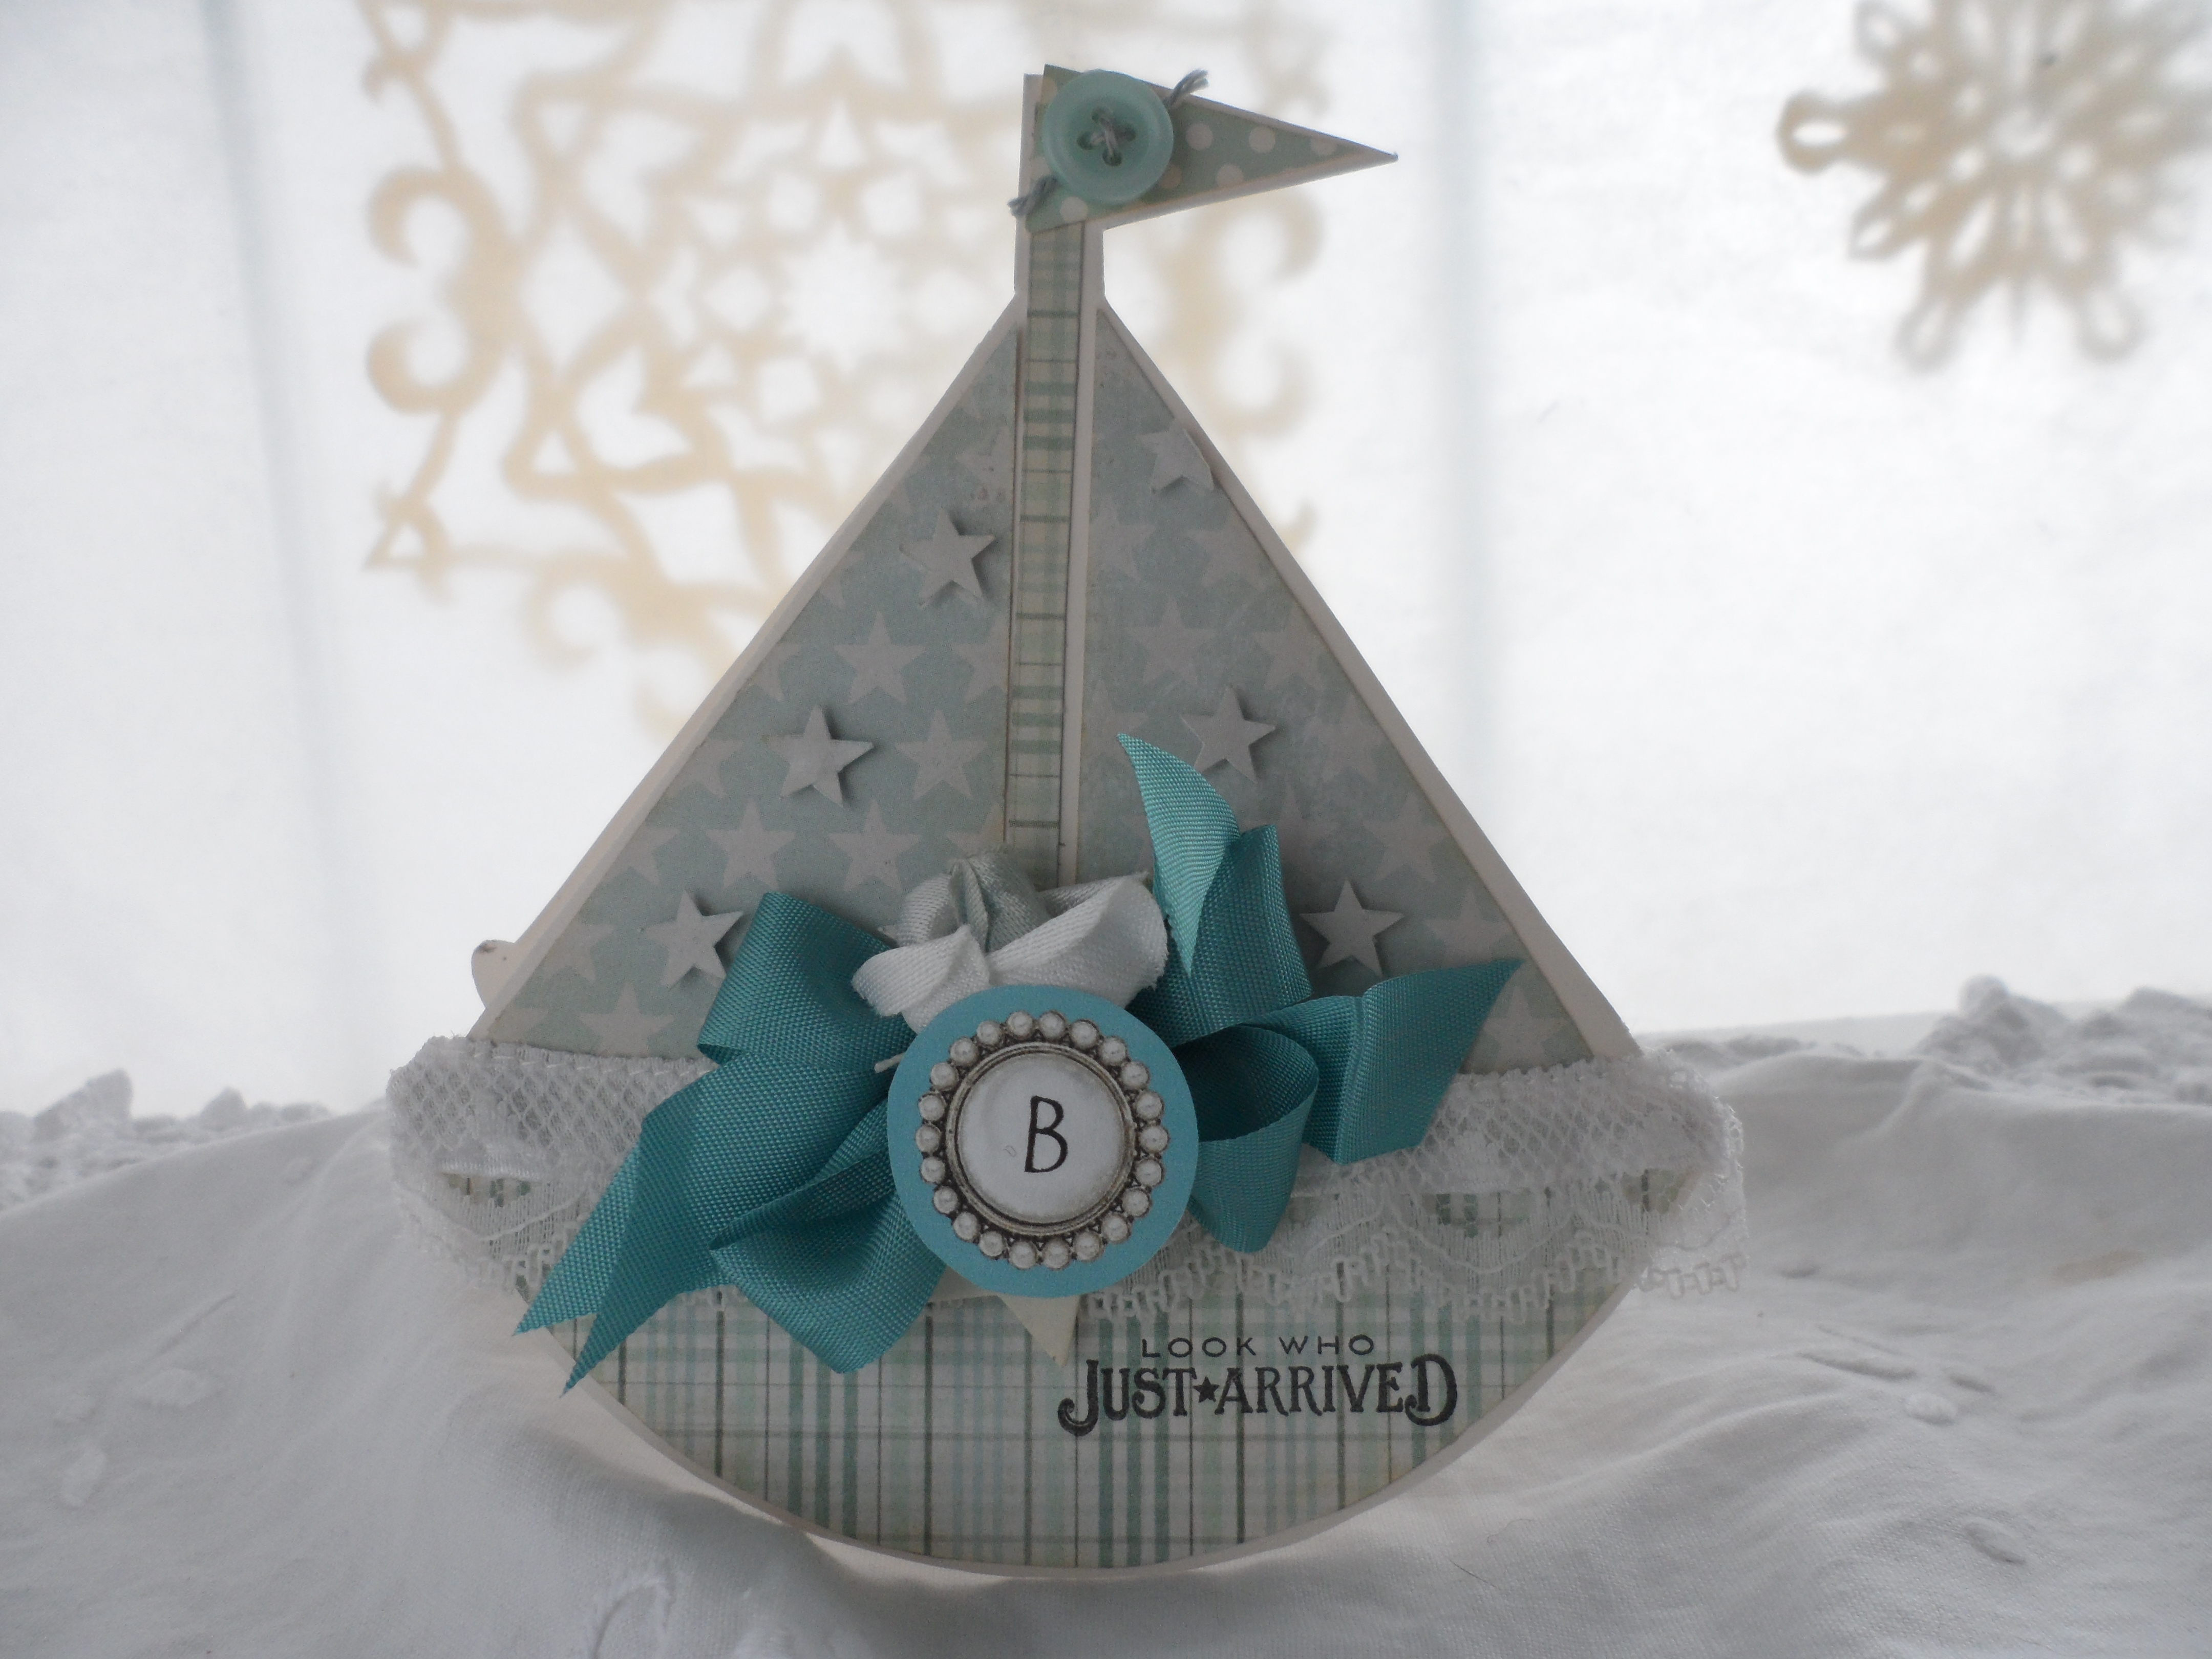
This week we got to play with "Black Button Alphabet" from our sponsor Janet's Digital Paper, and it was just perfect for my project.
I
created a cute boat card just perfect for a baby boy and used the "B".
I changed the colour of the button in Photoshop to fit with my blue theme.
I hope you will join us for our challenge this week. You could win some great prizes from our sponsors Paper Sweeties: 1 stamp set and Janets Digital Paper:3 collages - 1st prize, 2 collages - 2nd prize, 1 collage - 3rd prize (will be given to TTTTT)
I'm off to visit the other talented ladies on the DT. Pop by and leave some love!
Debbie- Deb's Simple Treasures
Lenet- To Scrap or Not to Scrap
Rebecca- Paper Primrose
Tracey- Trace Elementz
Starr- The Paper Chase
Happy New Year!!
~Becks
December 30, 2012
monogram madness...TSTR #147
Labels:
baby,
cards,
challenges,
DT,
handmade,
The Shabby Tea Room,
TSTR
December 23, 2012
favourite Shabby Tea Room Project...TSTR #146
Happy Holidays everyone!
This week at The Shabby Tea Room the DT are sharing their favourite Shabby Tea Room Project from 2012 and we invite you to do the same! Play along with us and you could win 2 stamp sets from our sponsor Paper Sweeties!
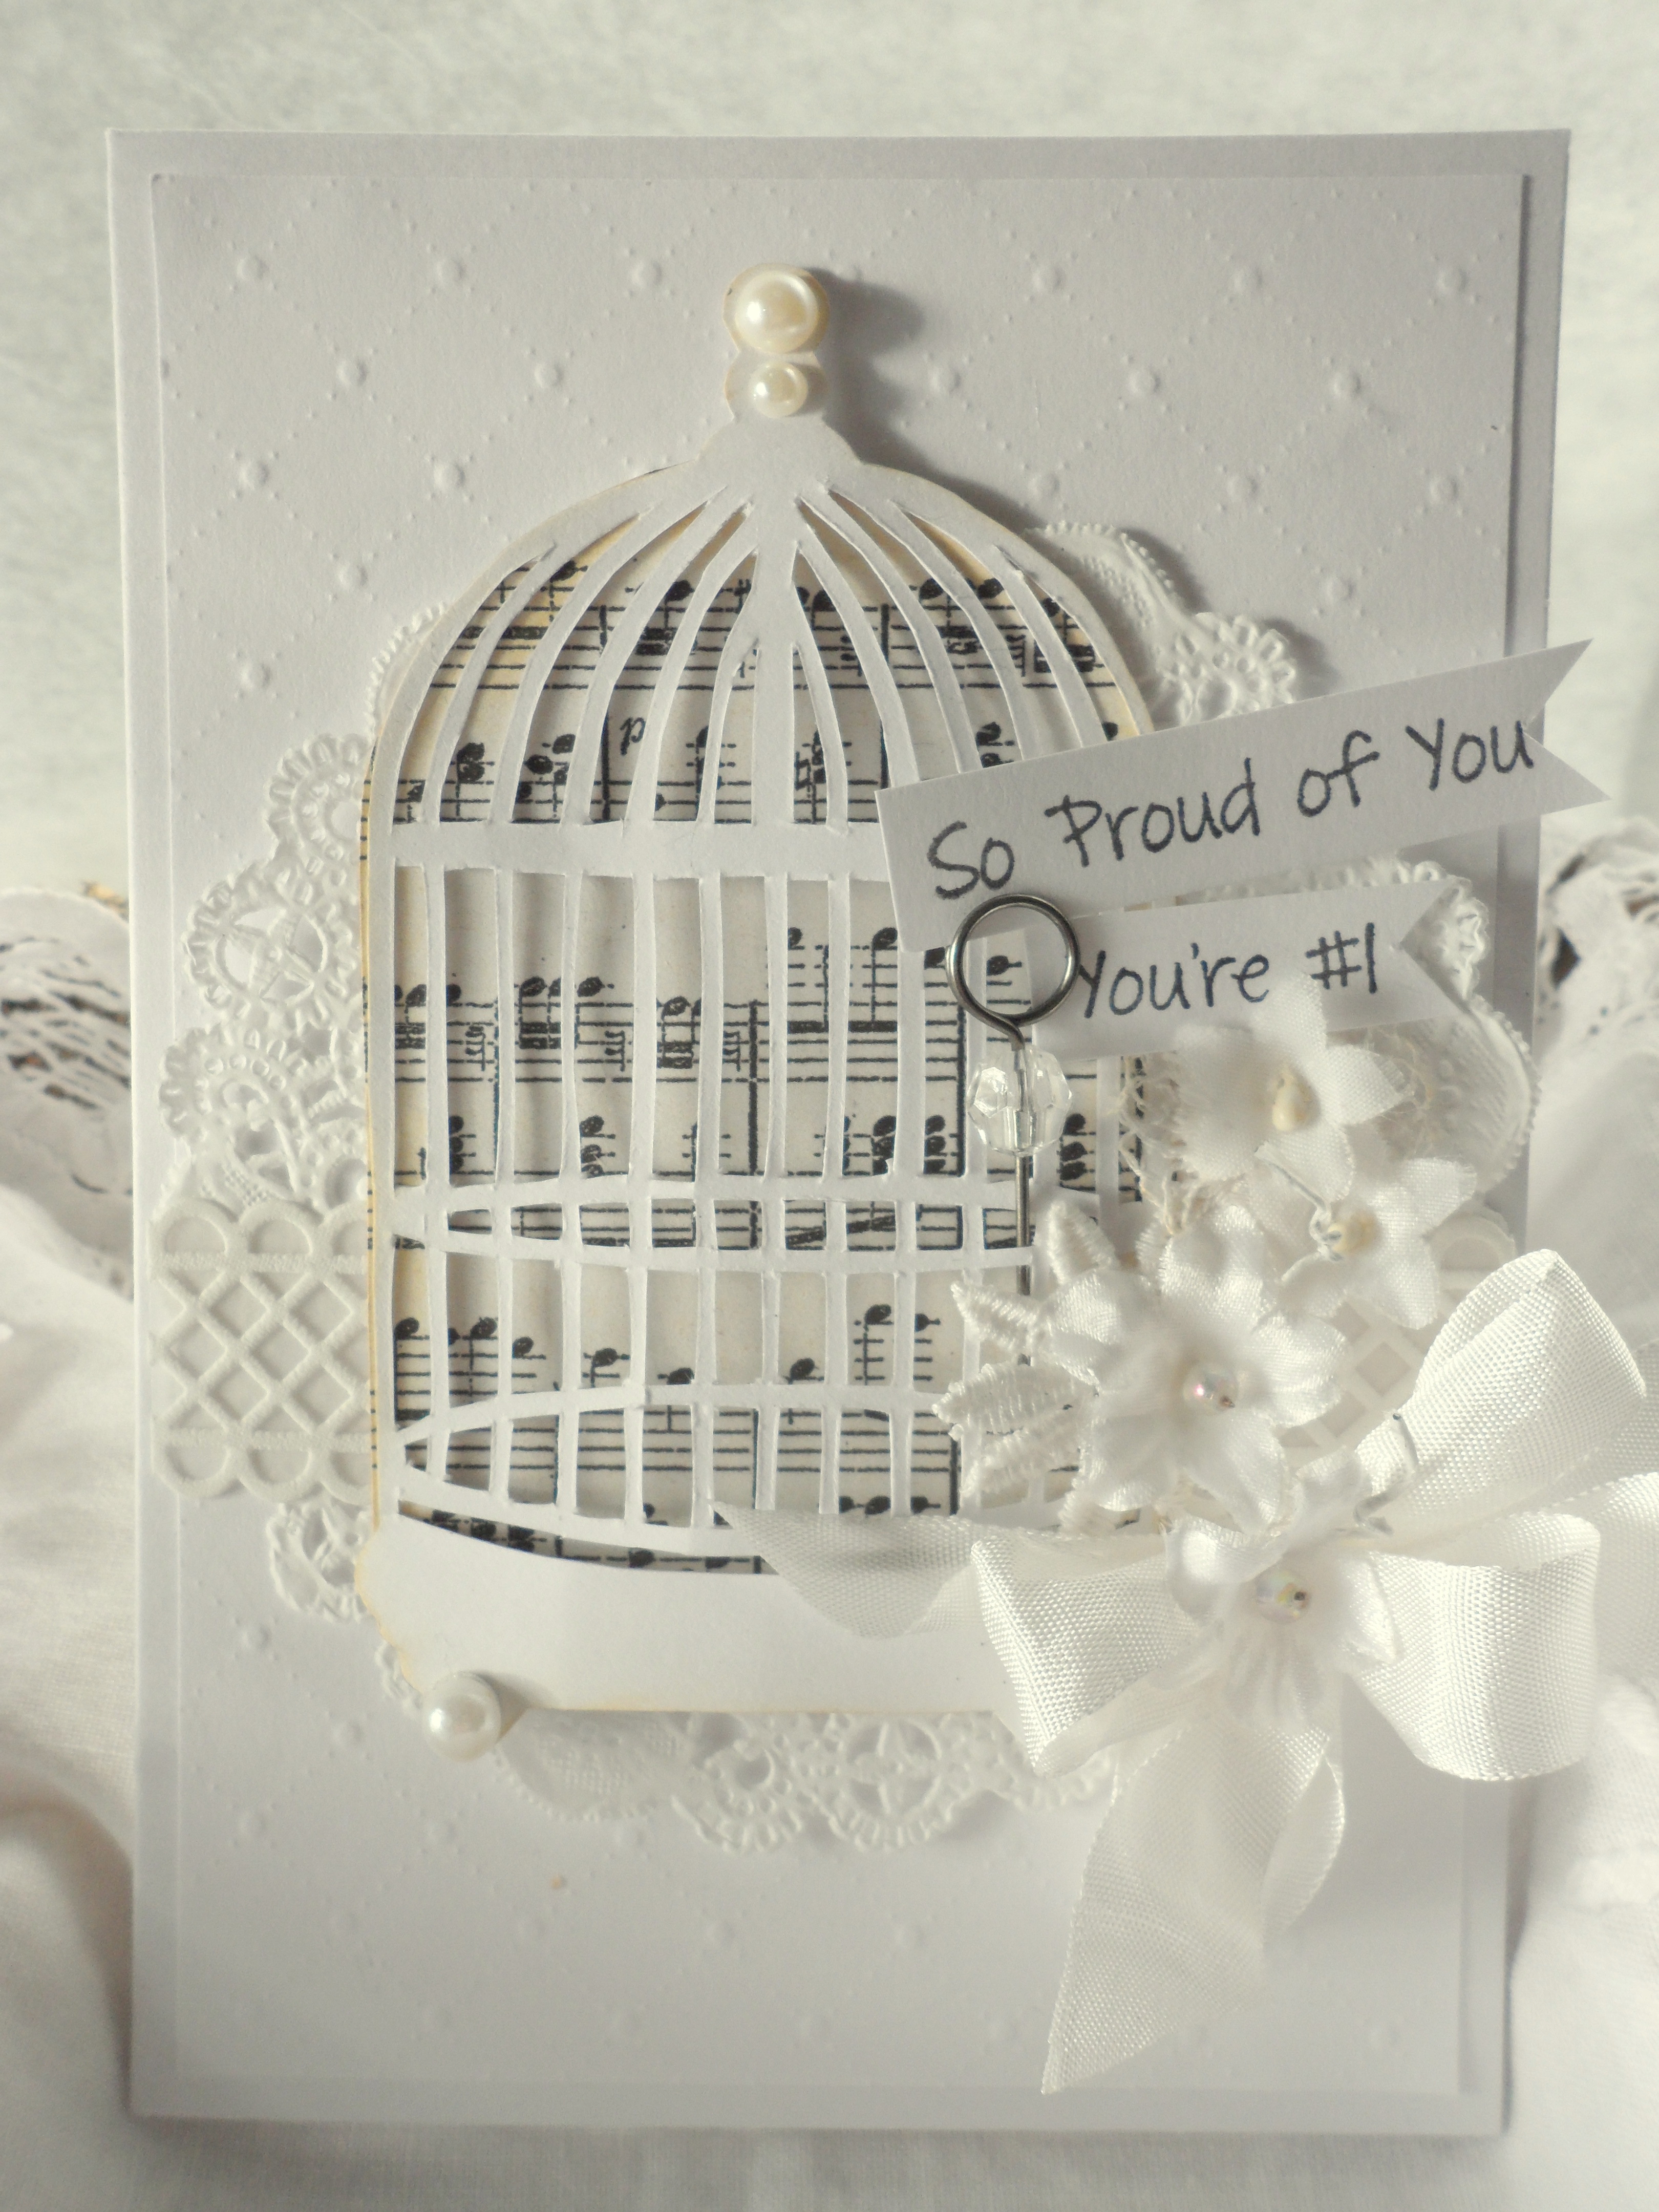
My project is from week #133 and features Paper Sweeties set "You're a Superstar" This challenge was our "White Challenge" and was one of my most favourite challenges.
I hope you will join us this week amidst the holiday season and share YOUR favourite TSTR project. We'd love to see it. Join me in checking out the rest of the Shabby Girls to see what their favourite was this year:
Debbie- Deb's Simple Treasures
Lenet- To Scrap or Not to Scrap
Rebecca- Paper Primrose
Tracey- Trace Elementz
Starr- The Paper Chase
Have a Happy Holiday season and see you in the New Year!
~Becks
This week at The Shabby Tea Room the DT are sharing their favourite Shabby Tea Room Project from 2012 and we invite you to do the same! Play along with us and you could win 2 stamp sets from our sponsor Paper Sweeties!
I hope you will join us this week amidst the holiday season and share YOUR favourite TSTR project. We'd love to see it. Join me in checking out the rest of the Shabby Girls to see what their favourite was this year:
Debbie- Deb's Simple Treasures
Lenet- To Scrap or Not to Scrap
Rebecca- Paper Primrose
Tracey- Trace Elementz
Starr- The Paper Chase
Have a Happy Holiday season and see you in the New Year!
~Becks
Labels:
cards,
challenges,
DT,
handmade,
The Shabby Tea Room,
TSTR
December 16, 2012
It's time for another Shabby Tea Room Challenge! This week Debbie is
our hostess and she asks that we create a HOLIDAY card or project using:
*COLOURS: WHITE/CREAM, PINK, AQUA
*GLITTER
This
week we have 2 fab sponsors: Frost it Pink and Paper Sweeties! Play
along with us and you could win a $50 gift certificate from Frost it
Pink or a stamp set from Paper Sweeties!
This
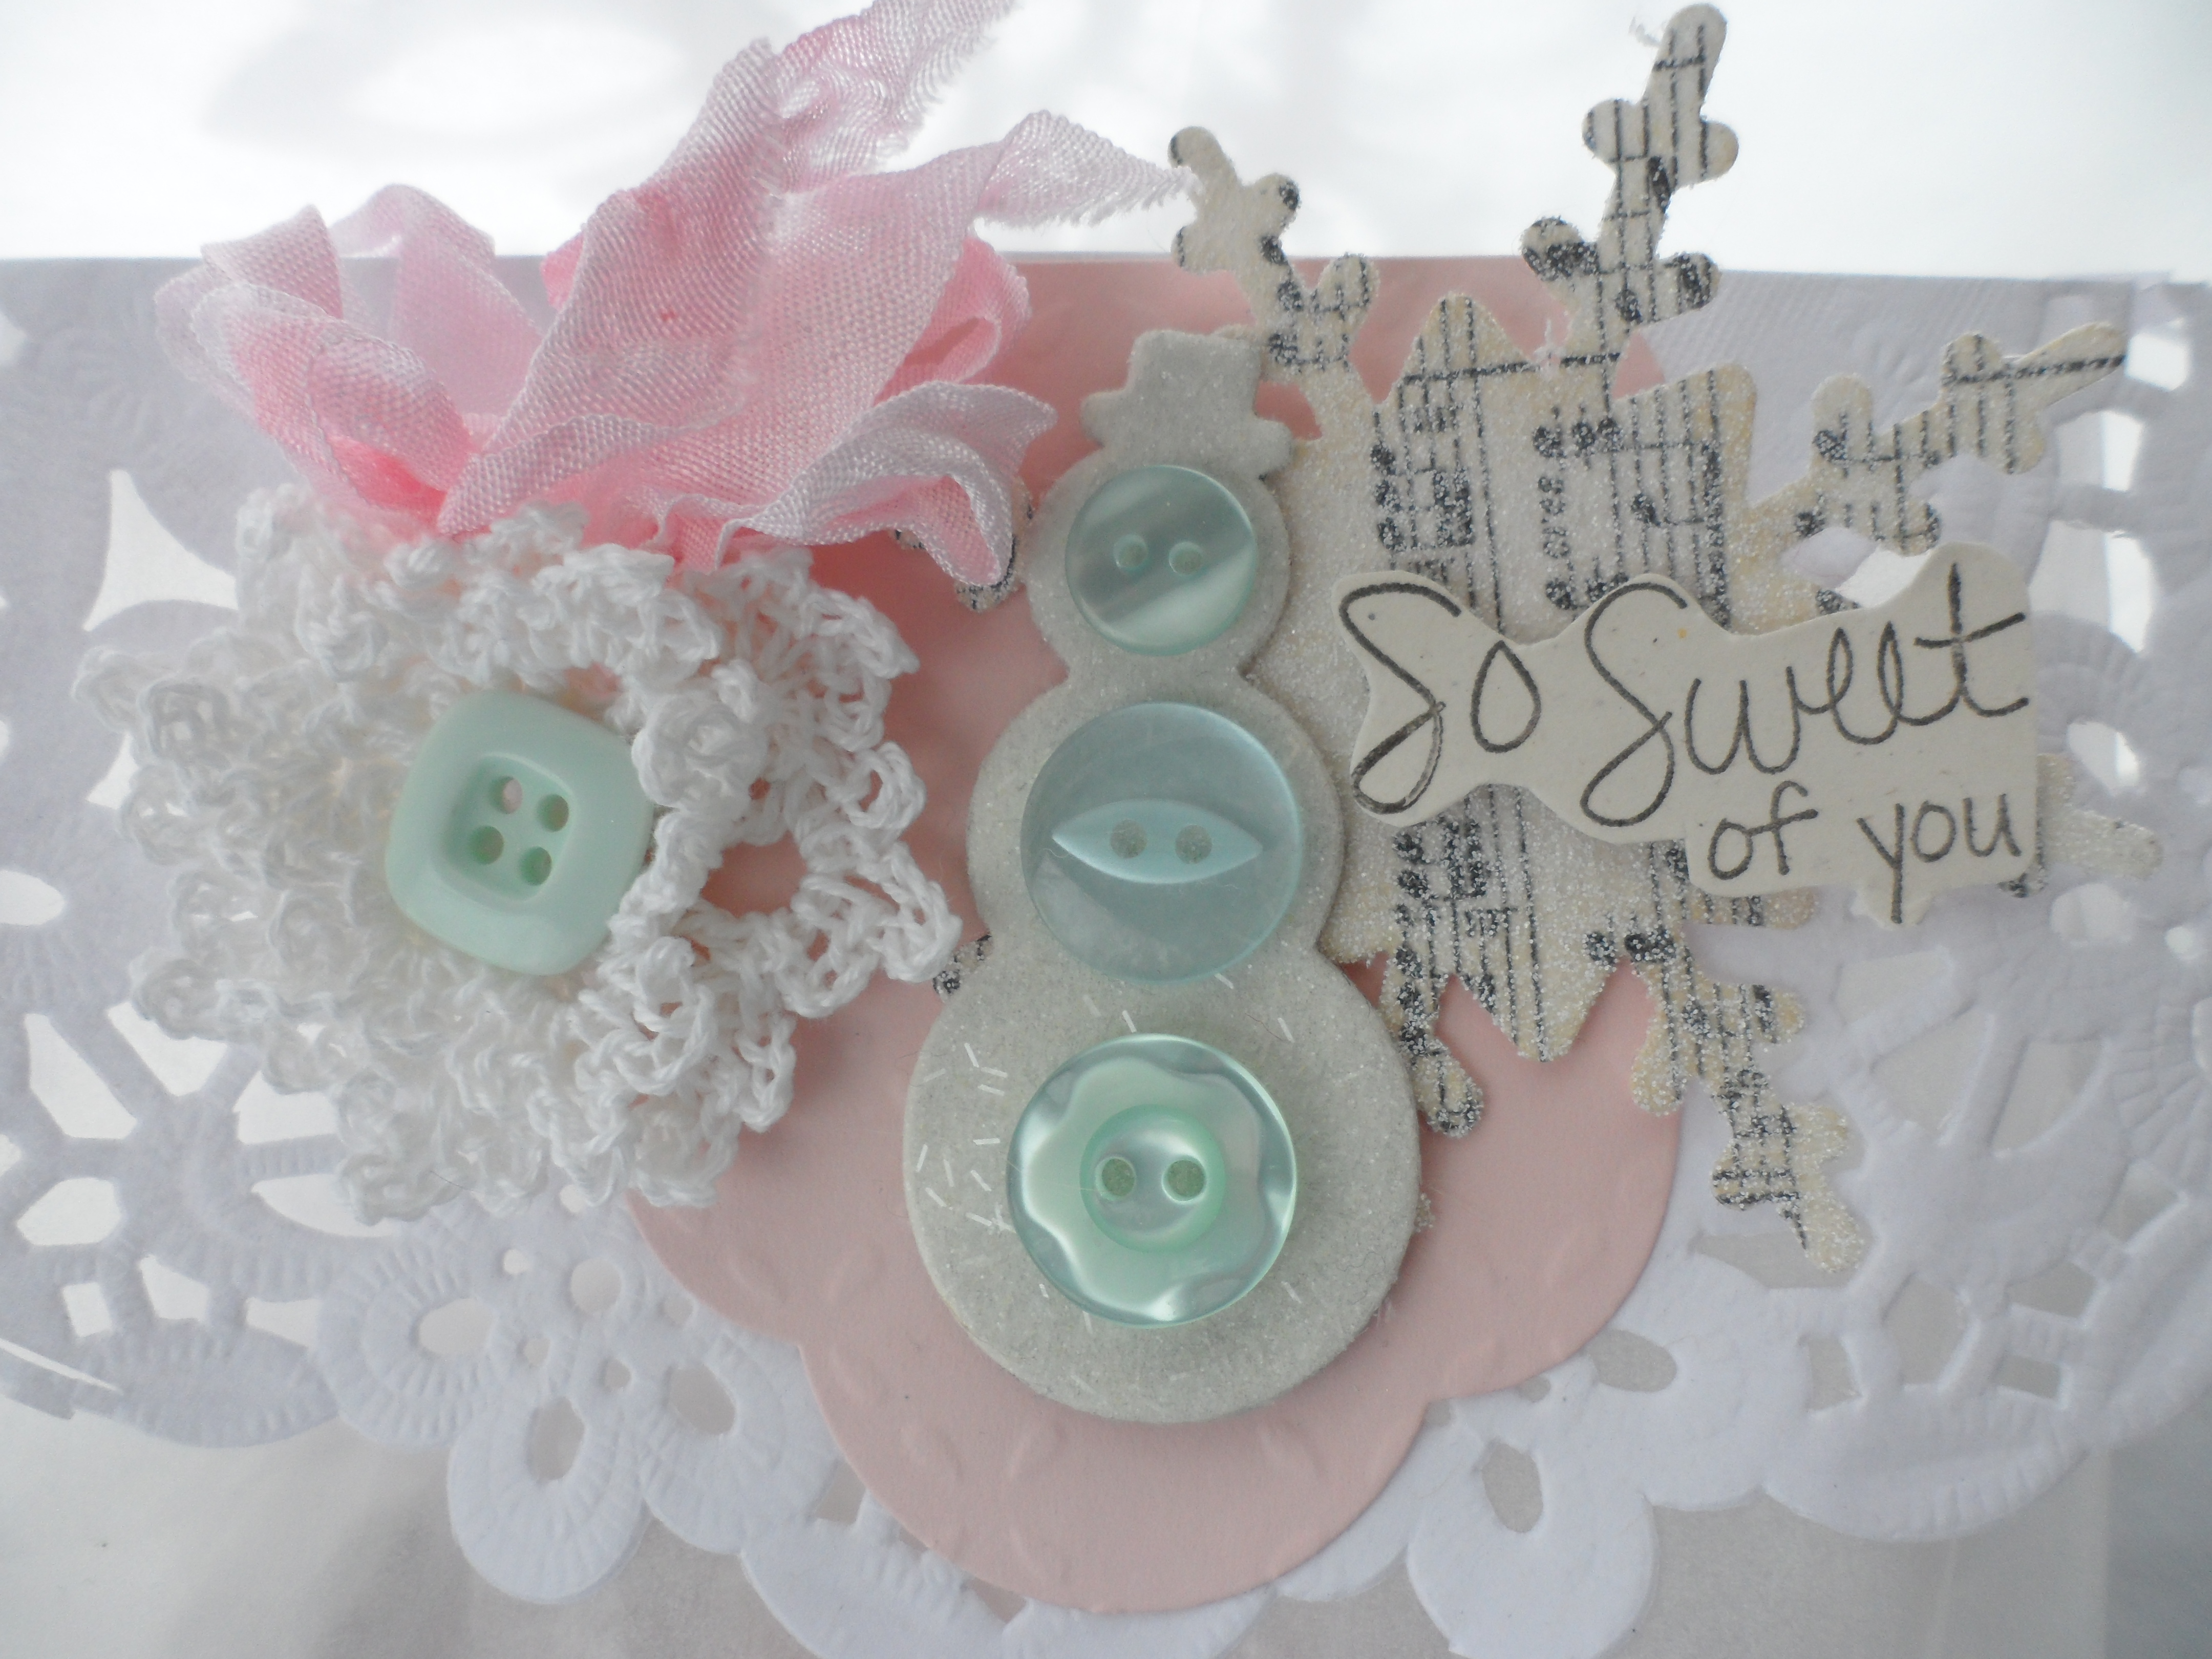
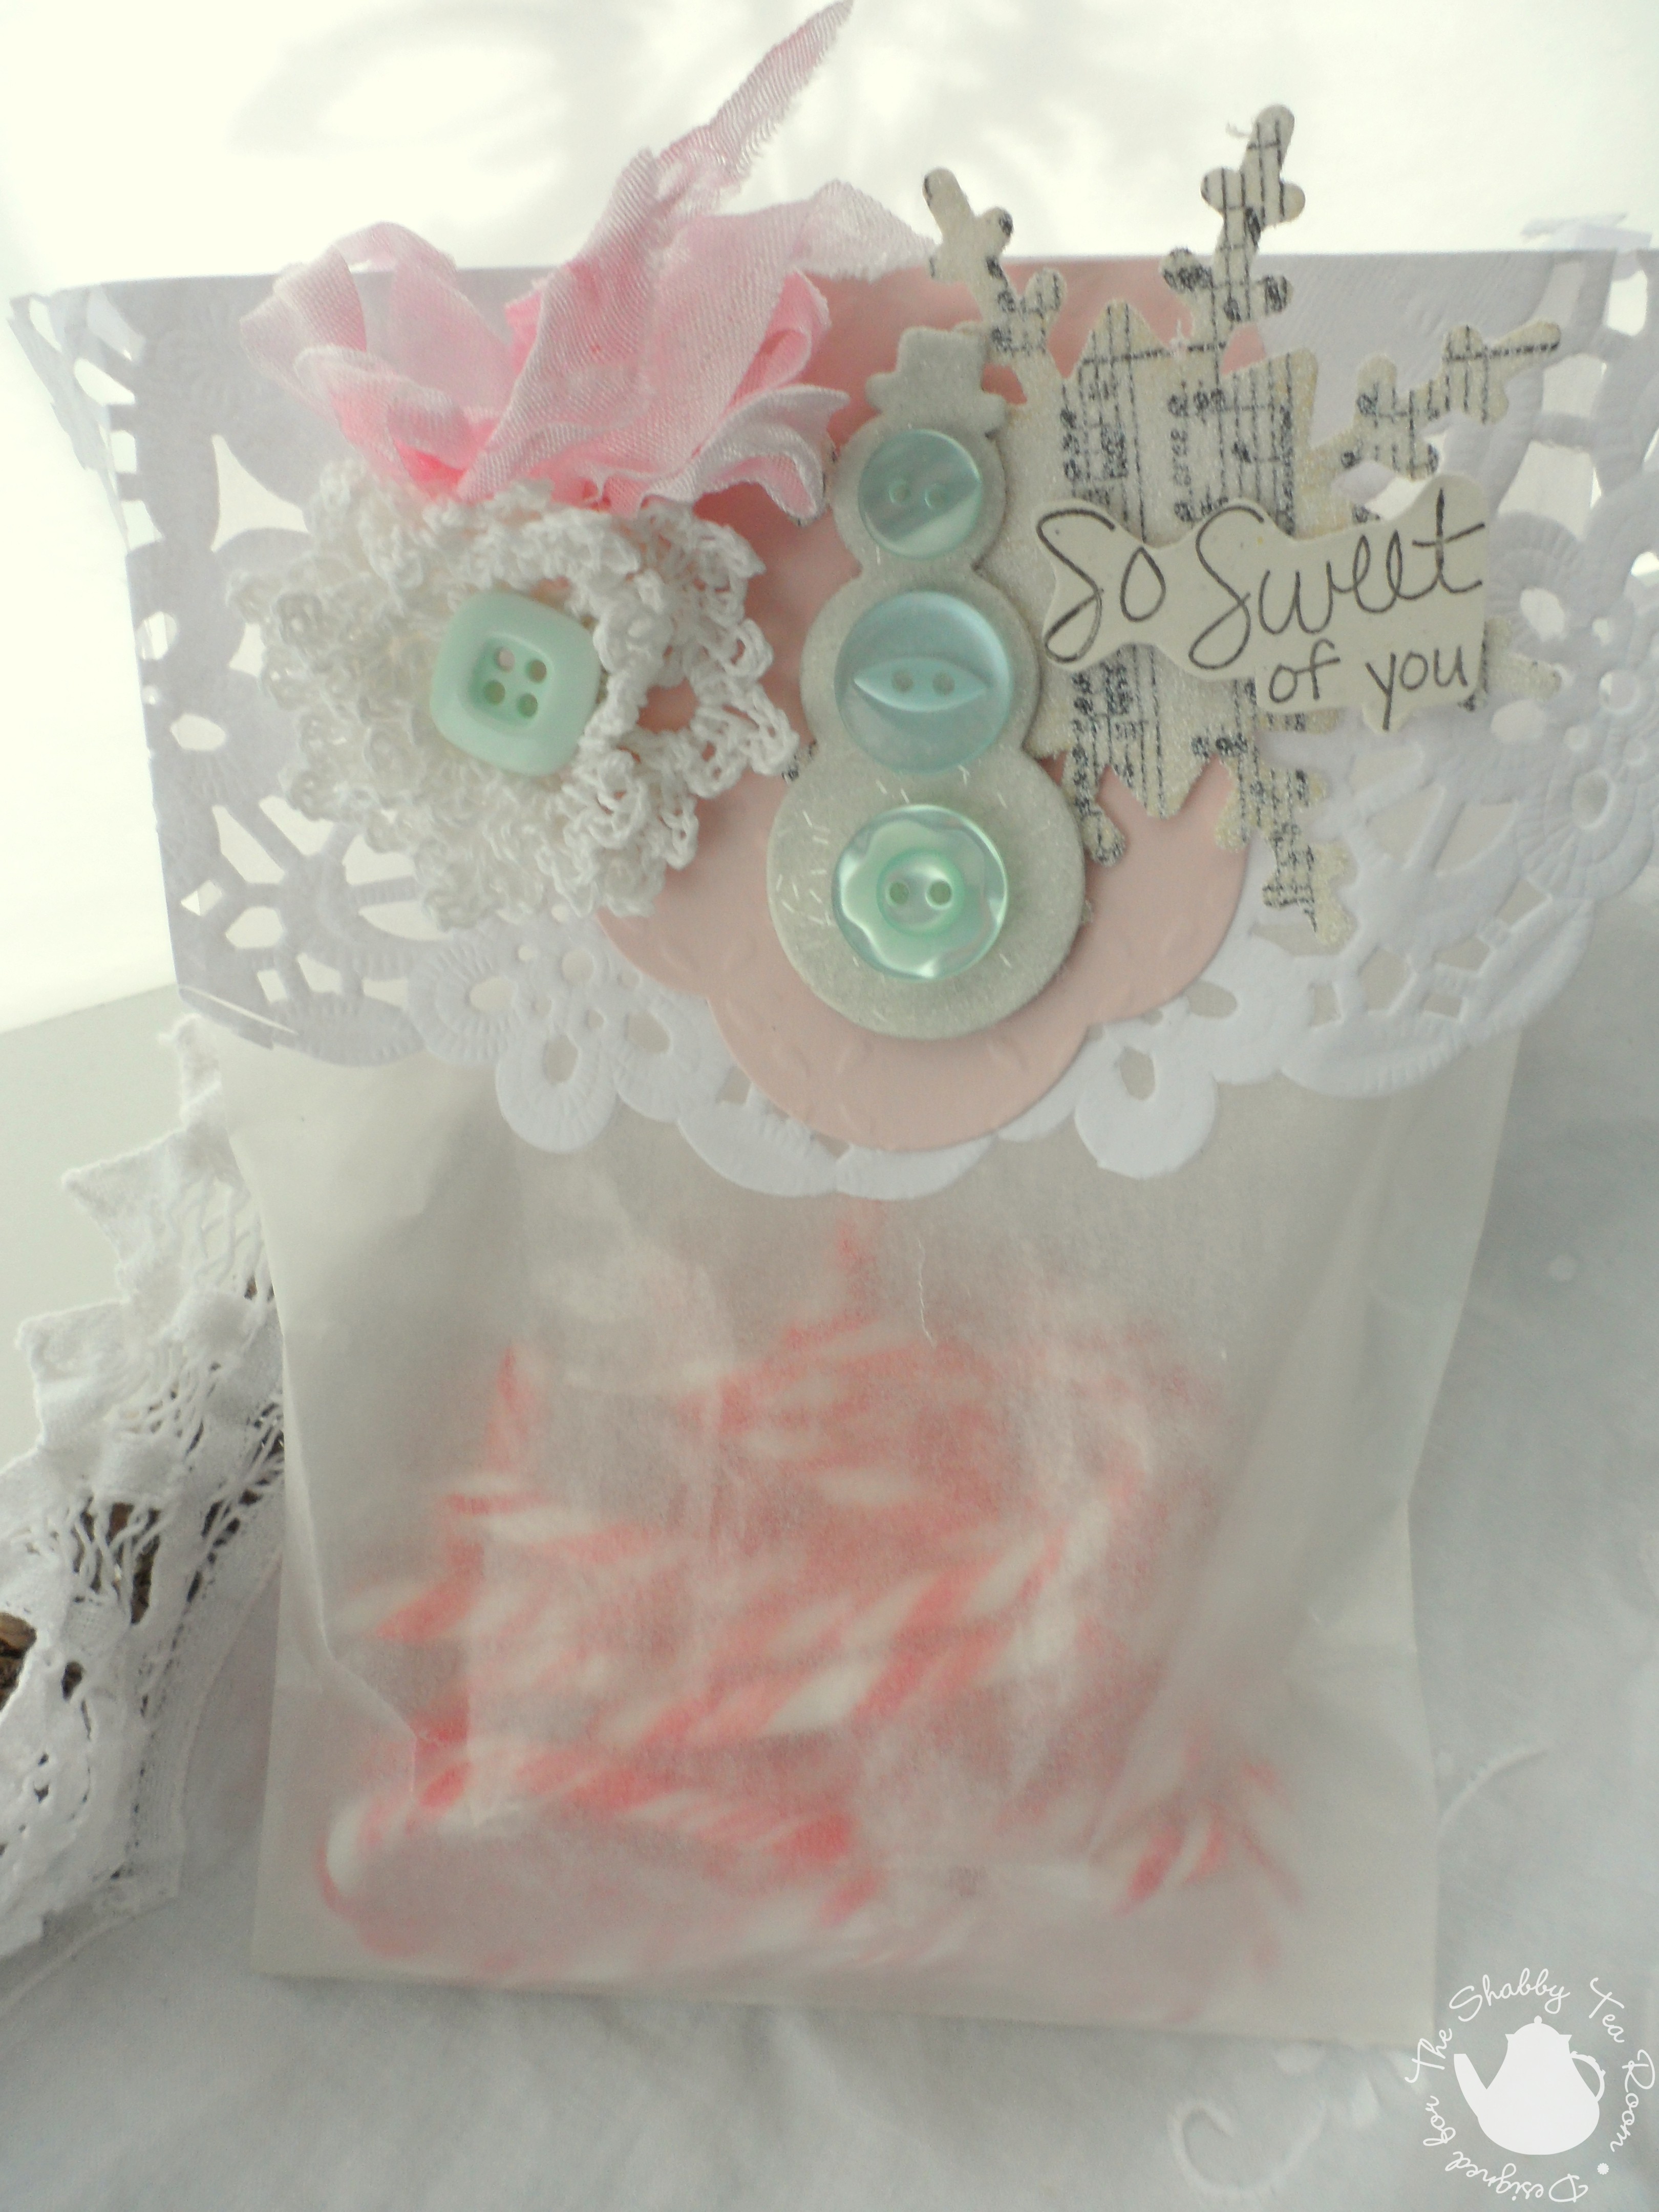
week I made a treat bag to hold some holiday goodies. I used the Paper
Sweeties "So Sweet of You" stamp set. I used some more of my favourite
tinsel glitter on top of my snow man.. I like the 'wintery feel' of
these colours together. Can't wait to give my little treat bag to
someone special:)
I
hope you will join in our challenge this week and are enjoying the
holiday season! I'm off to go visit my other Shabby Gal Pals and leave
some love on their blogs. Be sure to stop by too!
Debbie- Deb's Simple Treasures
Lenet- To Scrap or Not to Scrap
Rebecca- Paper Primrose
Tracey- Trace Elementz
Starr- The Paper Chase
Cheers!
~Becks
*COLOURS: WHITE/CREAM, PINK, AQUA
*GLITTER
Debbie- Deb's Simple Treasures
Lenet- To Scrap or Not to Scrap
Rebecca- Paper Primrose
Tracey- Trace Elementz
Starr- The Paper Chase
Cheers!
~Becks
Labels:
challenges,
DT,
The Shabby Tea Room,
TSTR
December 9, 2012
shabby chic...TSTR #144
Hey there and welcome to another Shabby Tea Room Challenge! This week Tracey is our host and she asks that we create a card/project using:
COLOURS: PINK, AQUA, SILVER
GLITTER!
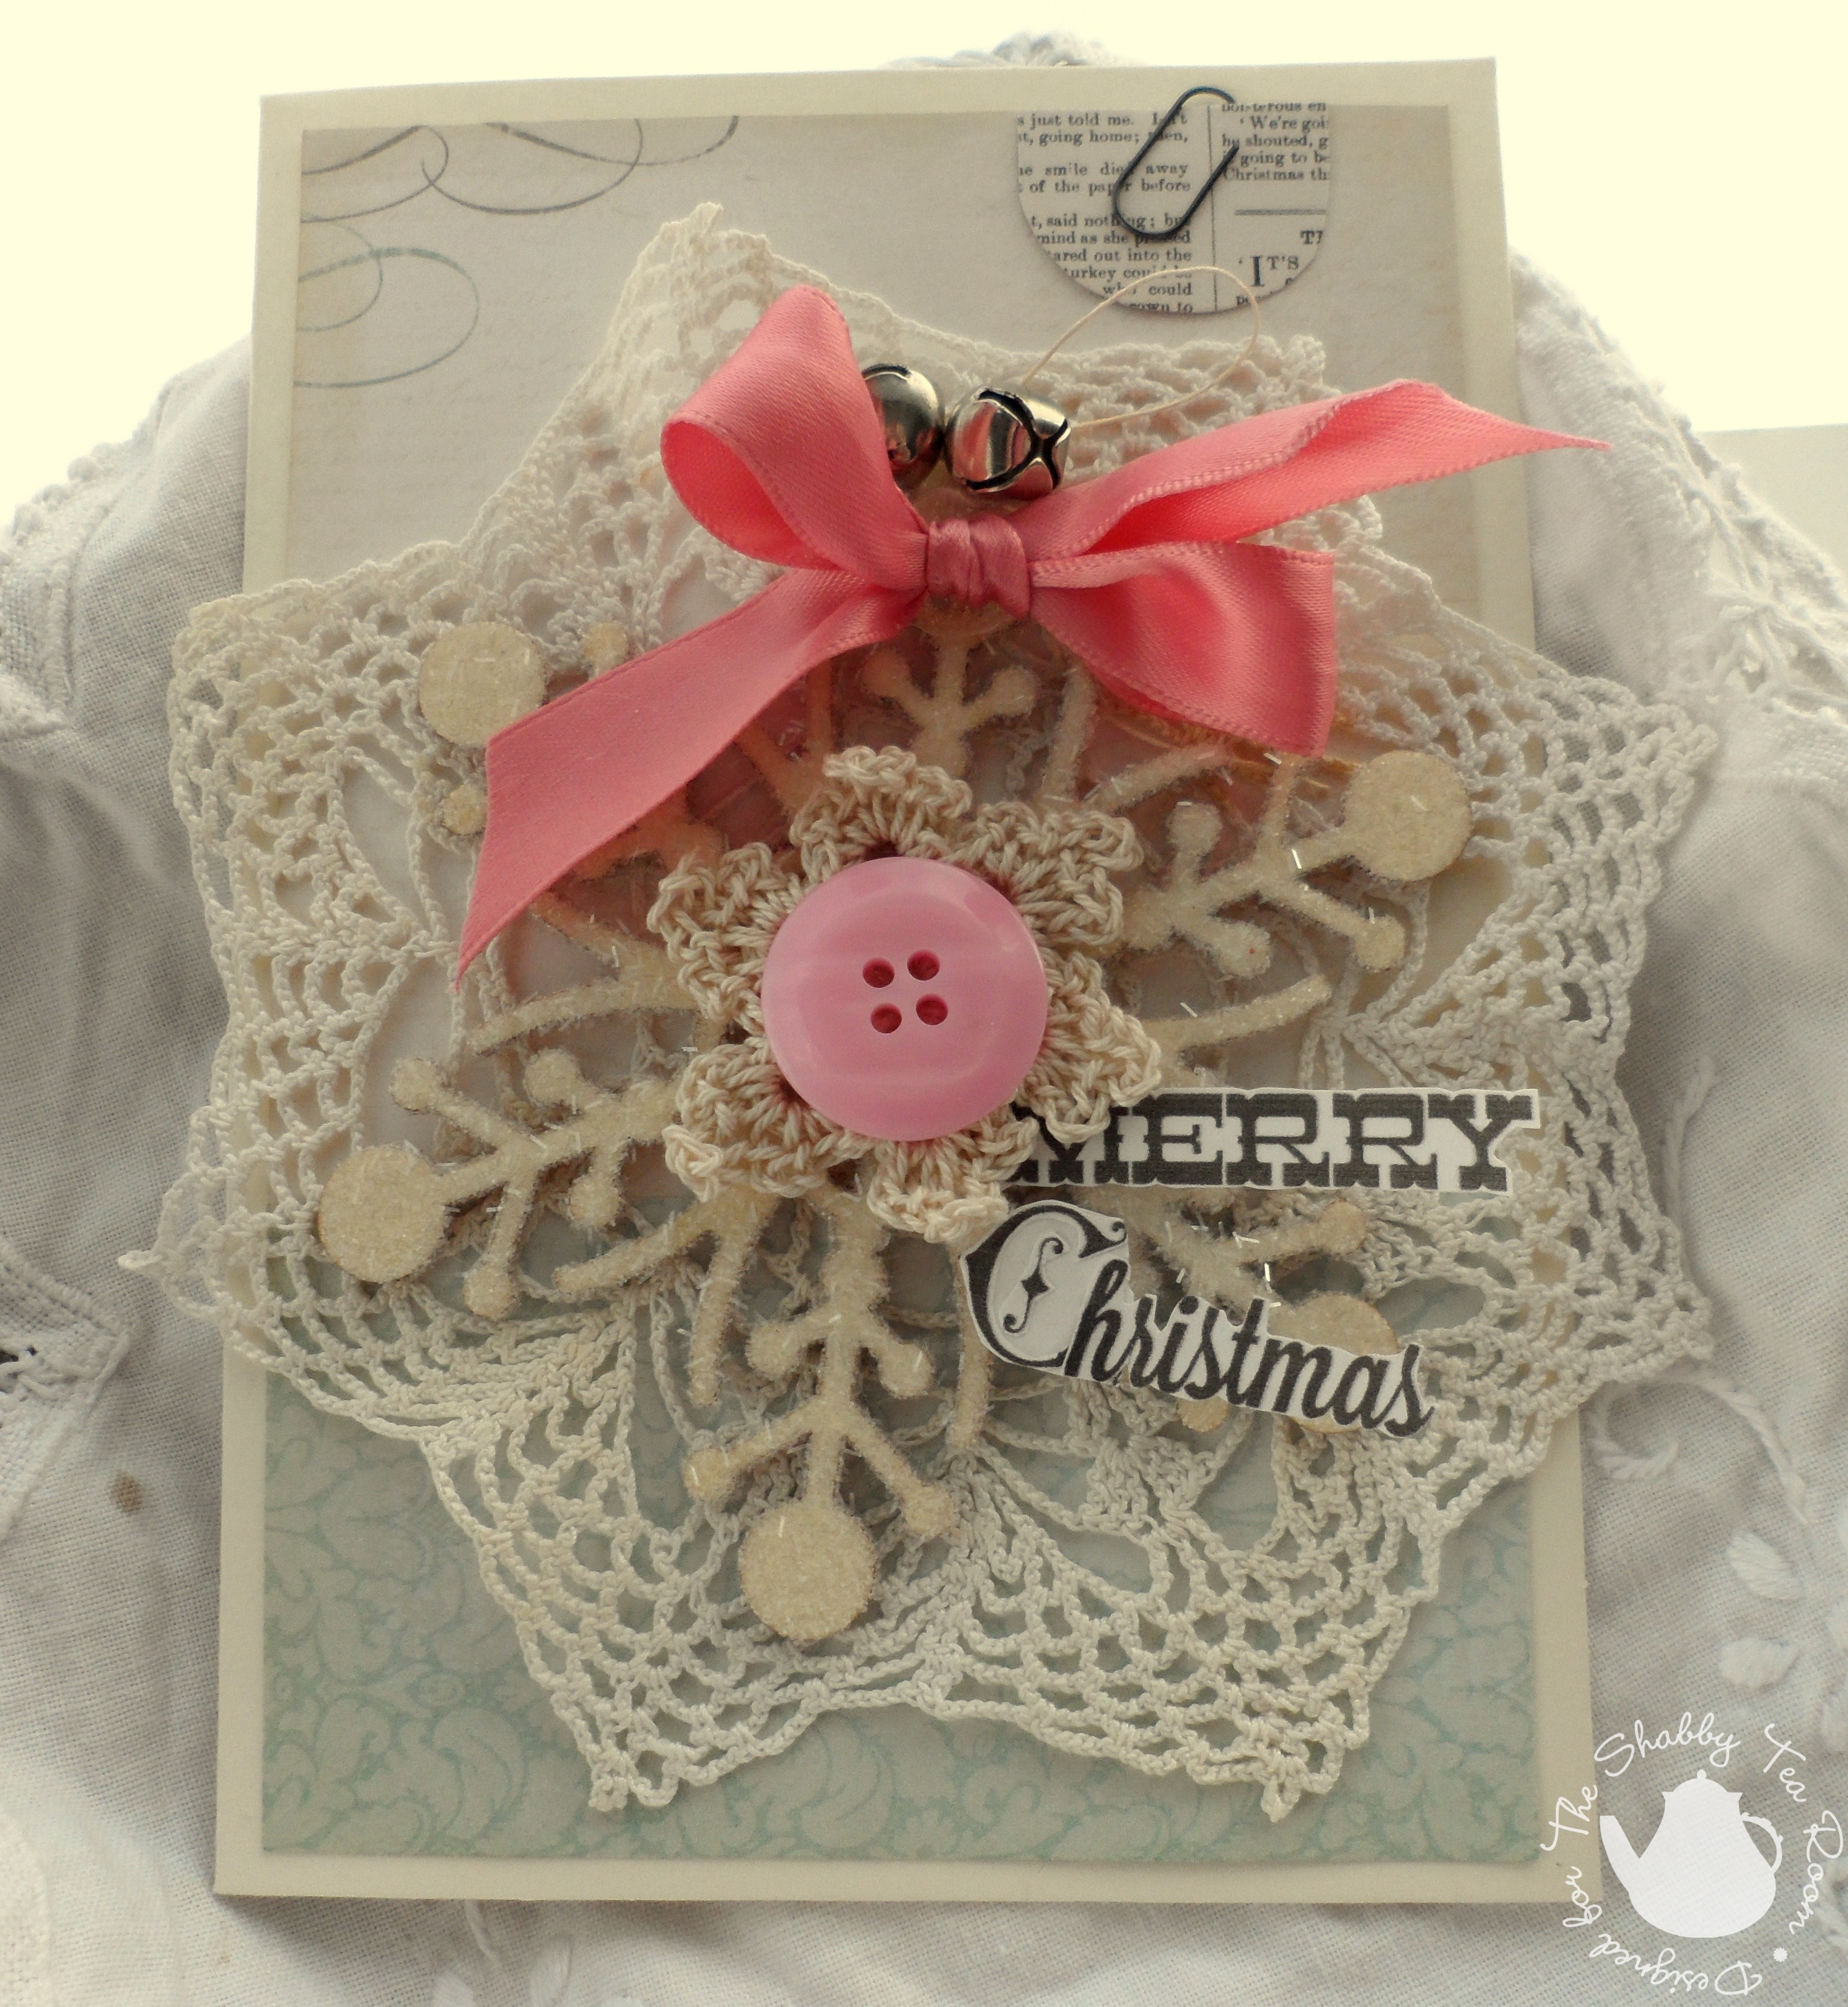
Our sponsor this week is My Time Made Easy. Play along with us and you could win a template, digi images and digi papers. I chose to use the Merriest Monograms Digital stamp this week for my project.
My newest obsession is tinsel glitter.. Its dusted all over the snowflake to make it look all shimmery and yummy.. The MTME Merriest Monograms are just the sweetest sentiments to add here.
I'm off to visit the Shabby Girls to see what magic they have created! Join me won't you?
Debbie- Deb's Simple Treasures
Lenet- To Scrap or Not to Scrap
Rebecca- Paper Primrose
Tracey- Trace Elementz
Starr- The Paper Chase
Cheers!
~Becks
Labels:
cards,
challenges,
DT,
The Shabby Tea Room,
TSTR
December 3, 2012
pine cone embellishments {a tutorial}
Happy Monday!
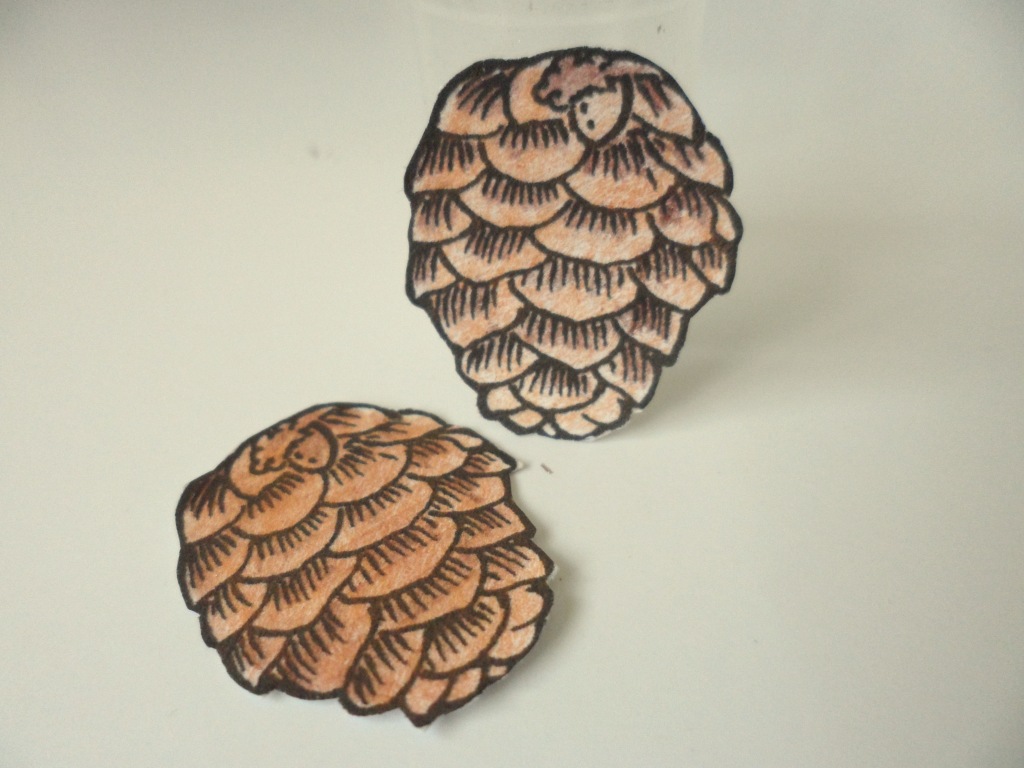
I'm here to share a step by step tutorial on how I made my 3-D embellishments seen here, on my last project. I've used the new Crafty Secrets Vintage Christmas Digital Stamp set.
First
of all you need to re-size the pine cone to the size you prefer (mine
are 1 inch tall) and print them out. I chose to colour mine by hand
using water colour pencils but feel free to colour your pine cones
however you want. For each single pine cone embellie you will need 2
pine cones.
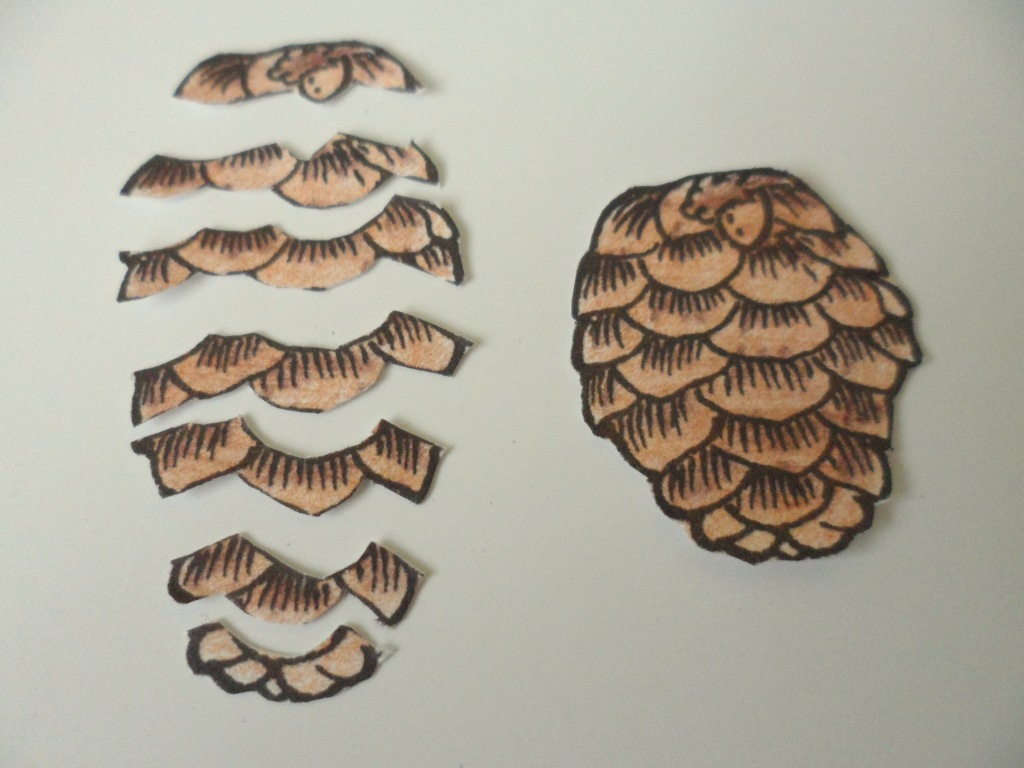
Once
you have coloured them its time to cut out. Depending on how many
frilly layers you want. I went with the 7 lines on the cone. I find it
easier to lay them out as shown. It's a bit time consuming but worth it!
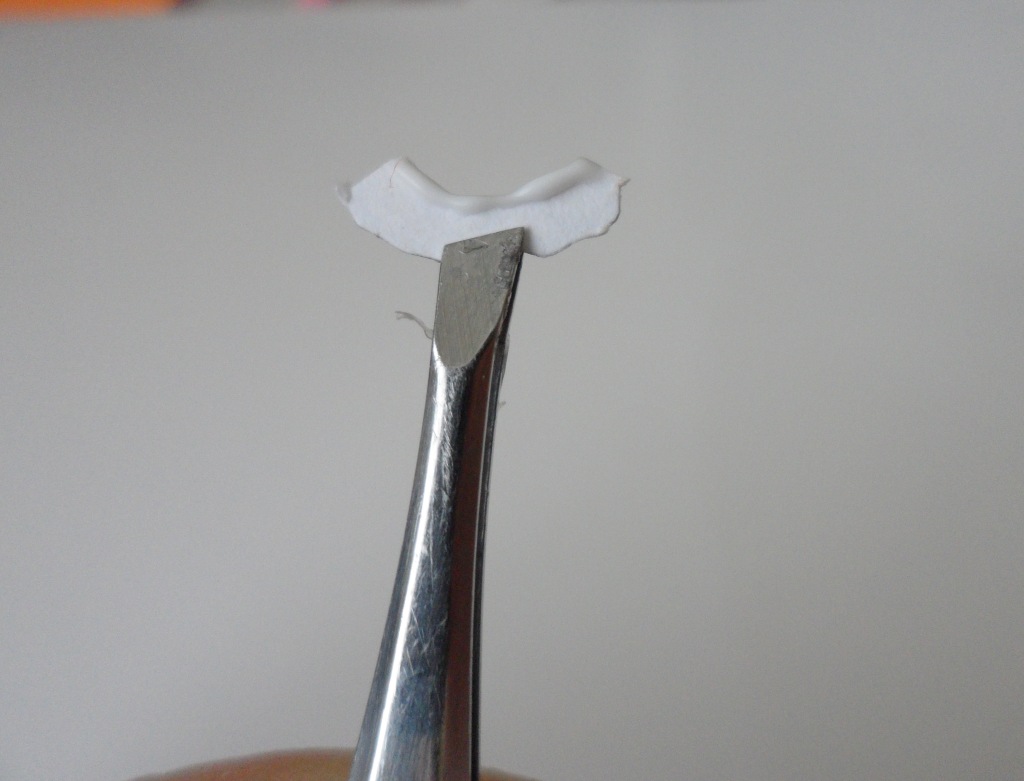
Now it's time for assembly! Starting at the bottom of your whole pine cone, apply a thin line of glue to the very top edge of your piece.I used a quick setting tacky glue for mine. Set on top of matching part of the cone pressing down the top of the piece and lifting the bottom so it doesn't stick. After all we want the layers to stand up! Repeat the process for each layer, making sure to lift the bottoms as you go along.
Once
you are finished assembly, cover with a coat of spray adhesive and
sprinkle with glitter. Be sure to tap off access glitter.
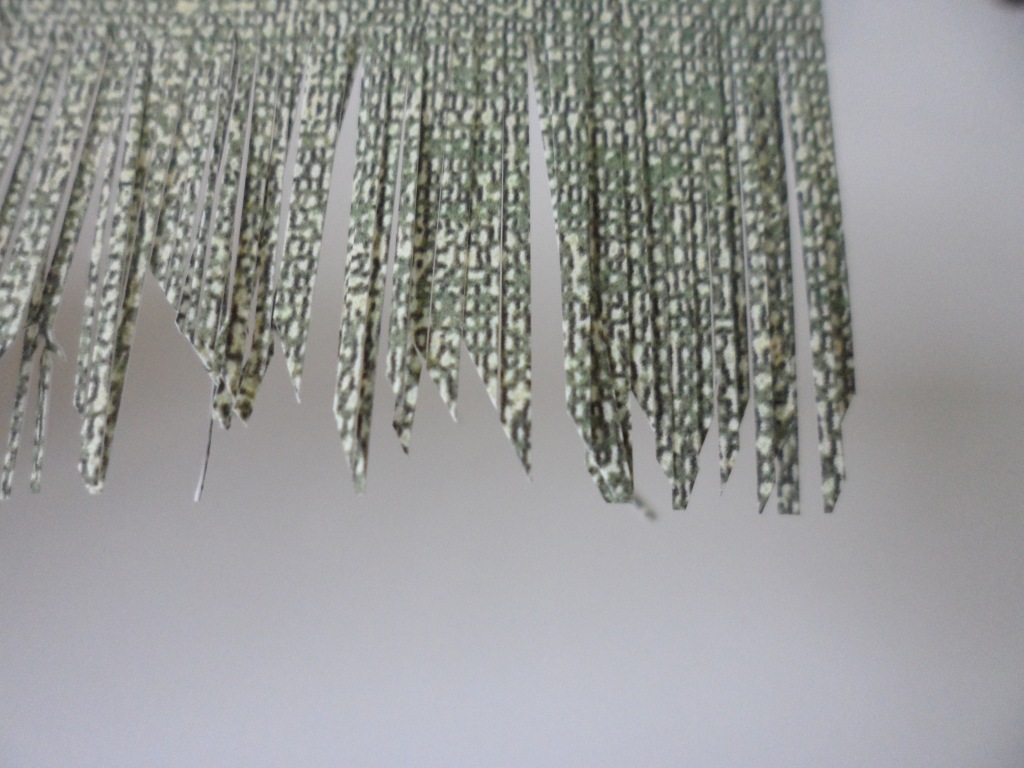
Onto the pine needles. I've used the Green Canvas paper from the Vintage Christmas Papers download and cut 1 inch thin strips. I then added some texture to the ends and cut them into smaller sections.
Be sure to fan out the needles a bit. Adhere to the back of the pine cones with double side tape. To make them even more 3 dimensional I added foam squares to the backs and adhered to some acetate.. All ready to go for when I need them!
Hope you've enjoyed this little tutorial and will try for yourselves! You can find all of the Crafty Secrets products in the online store here, and make sure to pop by the Crafty Secrets blog and join in on our December challenge for your chance to win a $50 gift certificate. Everyone who participates this week will also get a $5 gift certificate to use in the shop!
Happy Crafting!
~Becks
I'm here to share a step by step tutorial on how I made my 3-D embellishments seen here, on my last project. I've used the new Crafty Secrets Vintage Christmas Digital Stamp set.
Now it's time for assembly! Starting at the bottom of your whole pine cone, apply a thin line of glue to the very top edge of your piece.I used a quick setting tacky glue for mine. Set on top of matching part of the cone pressing down the top of the piece and lifting the bottom so it doesn't stick. After all we want the layers to stand up! Repeat the process for each layer, making sure to lift the bottoms as you go along.
Be sure to fan out the needles a bit. Adhere to the back of the pine cones with double side tape. To make them even more 3 dimensional I added foam squares to the backs and adhered to some acetate.. All ready to go for when I need them!
Hope you've enjoyed this little tutorial and will try for yourselves! You can find all of the Crafty Secrets products in the online store here, and make sure to pop by the Crafty Secrets blog and join in on our December challenge for your chance to win a $50 gift certificate. Everyone who participates this week will also get a $5 gift certificate to use in the shop!
Happy Crafting!
~Becks
Labels:
Crafty Secrets,
DT,
embellishments,
handmade,
tutorials
Crafty Christmas...Linky Party
Hi friends,
If you've popped over to the Crafty Secrets blog lately you will see the newly released Retro and Vintage Images and Ephemera as well as the Retro and Vintage papers, all available for purchase at the Crafty Vintage Girl store. Our linky party is now up and we encourage you to enter a project using Crafty Secret products!
I'm popping in today to show you what I've been playing with lately:)
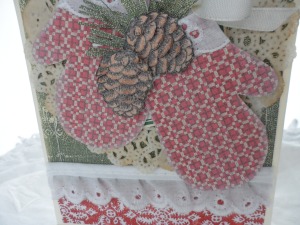
For
my card today I used the Green Canvas and red snowflake paper from the
Vintage Papers collection as well as the Bingo cards from the Retro
ephemera. I traced some mittens and cut them out, then inked the edges
with cream ink.
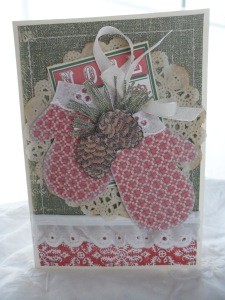
See that pine cone embellishment? I made those by using the Vintage Christmas Digital Stamp set. The pine needles are cut from the same Green Canvas that is in the background!
Come and join the fun of our Linky party this week! The winner will win a $50 gift certificate as well as everyone who plays along will receive a $5 gift certificate to use in the Crafty Vintage Girl store!!
Be sure to pop by the rest of the DT to see what they've been crafting as well:
Vicki Chrisman (Team Leader)
Michele Kovack
Julie Campbell
Darlene Pavlick
Melissa Bove
Thanks for stopping by!
~Becks
If you've popped over to the Crafty Secrets blog lately you will see the newly released Retro and Vintage Images and Ephemera as well as the Retro and Vintage papers, all available for purchase at the Crafty Vintage Girl store. Our linky party is now up and we encourage you to enter a project using Crafty Secret products!
I'm popping in today to show you what I've been playing with lately:)
See that pine cone embellishment? I made those by using the Vintage Christmas Digital Stamp set. The pine needles are cut from the same Green Canvas that is in the background!
Come and join the fun of our Linky party this week! The winner will win a $50 gift certificate as well as everyone who plays along will receive a $5 gift certificate to use in the Crafty Vintage Girl store!!
Be sure to pop by the rest of the DT to see what they've been crafting as well:
Vicki Chrisman (Team Leader)
Michele Kovack
Julie Campbell
Darlene Pavlick
Melissa Bove
Thanks for stopping by!
~Becks
Labels:
cards,
challenges,
Crafty Secrets,
DT,
handmade
December 2, 2012
sweet baubles...TSTR #143
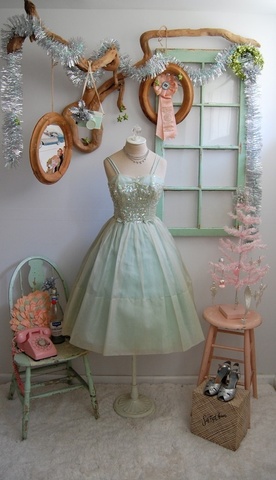
Welcome to a brand new week and a brand new challenge at The Shabby Tea Room! This week Rebecca is our hostess and she asks that we use :
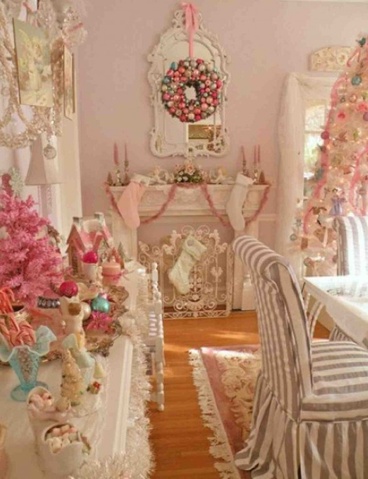
*COLOURS FROM THE PHOTO
* INCLUDE A BIRD
Our sponsors this week are Robyn's Fetish Digital Stamps and Paper Sweeties! Play along and you could win 5 digital images or a stamp set from Paper Sweeties.
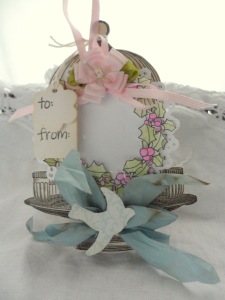
This week I used the 'Corner Holly'. I printed it multiple times, coloured and cut them out.Then I arranged them as a wreath. I added some tinsel glitter and adhered to my birdcage tag. Paper Sweeties "Banner Wishes" set came in handy for my 'to and from' tags.
The rest of the Shabby girls have more for you on their blogs. Be sure to check them out :
Debbie- Deb's Simple Treasures
Lenet- To Scrap or Not to Scrap
Rebecca- Paper Primrose
Tracey- Trace Elementz
Starr- The Paper Chase
Happy Crafting!
~Becks
Subscribe to:
Comments (Atom)
