Showing posts with label Crafty Secrets. Show all posts

December 2, 2013

candy cane christmas...


Another month has come and gone and we're having another Linky Party over at the Crafty Secrets blog. I hope you all will join in for your chance to win a $50 gift certificate to Crafty Vintage Girl store and every one who enters gets a $6 gift certificate just for playing along. All you have to do is create something magical using fabulous Crafty Secrets products!


Today I'm gearing up for my Christmas dinner and one of my favourite things is the table setting. I think it's the best part of the meal. This year I've made candy cane place settings. I've seen these all over Pinterest, from simple to fancy and I've decided to try it out today.

Start by gathering all of your supplies:


Gather the three candy canes and form a tripod. I used washi tape to keep them together. You could use glue, but if you plan on eating the candy canes after it's easy to peel them apart if using washi.

 Wrap the doily around the journal card and add a snowflake with 3D tape. Add a chalkboard label on top with more 3D tape. Decorate with wooden snowflakes.


Tie a ribbon around the top of the candy canes and add some tinsel twine.


All ready to be labelled with some chalk and set on the table. I can't wait! It's so easy to do any theme for your table.

Be sure to check out the rest of the team:)
Vicki Chrisman (Team Leader)

Michele Kovack

Darlene Pavlick

Melissa Bove

Sheila Rumney

Kathy Clement

Elizabeth Lincoln  

Cherry Nelson


Happy Holidays!
~Becks

 Supplies used:
CS Christmas Image and Journal Notes
Ivory and Black Christmas Paper from CD 6

November 12, 2013

prepping for the season...

It's the time of the year I love... Christmas is approaching and I always seem to have a crafty list as long as my arms. So many great ideas to put into play. Maybe one of these years I'll get a good jump start on the season and complete all of my lists.


On the top of my last few lists has been doing a December Daily. I love the whole idea, yet I'm never on top of things enough. This year I've tried to get started and am making progress. I envision a shabby chic, pages of all sizes and shapes, envelopes decorated and stuffed with journal and great embellishments.


To get started I've used some bits and bobs I had left over from my Crafty Secrets Christmas Cd's 5(Retro) and 6(Vintage) Christmas,  and created some journal tags to put into clear pockets. They were so much fun to create using all my leftover scraps. I hardly throw anything away, and it's paid off here:)


Using some dies, twine and buttons along with half pearls and some stickers its easy to create oodles of these. Pennants of all shapes, sizes and colours are seperated by some 3D tape and layered on top of one another.


For these I chose to repeat colours, patterns and shapes so they all have some uniformity throughout my journal. I hope to pop back soon with some other pages of my December Daily album.

Until then my friends!
~Becks.

November 4, 2013

rustic Christmas... Crafty Secrets Linky Party


I love decorating for Christmas. This year I'm continuing with a rustic theme and so this month for the Crafty Secrets Linky Party I decided to make a hanging mobile for the door. I've used the ivory and black music paper from CD #1


Start by cutting out one large and four small stars. Score each point to opposite valley to create a 3D effect. Distress each of the peaks and around the edge of the star. Put some hot glue on the back of the star in the centre to keep the star from flattening out.


 Punch a hole in all but the top point of the star and one hole in the top of each of the smaller stars. Tie a knot in three pieces embroidery floss or twine and loop through each of the holes on the large star, with the knot hidden on the back side of the star.


 Add jingle bells, snowflakes and small stars to each of the thread and secure with a knot on the bottom.


Add mini bows, pine cones and embellish how you like. Hang and admire your handiwork:)

Be sure to link up your creations using Crafty Secrets products to the blog for your chance to win a gift certificate to CraftyVintageGirl shop. And be sure to visit our new DT member Cherry Nelson and welcome her to the team!

Vicki Chrisman (Team Leader)

Michele Kovack

Darlene Pavlick

Melissa Bove

Sheila Rumney

Kathy Clement

Elizabeth Lincoln  

Cherry Nelson 

Cheers!
~Becks

October 26, 2013

she comes by night...


She comes by night, in fearsome flight
in garments black as pitch,
the queen of doom upon her broom,
the wild and wicked witch, 
a cackling crone with brittle bones 
and desiccated limbs,
two evil eyes with warts and sties
and bags about the rims,

a dangling nose, ten twisted toes
and folds of shrivelled skin,
cracked and chipped and crackled lips
that frame a toothless grin.
She hurtles by, she sweeps the sky
and hurls a piercing screech.
As she swoops past, a spell is cast
on all her curses reach.

Take care to hide when the wild witch rides
to shriek her evil spell.
What she may do with a word or two
is much too grim to tell.
-Jack Prelutzky 

Inspired by Halloween crafts and poems... using some Crafty Secrets papers and stamps to create a creepy treat bag. Some Curtsey Boutique goodies used here today as well. 

On the countdown to All Hallow's Eve!
~Becks


Supplies:
Paper-Crafty Secrets CD4- Creating with Vintage Halloween
Stamp-Crafty Secrets- Halloween Postcard stamp set
Curtsey Boutique: Paper bags
Curtsey Boutique: Halloween Doilies
Curtsey Boutique: twine

October 15, 2013

fire burn and cauldron bubble...


 Double, double toil and trouble;
Fire burn and caldron bubble.
Fillet of a fenny snake,
In the caldron boil and bake;

Eye of newt and toe of frog,
Wool of bat and tongue of dog,
Adder's fork and blind-worm's sting,
Lizard's leg and howlet's wing,
For a charm of powerful trouble,
Like a hell-broth boil and bubble.


Double, double toil and trouble;
Fire burn and caldron bubble.
Cool it with a baboon's blood,
Then the charm is firm and good.

Boo to you!
~Becks

Supplies:
Frame: Crafty Secrets Halloween Printables
Witch image: Crafty Secrets Halloween Image and Journal Notes


October 13, 2013

my Thanksgiving table...


One of my most favourite times of the year... and my favourite place to be.


Thankful for another year...

The table set for many friends...

Candles gleaming in lanterns...

Fall inspired flowers in jars...

Pumpkin and apple pies sit waiting...

Fabric pumpkins sit atop the place settings...


These pretty place cards for each special guest...

Good food, good wine, and great converstaions...

Soaking up the atmosphere... enjoying the day...

Thankful for the many blessings in our lives, big and small... missing family far away. Thankful for the friends who have become like family... for all of the sweet comments here on the blog.. for each of you!

Happy Thanksgiving to my fellow Canadians!
~Becks

Supplies:
Crafty Secrets CD 4- Creating with Vintage Halloween


September 12, 2013

october...


If you've been hanging around here for a while, you'll know how much I love Fall, Thanksgiving and Halloween. Generally this time of year puts me in the best moods... its the sunshine, the gentle breezes, that crispness...Today is no exception... the weather is perfect. I wish I could bottle this feeling... the ambiance... just freeze time and savour this day...
 

 Halloween has to be my most favourite holiday other than Christmas. Scary movies, creepy decor... trick-or-treaters... I love it all. Halloween crafts put me in just as good a mood as the weather... I often wonder why Halloween cards aren't as popular. They are a dream to make, and a perfect reason to get to use black paper and orange. Something I rarely do except for this time of year. Skull and cross bones, witches and black cats, pumpkins and bats... add some pretty bows and glitter and sky's the limit for creating...
 

Another card from my Halloween house box... holding my Halloween treats and what not... Crafty Secrets papers used here again from the Creating with Vintage Halloween CD and the 2013 free printable calendar... I'm loving the orange and blacks..

And before I go:
yes!
I couldn't have said it better...
~Becks


September 8, 2013

seasons change...

Summer is taking its time leaving around here. Not that I'm complaining... there are subtle hints of Fall though... and I'm loving that too. Soft breezes with a slight cool in the air... the changing of the searing summer sun to a more gentle glow... leaves turning yellow; soon to give way to those gorgeous oranges, reds and browns I associate with Fall... it's a bitter sweet changing of the seasons... thank goodness my favourite seasons follow each other so closely.


A whirlwind of events to the end of summer... wedding over and done with... family here and now gone all too quickly. Anticipating a few more bonfires with dear friends who have become like family to us... shopping for a new wardrobe full of boots, pretty chunky sweaters and scarves... comfort foods and tasty drinks; home made chai lattes, London fog's with our favourite Earl Grey tea. Another reminder of a dear friend from the west coast.


Savouring the few hot days we have left. Getting to the lake and a quiet retreat to a friend's cabin... such a lovely weekend to recover from the stress of wedding planning and all that comes with it.  Relaxing in our new favourite spot; a backyard deck built with my guy's very able and talented hands... a cozy outdoor living space. A happy puppy to take for walks in the neighbourhood to drink in the changing scenery and season.

Crafty projects reflecting the changing season... a pretty paper pumpkin with Crafty Secrets Vintage Halloween CD... such great printable papers... all used here in varying patterns and colours. Some twine and leaves.. and a small wooden creature to complete the card. This could be used for Thanksgiving or Halloween... your choice.

Thanks for the visit!
~Becks

August 6, 2013

summer point of view...


Orange flames furiously devouring birch branches...

Glowing pink flamingo lighting up the hydrangea bush ...

Delicate little lights strung through the birch tree trunks illuminating a restful patio, my new favourite spot...


Sweet fur-faced boy who thinks he's a  lap dog...who can resist him though. All 45lbs of him...

One sweet handy guy; soon to be my Mr...

Aurora showing her true colours dancing above us during our bonfire nights...


Great friends and long conversations...

New craft supplies...

Wedding invitations and lots of DIY projects...

Evening walks with my two favourite boys...

Wild blueberry picking and trips to the lake...


Busy days and lazy nights... which I wouldn't change for the world... Summer passes much to quickly and this year is no exception. Work on a little neglected blog, and a recharge for my crafty soul are in order, once the wedding is out of the way... hopefully more time to just create with out deadlines, and a few surprises along the way... Fall will be welcomed with open arms for a new beginning in so many ways. Just popping by with a little card using some Crafty Secrets papers (Creating with Vintage Patterns CD, Halloween digitals [frame]) and stamps, book print and my beloved cameos... just creating for me...

Happy Summer!
~Becks


August 5, 2013

Crafty Secrets August Linky party...


I was in a Christmas mood the other day, now that around here the days are getting a bit cooler and I think summer is winding down for us in the North. I'm still hoping for a few more nice hot days before the snow flies. Today's project has me thinking forward to Christmas.


  I just got a bunch of Christmas themed Crafty Secrets paper products before the sale is done, and dug out my Creating with Vintage Illustrations CD. There are tons of great digital papers to print out to match any theme and I have the sheet music used here today.
 I decided to make little four sided paper cone to fill with treats. I have a template here for you to try. Just cut off the top handles if you don't want handles, or want to add your own...


Trace and cut out, then score along the lines and fold.


Run a tape runner down the small flap and stick together to form the box.


 Decorate how ever you like. I've used Crafty Secrets CD Creating with Vintage Christmas and used the Christmas Tags and die cut out the Santa's with a scalloped circle. The great sentiment is from the Christmas Memories stickers which I tend to hoard. And the Merry Christmas stamp is from the postcard Christmas stamp. With all the great digital stamp sets you could add them directly to your image before printing them out:)


A clay frame( thanks to my guy for stock piling them for me and making a bunch) some hand crocheted snowflakes and that cute little bottle brush tree with some pretty trims and they are all ready for treats. I'd love to scale down the size and make this into an advent calendar... complete with numbers and a little scroll inside.. how darling would that look hanging in an old chippy frame.... my gears are turning!

I'm off to see what the other DT ladies have created. Be sure to join our monthly Linky Party and link up your creations using Crafty Secrets products for a chance to win a great prize:)

Vicki Chrisman (Team Leader)

Michele Kovack

Darlene Pavlick

Melissa Bove

Sheila Rumney

Kathy Clement

Elizabeth Lincoln 

Cheers!
~Becks.

July 21, 2013

fresh summer breeze...TSTR #176

Happy summer! Hope you all are enjoying the warm weather.
It's time for a new challenge over at The Shabby Tea Room. We hope you will play along with us. Lenet is our hostess this week and asks that we create something wonderful using:
                                     

                                      *COLOURS: AQUA, WHITE, SOFT PINK
                                      *LACE
                                      *FLOWER


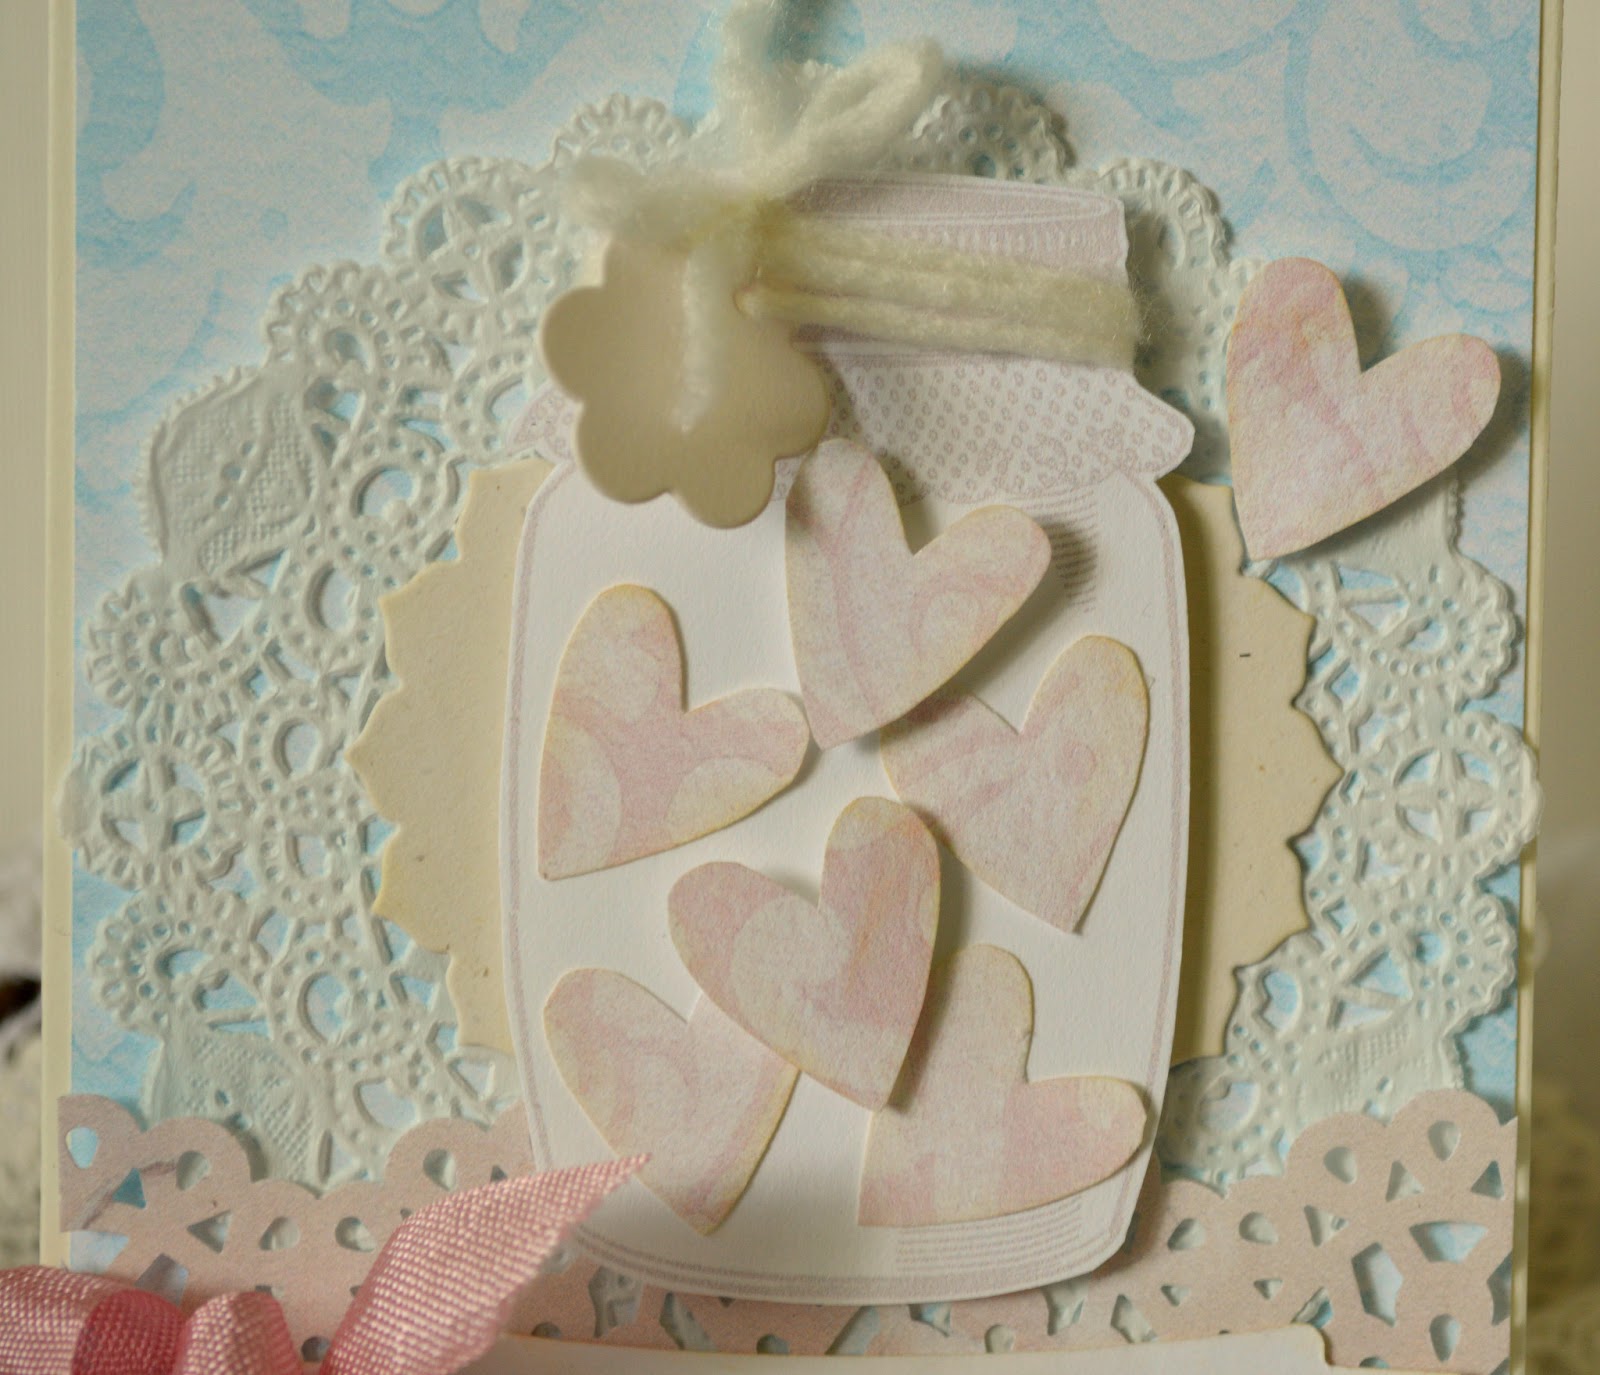
The girls this week are using Paper Temptress products, our sponsor for this week. Since mine were a little late I've used Crafty Secrets papers and Paper Sweeties Wedding Day stamps. I love this jar from the Button Up digi set(Crafty Secrets) and fussy cut all of the hearts from the new Classic Damask Pink and Blue Papers as well as the Mermaid Waves double sided papers.


Be sure to check out the great projects the Shabby DT has dreamed up:

                                        Debbie- Paper Sweeties

                                         Lenet- To Scrap or Not to Scrap

                                         Rebecca- Paper Primrose

                                         Tracey- Trace Elementz

                                         Starr- The Paper Chase


July 1, 2013

patriotic party... Crafty Secrets July Linky Party


Happy Canada Day to my fellow Canadians!
Thanks for stopping by today! We have a brand new month and an all new linky party over at the Crafty Secrets blog! Be sure to link up any new creations using Crafty Secrets products to win a great prize!!

Recently over at the Crafty Vintage Girl shop we released beautiful printable double sided papers.  Have you seen them?? Super gorgeous, and I'm here to show you how to make simple decorations to host your own party. While I am Canadian and it is Canada Day., there's something about American Independence day that I love.. the stars and stripes.. but more of a vintage, muted vibe. That's my inspiration today!


A trio of easy decorations: medallion banner, pinwheels, and treat bags.
First up my banner. I started by printing off the blue swirls paper from the new Rose swirls papers. Such a gorgeous blue, I didn't even edit it. Perfect colour for what I envisioned. I also printed the Red Damask. Who says you can't use patterns for the Red White and Blue? Loving the damask.. and perfect for some Christmas projects too!


To make my medallions I used my Scor Pal to score lines in a 2 inch x11inch long paper. You will need 2 of these.. It's up to you how far apart to make your score lines.The further apart the bigger the peaks and valleys. Once scored and folded into an accordion strip I double sided taped the ends together to make one long strip then taped again to form a circle.Flatten the circle towards the centre and you should get your flattened medallion. I used a big blob of hot glue on the back to stop them from popping back out of shape. Make all different sizes from different widths and pair them together. Decorate how you wish! To make the half circles, only use one strip and secure the same way. Add all circles and half circles to twine or ribbon and voila. One sweet banner complete.


Up next patriotic pinwheels... gosh these are so fun and super easy to make a bunch of! I printed the Blue Swirls and the Red from the Red Damask set on the back of each other and then cut 4"x4" squares. To make the pinwheel, simple cut diagonal from the corners to the middle, leaving a little in the middle to attach your points to. Once cut fold over towards the centre overlapping the ends from each corner and secure with a brad. Add buttons or just leave the brad showing. It's up to you. I used skewers and covered them with floral tape and then wound some butchers twine around and secured at the top and bottoms. Glue or tape the pinwheel to the skewer and away you go. (Pinwheels don't spin).


You can't have a party with out treats now, can you? Using glassine bags and the Red Damask and a red paper from CD #2, I cut 1.5"x1.5" squares.(Or you can use a punch or fdie) then cut them on a diagonal to make 2 triangles. Offsetting the triangles by half, and using a different pattern for top and bottom results in the chevron stripe. I then added a thin strip of blue to the centre. I made a 3D star and punched out tiny little stars from the scraps of the 2 patterned papers as well as a few white. Star confetti! How fun:) I added a handmade tissue fringe as wel. Adhere all to the bag and make as many as your heart desires! Fill them with goodies and pass it around. I'm fond of kettle corn, as you can tell :)

Before I get going, I'd love to introduce our 2 new Design Team Ladies. Make sure you pop by to say 'hi' and see their beautiful creations:

Kathy Clement
and
Elizabeth Lincoln

and the rest of our wonderful team:

Vicki Chrisman (Team Leader)

Michele Kovack

Darlene Pavlick

Melissa Bove

Sheila Rumney