Showing posts with label tutorials. Show all posts

August 12, 2014

the 'write' stuff...


007.JPG

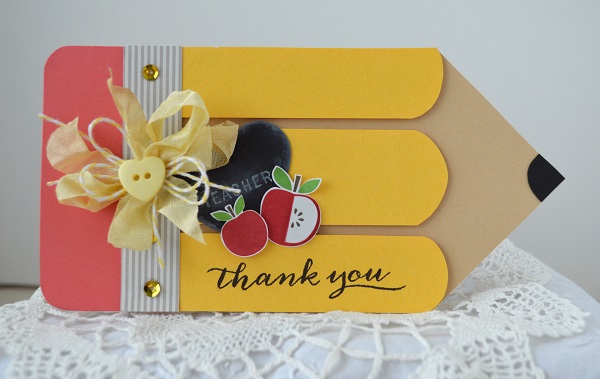
 I just love making cards for teachers. They are always so much fun, bright and cheerful. To achieve a blackboard effect on my Curtsey Boutique tag, I’ve used some ink and my heat gun to replicate chalk on a blackboard.

 004.JPG

To start edge your tag using either the edge of your stamp pad(pigment ink works better than dye ink here) a sponge, blending tool or a cotton swab. Add as much as you like, for whatever look you are trying to achieve.. To create the look of words being wiped away, in the middle I added a bit of ink using a cotton swab and then gradually wiped away the access with my pinky finger, swirling and smudging the ink to get a light background effect. Then using my stamp I added the sentiment and set all of the ink using my heat gun. I let dry completely before adhering to my project. Simple and easy way to achieve a chalk look without using chalk..

Hope that you give this little trick a whirl!
Cheers!
Rebekah.


Curtsey Boutique Supplies:
Gold Sequins
Yellow Baker’s Twine
Heart Shaped Chalkboard Tags

Other Supplies:
Seam Binding- French Market(Etsy)
Button - Craft supply
Template -  my design
Stamp - Papertrey Ink


December 3, 2012

pine cone embellishments {a tutorial}

Happy Monday!
SAM_3546

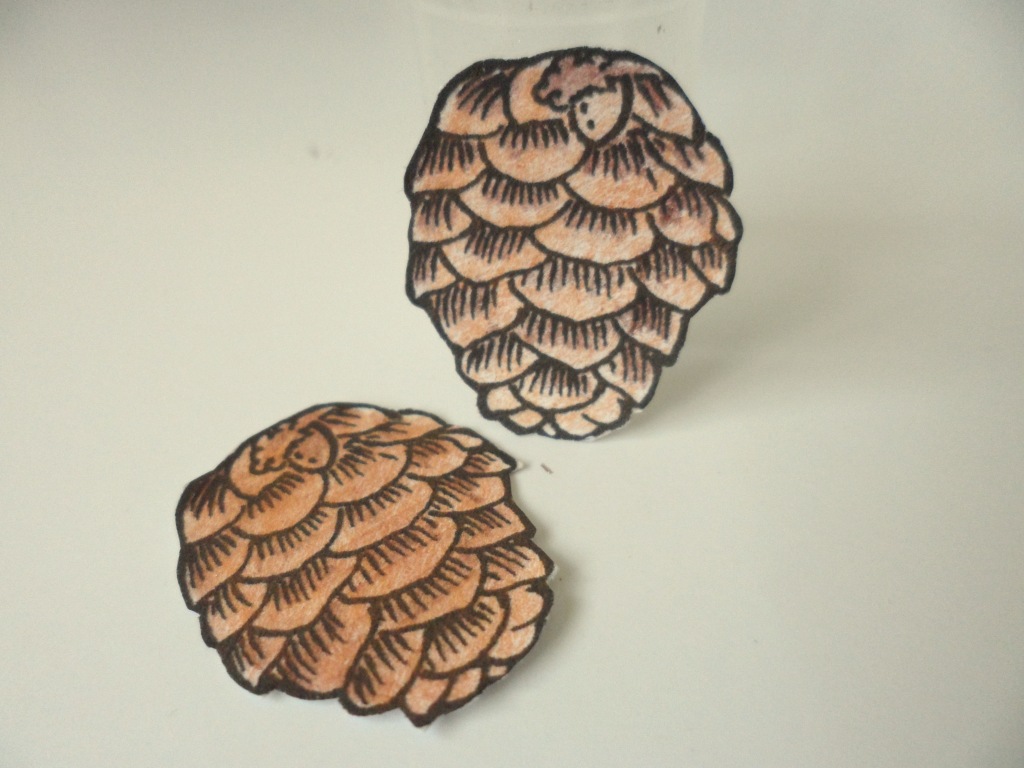
I'm here to share a step by step tutorial on how I made my  3-D embellishments seen here, on my last project. I've used the new Crafty Secrets Vintage Christmas Digital Stamp set.

SAM_3747

First of all you need to re-size the pine cone to the size you prefer (mine are 1 inch tall) and print them out. I chose to colour mine by hand using water colour pencils but feel free to colour your pine cones however you want. For each single pine cone embellie you will need 2 pine cones.

SAM_3751

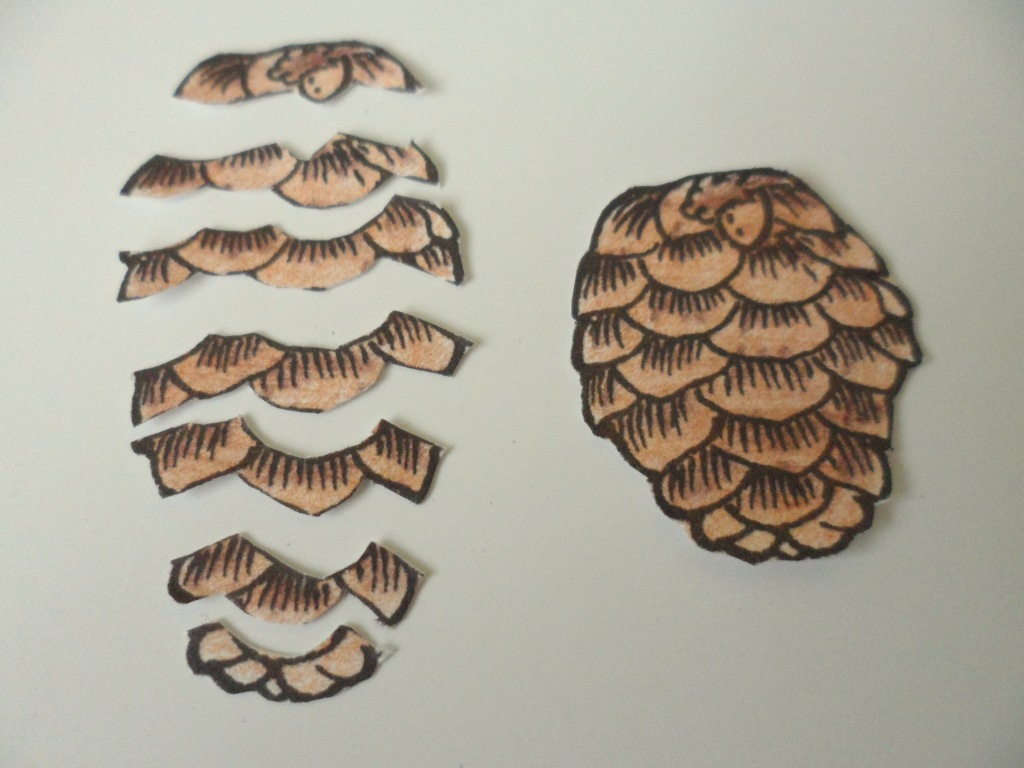
Once you have coloured them its time to cut out. Depending on how many frilly layers you want. I went with the 7 lines on the cone.  I find it easier to lay them out as shown. It's a bit time consuming but worth it!

SAM_3760
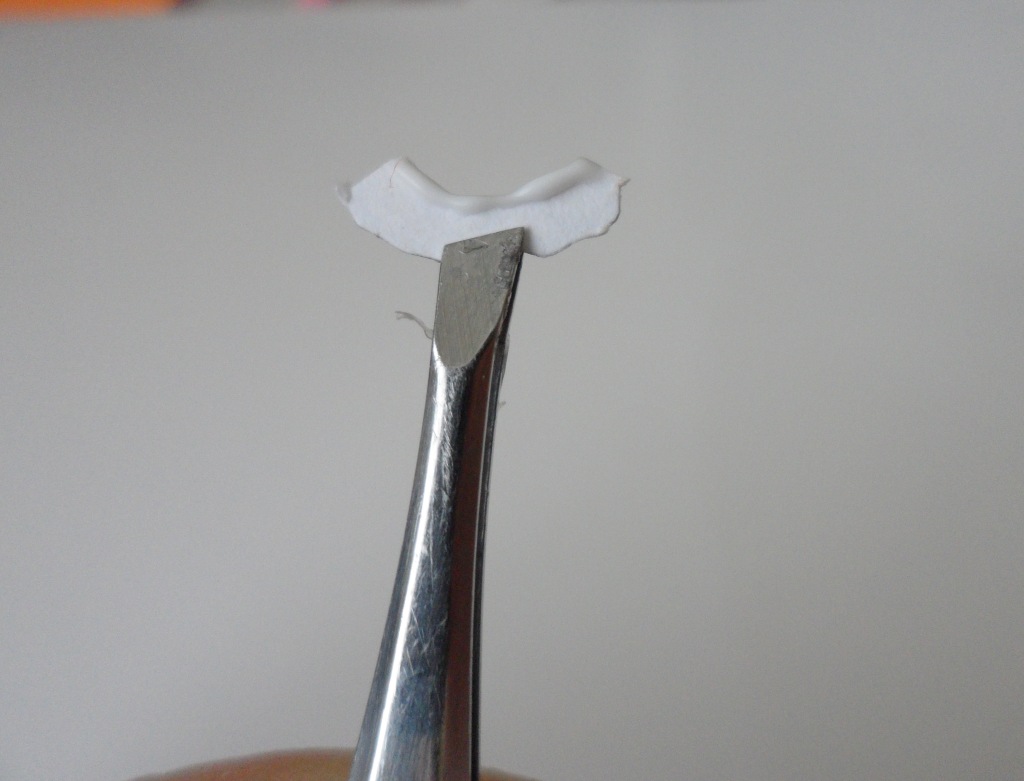
Now it's time for assembly! Starting at the bottom of your whole pine cone, apply a thin line of glue to the very top edge of your piece.I used a quick setting tacky glue for mine.  Set on top of matching part of the cone pressing down the top of the piece and lifting the bottom so it doesn't stick. After all we want the layers to stand up!  Repeat the process for each layer, making sure to lift the bottoms as you go along.

SAM_3763SAM_3766
SAM_3776

Once you are finished assembly, cover with a coat of spray adhesive and sprinkle with glitter. Be sure to tap off access glitter.

SAM_3787

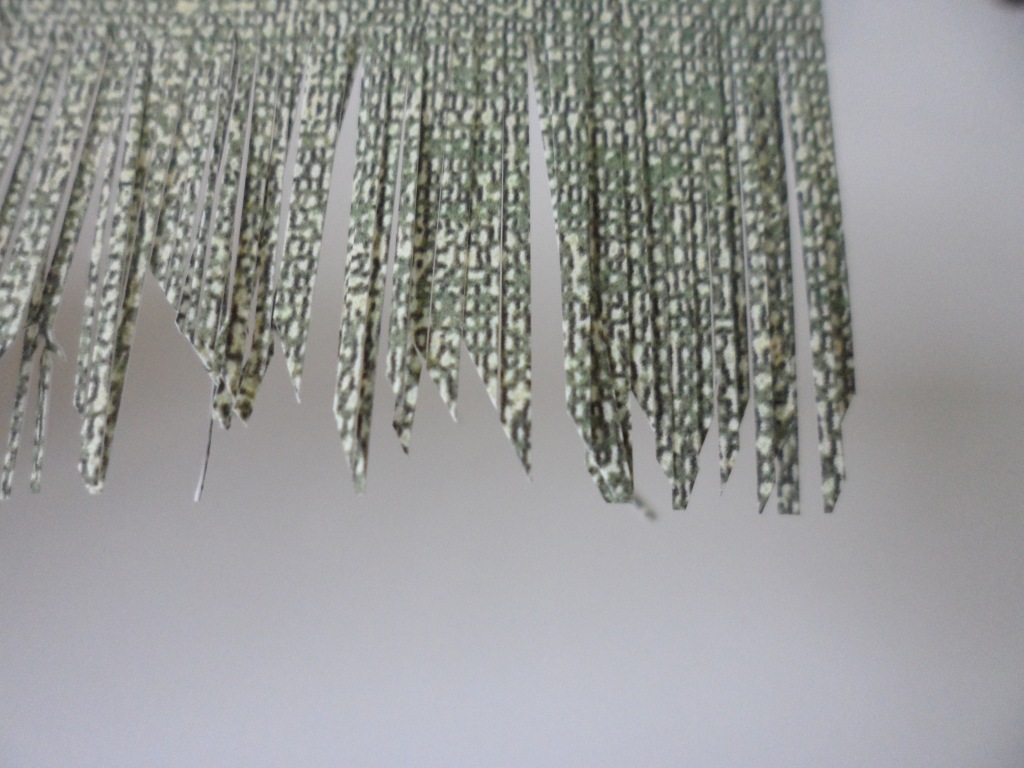
Onto the pine needles. I've used the Green Canvas paper from the Vintage Christmas Papers download and cut 1 inch thin strips. I then added some texture to the ends and cut them into smaller sections.
SAM_3791

SAM_3789


Be sure to fan out the needles a bit. Adhere to the back of the pine cones with double side tape. To make them even more 3 dimensional I added foam squares to the backs and adhered to some acetate.. All ready to go for when I need them!

SAM_3795

Hope you've enjoyed this little tutorial and will try for yourselves! You can find all of the Crafty Secrets products in the online store here, and make sure to pop by the Crafty Secrets blog and join in on our December challenge for your chance to win a $50 gift certificate. Everyone who participates this week will also get a $5 gift certificate to use in the shop!
Happy Crafting!
~Becks

October 20, 2011

wreath wrap up...{tutorial}

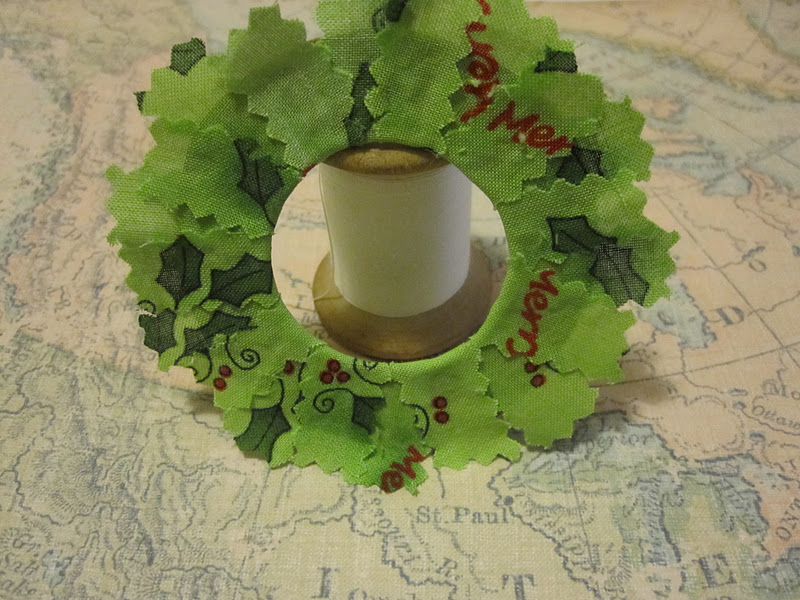
I'm in Christmas card mode courtesy of a dear friends request for some... She selected the reindeer wreath ornament cards I had put up on the blog last year here and again here. Awhile ago one of my blog readers asked for a tutorial on these and I finally have gotten around to it.
Lets get started shall we?

Supplies:

*fabric scraps or fabric cut into strips.
*thin cardboard and card stock
*glue(Fast grab Tacky glue is my fave here)
*hot glue gun and glue
*ribbon
*buttons
* sheet music or old bookprint
*glimmer mist or glitter(optional)
*scissors
*pinking shears


Start by cutting out a circle of cardboard the size you want your ornament to be. Cut a smaller circle out of the middle. Mine are roughly 3 inches wide.


Cut fabric into strips..mine were about 1/4 inch wide by an inch and a half long. I used pinking shears to give the edges some character.
Starting the first layer:
This is my new best friend. Last year I used hot glue to glue all of the layers. It is effective but you have to be very sparing with the application of hot glue (in my opinion). This glue is awesome for keeping the layers where you want them to stick. And no burnt fingertips either is always a plus in my books. :)
 
Glue strips onto the circle leaving a bit overhanging into the middle of the circle. Turn circle over and glue down the bits overhanging to make a smooth inside of the wreath.
Glue more strips in between to complete the first layer.
Add in another layer of strips on top of the first layer (let the first layer dry first..I did a bunch of ornaments at a time layer by layer) Allow for different lengths for each layer. I ended up doing 3 in total. Stagger the layers over the seams of the previous layer so you get a nice effect in the end.

Here's an example of each step in the process. You can see how it gets filled out as you add layers.(click on picture to enlarge)
 For a little extra shine and to make it more festive I used my Glimmer mist in Antique gold..you could use really fine glitter and adhesive spray should you wish. Spray all over finished wreath before added embellies.

 Once your wreaths are all glittered up, cut circles of sheet music(or old book print would look fab as well) slightly bigger than your inner circle. Glue to the back of the wreath over the fabric scraps that have been glued down layer by layer.
**tip: trim all the excess fabric bits off to make finished product look nicer. **

Cut ribbon to make a loop to hang your ornament by and using hot glue, attach to the back of the wreath before securing a card stock circle the size of the finished wreath to hide all the mess we've created.I secured mine with hot glue as I found it made for a better finished product. (As you can see I changed models in between steps..ignore this. lol)
Add a handmade bow and a button as well as some embellishments to the wreath. Mine are from a package of confetti my mom got for me years ago. Attach to a card with some re-positionable adhesive, add to a wrapped present..sky's the limit. I've also thought of adding a nice diecut circle to the back card stock, to add a handwritten message to the back of the ornament.
Voila! Simple as pie and easy to whip up a big batch.
I'll be back to show how I used these babies on the cards for my friend.
See you soon,
~Becks

July 27, 2011

keep calm and crackle on...{tutorial}


I've been seeing crackling on many projects as I browse through blog land. I love the aged look it gives.. but living out in the North, 2 hours from the nearest city I don't have access to crackle mediums.. I figured there had to be a way to add that magic texture to my projects, with things I had in my stash at home. A few searches on the internet and I found out yes, I can give things a vintage, aged finish with just a few items I have on hand.. Boy was I ever excited.. a little doubtful.. but jumped head first into trying.
I bet you're asking what DO I need? Just 3 simple items : acrylic paint, white glue(such as Elmer's or craft glue...not Tacky glue.. for some reason it doesn't work.) and a sealer.

So how does it work? It's pretty simple.Not to mention fun.
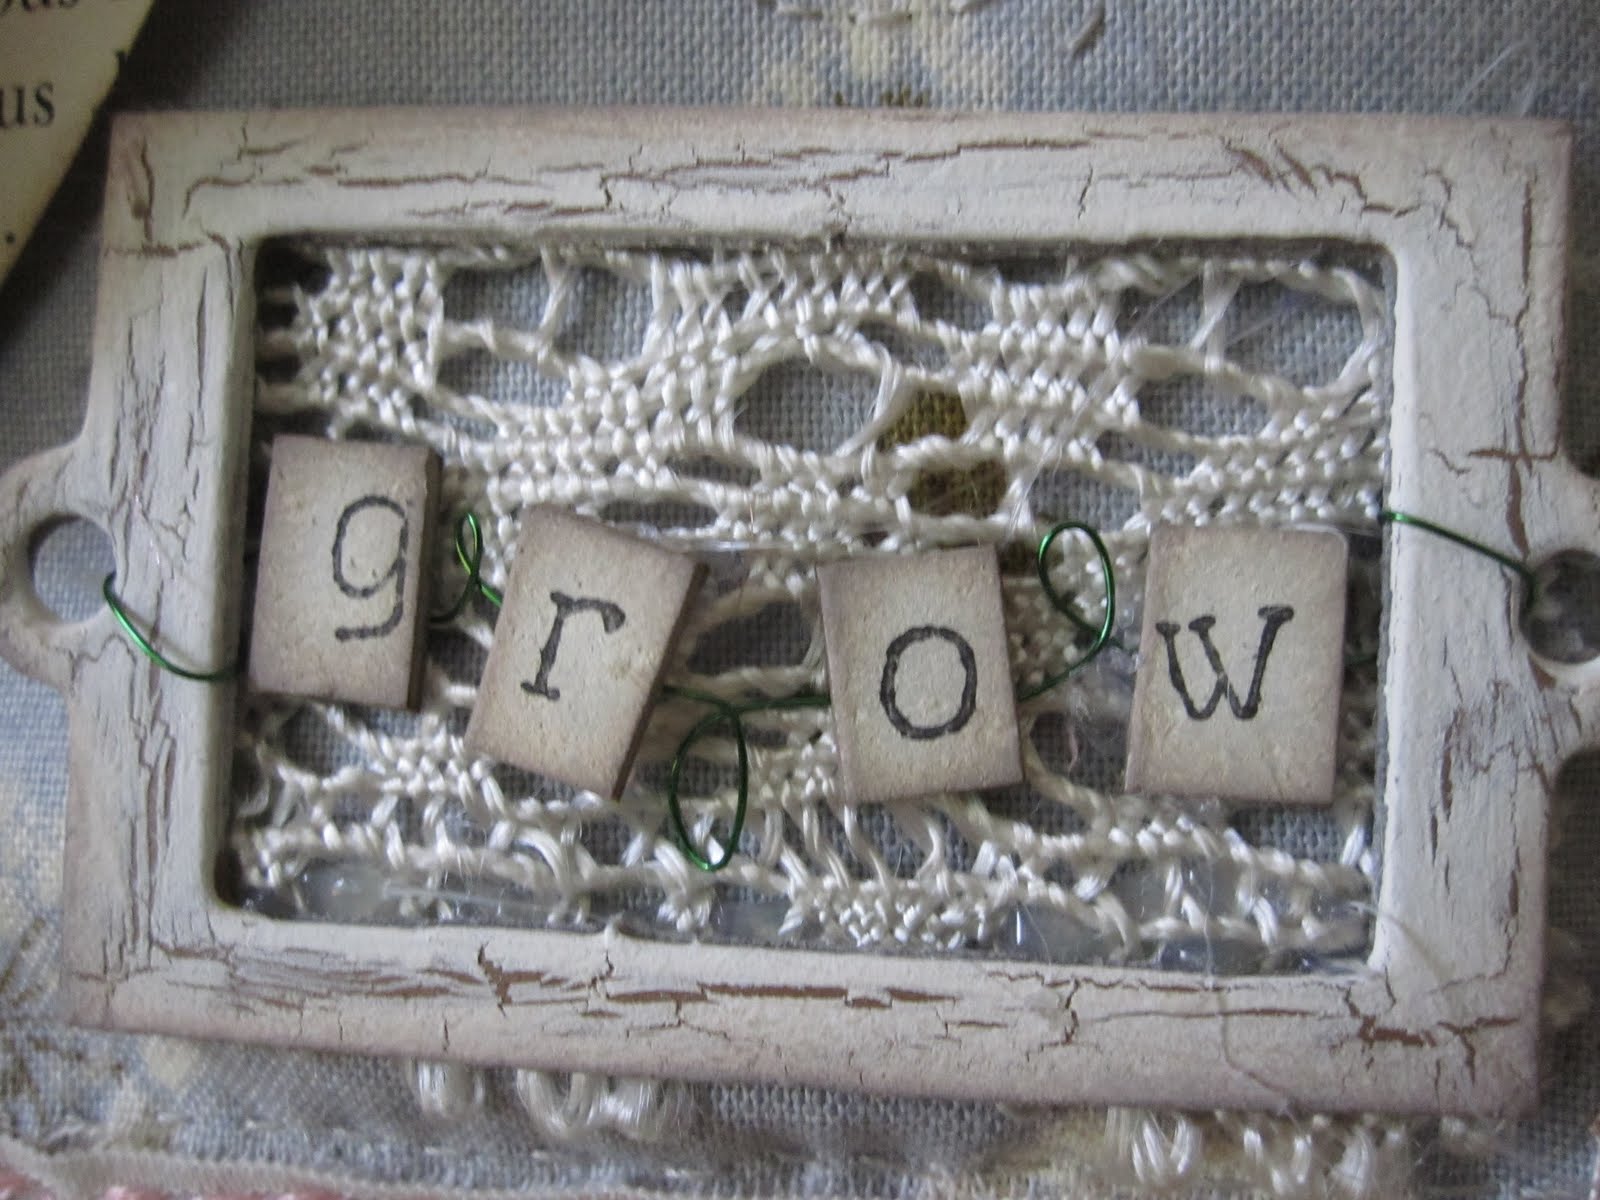
First start off with an item you want to crackle. In my case I started with a Tattered Angels frame.
Choose two colours of paint.. one darker than the other.. more on that in a minute.

Start by painting the colour you want the cracks to be.. in my case I used an acrylic paint in a 'Country Maple" -a nice dark brown.. Allow to dry completely.

Once dry apply a nice layer of white glue. The deeper you want your cracks to be the thicker you should apply the glue..for thinner more delicate cracks apply it thinner. Apply the glue in the direction you want the cracks to appear...(I'm still playing around with this effect..not quite sure if it's true or not. More playing to be done :) )

This is the brand I have on hand.. ( you might have different results with other brands of white/school glue. Let me know, I'd love to hear from you..and see your results.)
Allow glue to dry to a 'tacky' stage.. not quite dry..about 3 or 4 minutes depending on drying times...different brands will vary.. In the mean time pick your contrasting top colour.

Once glue is at the tacky stage apply your contrasting top coat.
Some things I have learned:
Apply the paint in one stroke, not too thickly.
Don't go back and forth over the paint..It will result in no cracking.
After a couple minutes the cracks start to form. This method produces more of an aged, shabby crackle..unlike crackle medium which is more even and has smaller uniform-ish cracks.
Let the top coat dry completely.Once dry I usually antique it a bit more with some Distress Ink along the edges..sometimes on top of the paler cracks(if I use a lighter colour to begin with). Once it is shabbied up the way you want I suggest sealing it..Modge Podge is perfect.

This is what I use.. it adds a nice dimension to it as well.. use whatever you have on hand, just to help preserve the crackle of your artwork.
It takes some practice to get it just how you want it.. but that's half the fun.. playing around and figuring out what you like or dislike.. it works well on most surfaces.. even fabrics!!
The finished product..a little glaze on top and voila.. a nice aged piece to add to a card..be on the lookout for that post soon:)

Go on; Give it a whirl..
Let me know how it works out for you.. link to your project post in the comments section and I'll drop by and leave some love.. and please pass along any of your tips that you come across while playing around.. I'd love to learn more.
Happy crackling!
~Becks