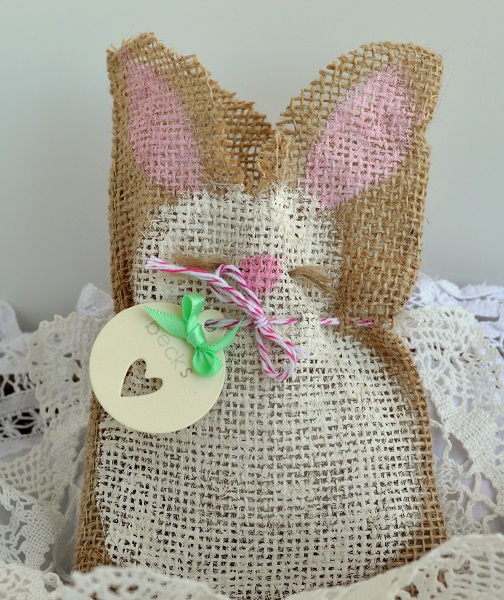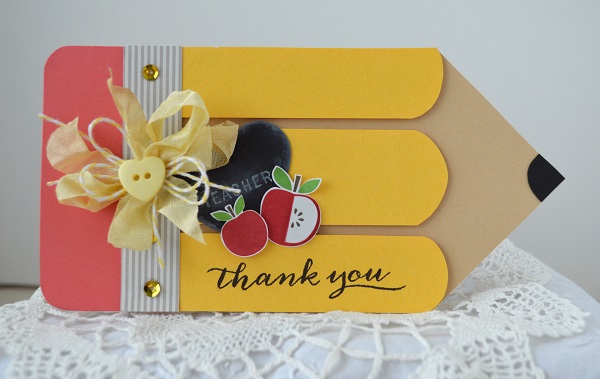
I just love making cards for teachers. They are always so much fun, bright and cheerful. To achieve a blackboard effect on my Curtsey Boutique tag, I’ve used some ink and my heat gun to replicate chalk on a blackboard.

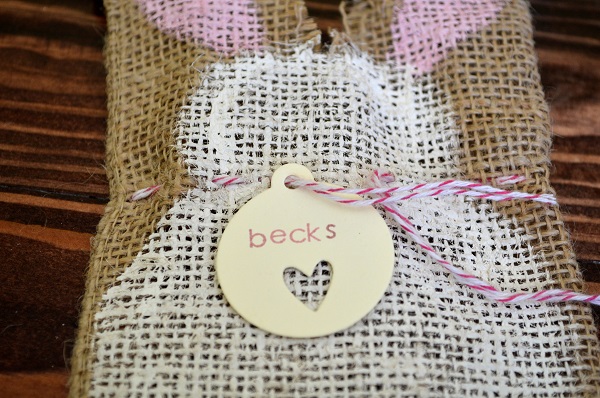
To start edge your tag using either the edge of your stamp pad(pigment ink works better than dye ink here) a sponge, blending tool or a cotton swab. Add as much as you like, for whatever look you are trying to achieve.. To create the look of words being wiped away, in the middle I added a bit of ink using a cotton swab and then gradually wiped away the access with my pinky finger, swirling and smudging the ink to get a light background effect. Then using my stamp I added the sentiment and set all of the ink using my heat gun. I let dry completely before adhering to my project. Simple and easy way to achieve a chalk look without using chalk..
Hope that you give this little trick a whirl!
Cheers!
Rebekah.
Rebekah.
Curtsey Boutique Supplies:
Gold Sequins
Yellow Baker’s Twine
Heart Shaped Chalkboard Tags
Other Supplies:
Seam Binding- French Market(Etsy)
Button - Craft supply
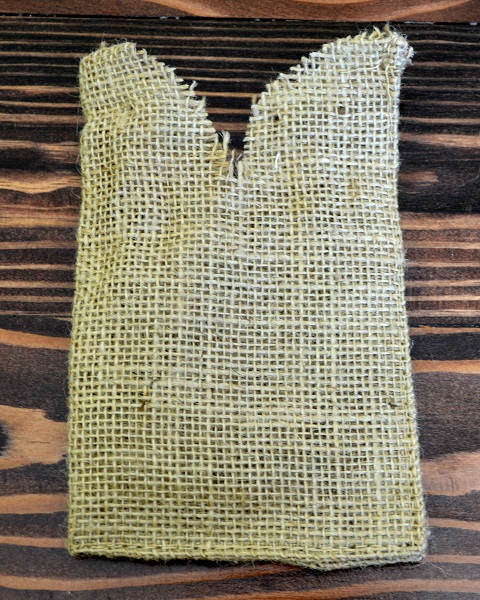
Template - my design
Stamp - Papertrey Ink


.JPG)