Hi there!
Hope your weekend was wonderful! I'm back with the Shabby girls for our brand new challenge set for us by Lenet over at The Shabby Tea Room!. Lenet asks that we create a card or project using:
*COLOURS from the photo
*FLOWERS
*LACE
*RIBBON
Our sponsor this week is the Cutting Cafe and I chose to use the Seed Packet file. SO much fun to make my little tea bag holder. Play along and you could win 3 files of your choice. How fun! This little project of mine was so simple and quick to whip up. Just a perfect pick-me-up for a friend. I used Paper Sweeties "I'm Having a Tea Party" for the sentiment and sweet tea pot image!
Be sure to pop by the rest of the Shabby Team to see what they created this week!
Debbie- Paper Sweeties
Lenet- To Scrap or Not to Scrap
Rebecca- Paper Primrose
Tracey- Trace Elementz
Starr- The Paper Chase
See you in the Tea Room!
~Becks
April 28, 2013
April 27, 2013
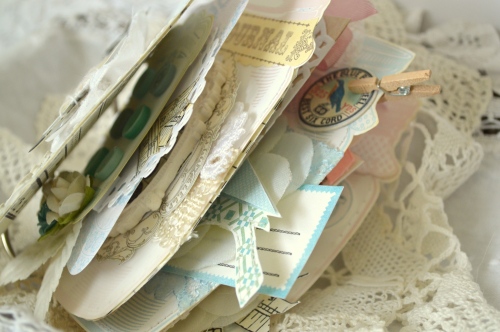
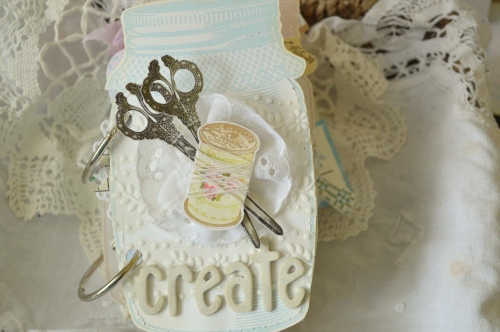
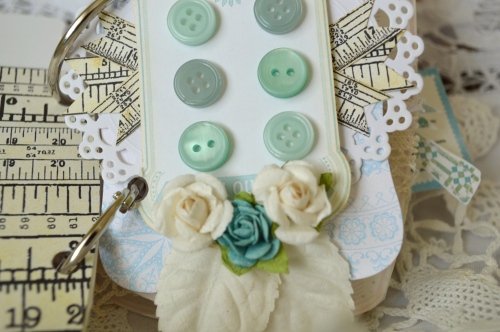
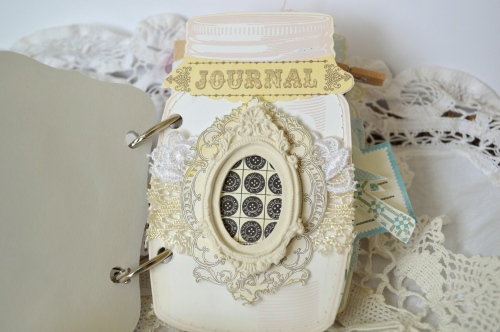
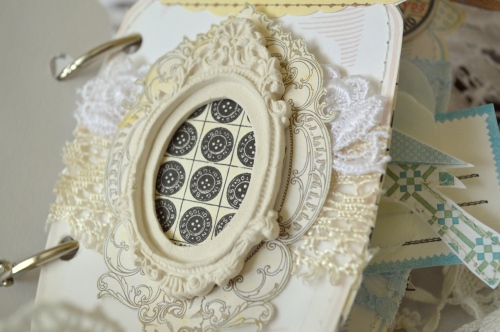
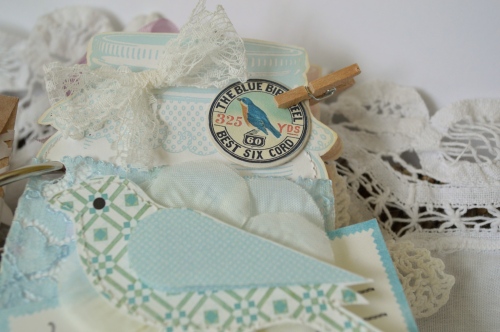
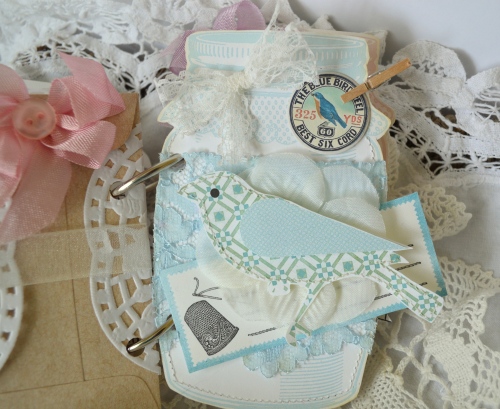
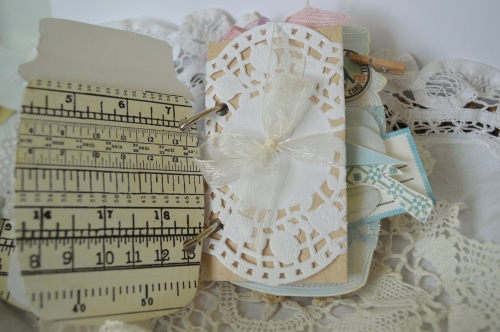
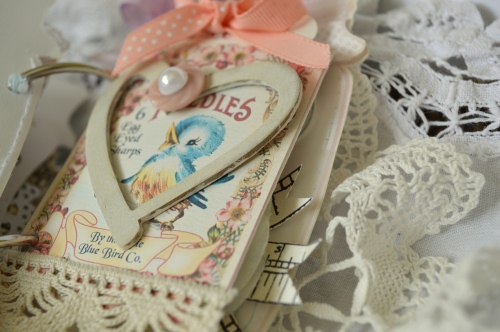
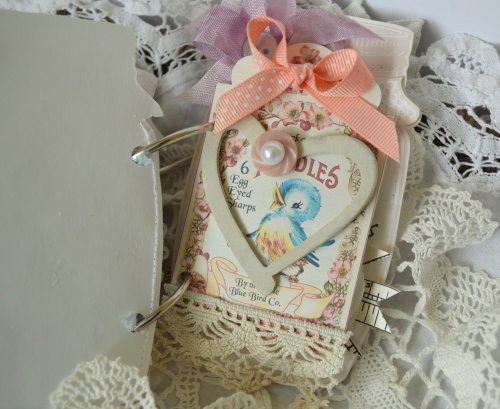
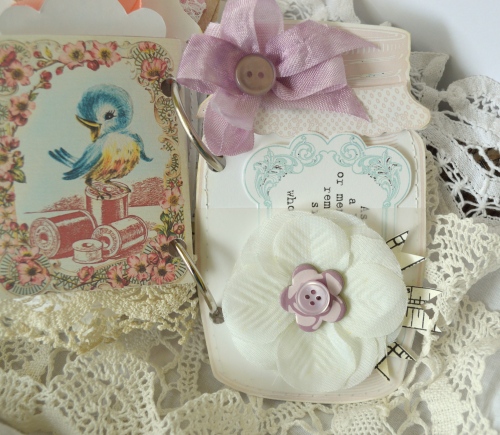
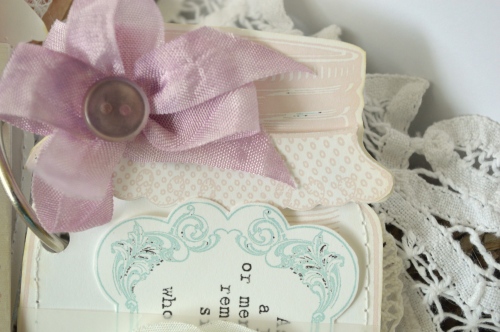
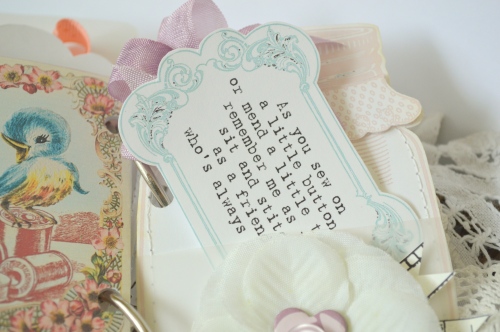
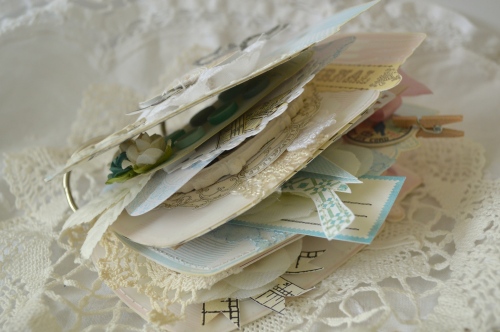
mason mini...
Have a wonderful weekend friends!
~Becks
Labels:
Crafty Secrets,
DT,
handmade,
mini albums,
pocket projects
April 21, 2013
spring bliss...TSTR #163
It's time to 'spring' into action to create for our new challenge over at The Shabby Tea Room. This week Debbie is our host and has come up with the challenge for us this week to use:
*COLOURS- YELLOW, GREEN, WHITE
*POLKA DOTS
*FLOWERS
Isn't that picture just scrumptious?! So springy, so bright, so fresh! Our sponsor this week is Manor House Creations and they are offering up 4 flower packs for our winner this week!
I went with a birthday card. I just loved this colour scheme and went for more of a muted yellow and green palette.The sentiment is from Paper Sweeties.
Be sure to stop by and check out what the other Shabby girls created this week:
Debbie- Paper Sweeties
Lenet- To Scrap or Not to Scrap
Rebecca- Paper Primrose
Tracey- Trace Elementz
Starr- The Paper Chase
Happy Crafting!
~Becks
April 14, 2013
pretty shabby...TSTR #162
It's a new week and that brings a new challenge over at The Shabby Tea Room! This week it's all about recycling and shabby! Our hostess Tracey asks that we create a card or project using:
*COLOURS FROM THE PHOTO
*ADD A RECYCLED ITEM
Our sponsor this week is Creations by AR and I'm using the "Tray Chic" template. This was so quick to come together! I just love it! I increased all of the sizes by 25% when I printed it out, so my tray today is slightly larger than the original file.
I just loved the vibrant blue of the bottles and went with that as my main colour. My recycled item is the ties- they were old shoelaces from a pair of shoes I rarely used. This tray sits on my desk to hold my small Paper Sweeties stamp sets. I can't wait to try this out to hold some baked goodies to give away as gifts!
I hope you'll join us in the Tea Room this week, play along and you could win 2 files from Creations by AR!!
The Shabby Girls are:
Debbie- Paper Sweeties
Lenet- To Scrap or Not to Scrap
Rebecca- Paper Primrose
Tracey- Trace Elementz
Starr- The Paper Chase
Happy Monday!
~Becks
Labels:
challenges,
DT,
The Shabby Tea Room,
TSTR
April 11, 2013
sweet & simple...
Life around here is sweet and simple these days. Usual routines keep the days flying by. I'm anxiously anticipating Spring with every passing day; watching the snow piles melt away slowly. Having the sunshine fill the house with light; I can't wait to throw open the windows and let the sweet Spring air in. All in good time...
I've been playing around with the new Crafty Secrets Sewing goodies, which you can find *here*. There's new digital stamps, pretty papers and ephemera for every sewing lovers soul! Today's simple project showcases the bobbin card from the new Sewing Basket set.
With Spring right around the corner, and spring cleaning beginning in my house, I got to thinking what could I make to help simplify my expanding stamp collections, and showcase these beautiful Crafty Secrets products. Most of my larger stamp sets are stored in binders on clear sheets by manufacturer. I usually just have the smaller sets in baskets right on my workspace, which lead to my idea for today!
These showcase my beautiful small and post card Crafty Secrets Stamp sets. The mint green cards are 10 x 15 cm and hold the small sets wonderfully. The postcard sets are on 9x13 cm cards. All I did was cut them out and add a sheet of acetate (the same that backs most stamp sets) cut to size and sew along the edges. Be sure to make the acetate go all the way to the sides of your cards to allow for the thickness of the stamp sets.
I hope you enjoyed my quick and simple project for today.
Happy Organizing!
~Becks
Labels:
Crafty Secrets,
DT,
organizing
April 7, 2013
shabby spring...TSTR #161
Hey Shabby fans!
I'm back with an all new Shabby Tea Room Challenge. This week Rebecca is our hostess and she asks that we create a card or project using:
* COLOURS from the photo
* MAKE IT SHABBY!
This week Janet's Digital Papers (Etsy)
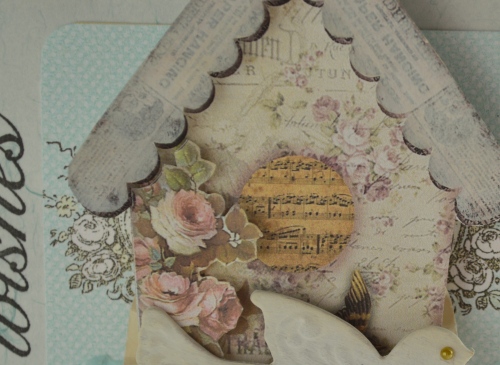
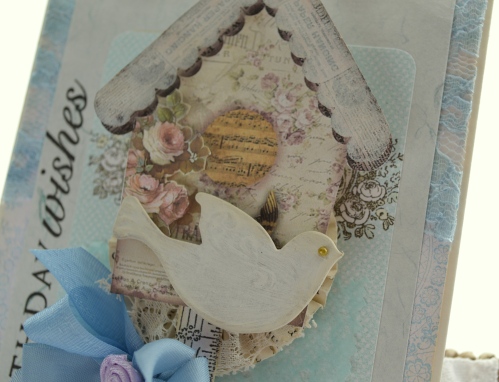
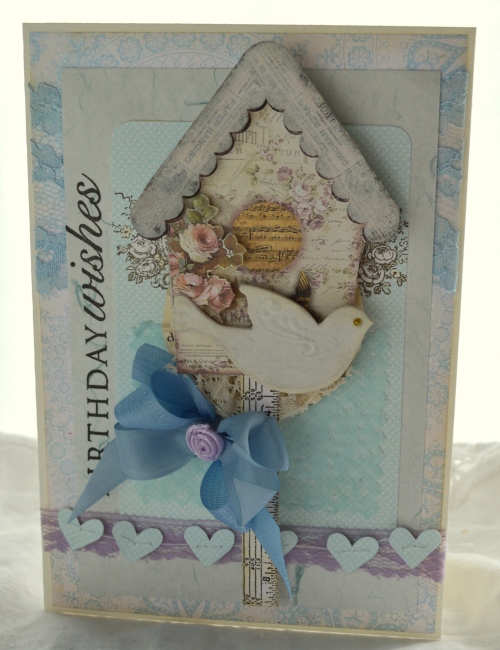
is our sponsor and I used the Birdhouse image for my card today. To
make it a little 3-D I printed the image a couple times and cut out the
roof, painted it and added foam dots.
I
also fussy cut the roses and added them to the original image with a
thinner 3D foam. I just loved all the blues and purples in the photo and
used them as inspiration for my colour scheme.
Play
along with us this week and you could win some fabulous images from
Janet! I'm off to peek at the rest of the team's projects.
Debbie- Paper Sweeties
Lenet- To Scrap or Not to Scrap
Rebecca- Paper Primrose
Tracey- Trace Elementz
Starr- The Paper Chase
Hope to see you in the Tea Room this week!
~Becks
I'm back with an all new Shabby Tea Room Challenge. This week Rebecca is our hostess and she asks that we create a card or project using:
* COLOURS from the photo
* MAKE IT SHABBY!
Debbie- Paper Sweeties
Lenet- To Scrap or Not to Scrap
Rebecca- Paper Primrose
Tracey- Trace Elementz
Starr- The Paper Chase
Hope to see you in the Tea Room this week!
~Becks
Labels:
cards,
challenges,
DT,
The Shabby Tea Room,
TSTR
April 1, 2013
sew lovely...Crafty Secrets Linky Party!
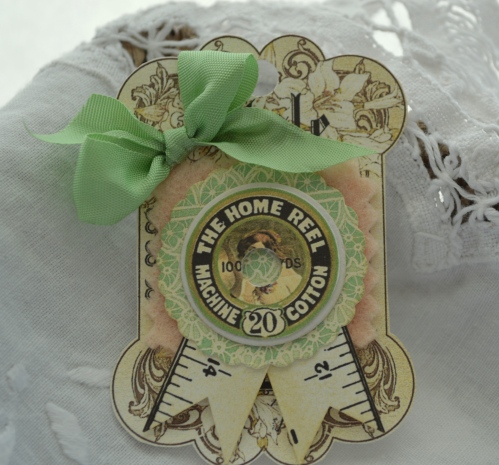
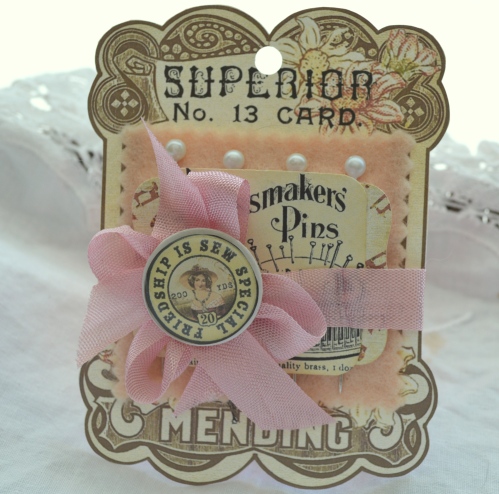
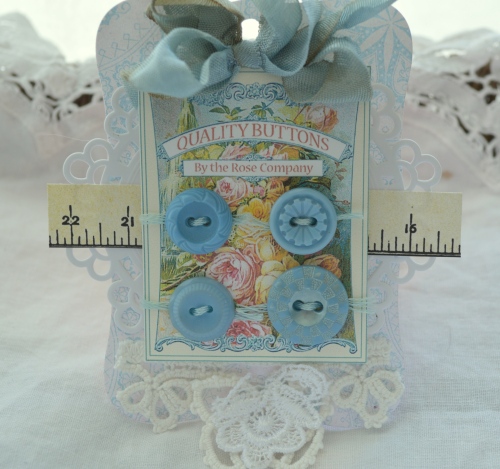
I've used the Bobbin card set as a base for most of my tags today, printed off in two sizes. I love the look and feel of these Bobbin cards. I'll have more to share with them in the next few blog posts!
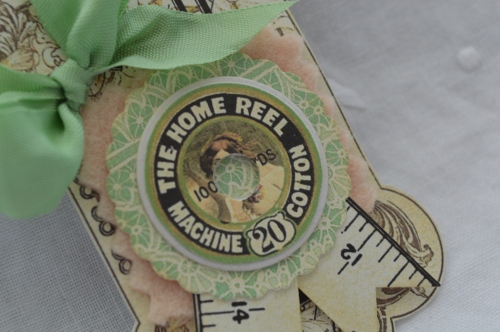
My mini tag, printed out about 1/2 the size of the larger ones. With a handmade layered embellie, using the spool ends ephemera. I punched out the centre to make it look like it had been used on a machine! Some coaster board behind and then layered on top of the pretty green lacy paper from the Sewing Papers set. There a bunch of great patterns to choose from, it was hard to decide which to use this time round:)
Another spool end here.. I've used a clear dome on top to add some dimension.. Can you see the cute mini sewing machines. Aren't they just darling? Pinking shears and felt go together so well to hold my long pins.. another great vintage advert here.. you won't be disappointed with the papers!
And possibly my most favourite of the bunch, using the large corset digital stamp printed on top of the green lace paper.. all dolled up with pretty trims and ribbon.. If you look close you can see that I've laced up the corset too! Just had to add some tuile on the side..
These tags would be perfect for any sewing enthusiast. It was so much fun to play with ribbons and trims, great patterned paper and ephemera.. buttons, felt and stick pins..
Be sure to check out what the other DT gals have made, and be sure to help us welcome our newest DT member Sheila, her blog is listed at the bottom with the others:)
Vicki Chrisman (Team Leader)
Michele Kovack
Darlene Pavlick
Melissa Bove
Sheila Rumney
Happy Crafting!
~Becks
Labels:
challenges,
Crafty Secrets,
DT,
handmade,
Linky Party
Subscribe to:
Posts (Atom)


