The Crafty Secrets gals are back for an all new Linky party. This month we are focusing on techniques. There's a ton of great information on all the DT blogs today so make sure to hop over to each one for a new technique.
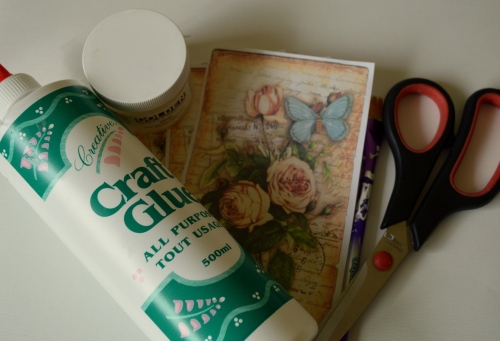
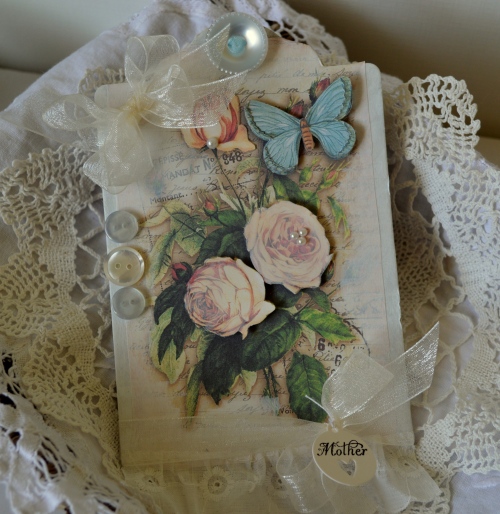
Today I'm here to share my project using paper piecing. I chose a pretty file from CD #2 Creating with Vintage Illustrations. Gather up all of your supplies.. Some craft glue, scissors, Gesso and a paint brush or two.
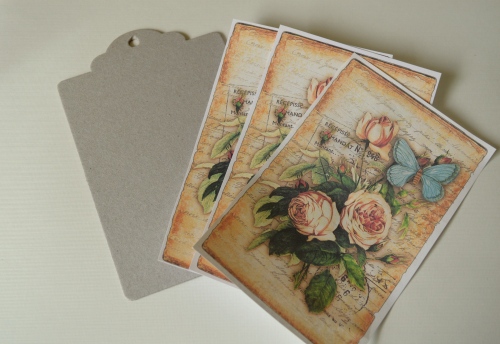
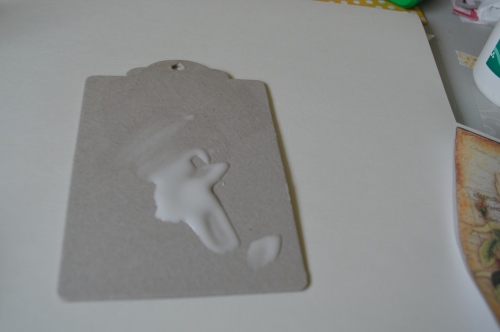
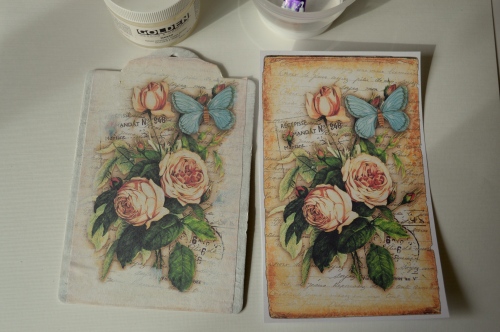
I printed my image to the size of my chipboard album and printed it 3 times. Twice on heavier card stock, and once on regular paper.
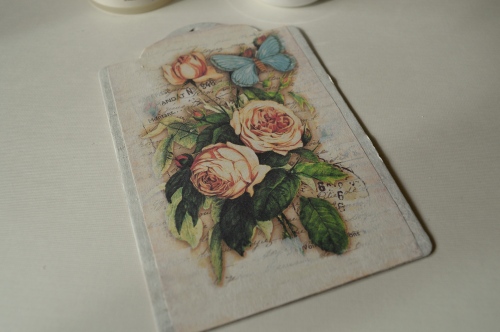
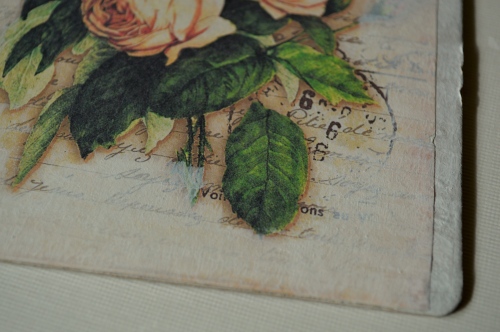
Add some gesso to the edges of the image to soften it and paint the edges too. I watered down my gesso by about 10% to make it easier to blend on the image.
With the gesso feel free to add some texture. Use thicker gesso and your brush to leave brush strokes etc. Kind of hard to see here but it has a nice texture in person.
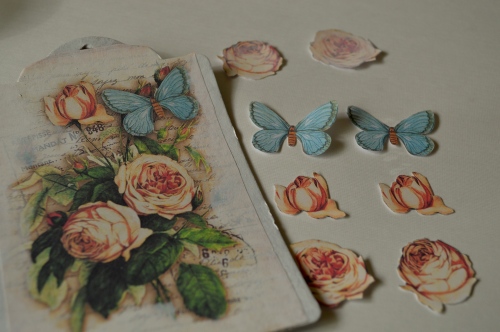
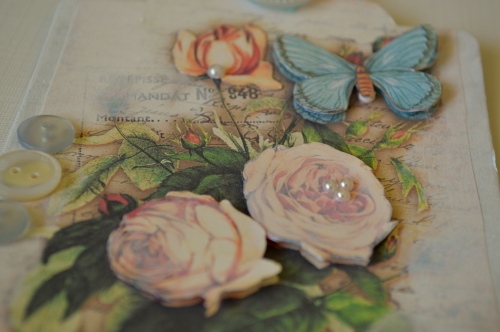
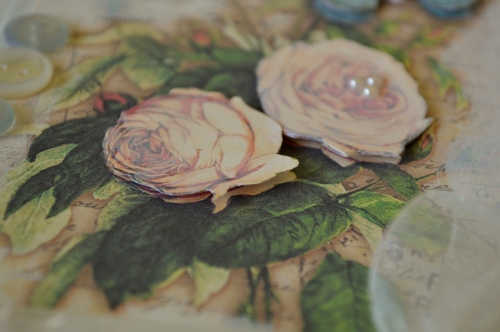
Time to cut out the individual pieces that you want to add drama. Here I cut the edges of the butterfly wings, to add to the second butterfly. Cut out which ever pieces you want to pop out.
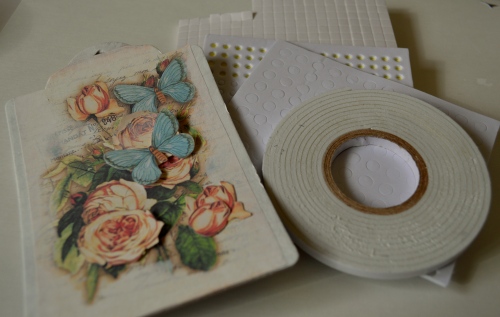
Use all different thickness of foam adhesive to achieve height.
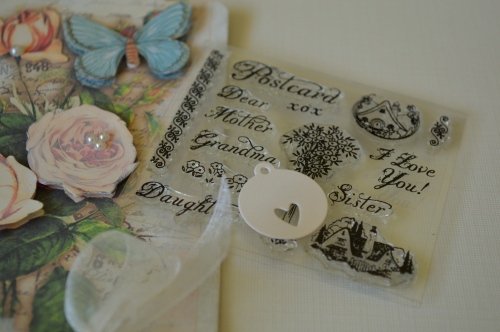
Add dimension and some embellishes.
Be sure to check out the Crafty Vintage Girl shop for the 30% off sale to snag yourself some great Crafty Secrets Products and hop by the rest of the DT for step by steps and other great info:
Vicki Chrisman (Team Leader)
Michele Kovack
Darlene Pavlick
Melissa Bove
Sheila Rumney
Hope you will join us and share something that you've created using Crafty Secrets products and link up on the Crafty Secrets blog.
Happy Crafting!!
~Becks
Oh wow, Rebekah how gorgeous! I love and thanks for the tutorial!
ReplyDeleteThese are adorable!
ReplyDeleteThese are adorable!
ReplyDeleteThis is so 3D what Mom wouldn't love to get this!Great tutorial thanks
ReplyDeleteCindy
BEAUTIFUL project Rebekah! Thanks so much for the tutorial! You girls all just knocked it out of the park this month! Bravo!
ReplyDeleteYour picture looks so pretty Rebekah and the dimension you added with the paper piecing, gesso, ribbon and pearls really adds to the charm. I want to try your tip for applying the gesso thicker like brush strokes! I have a little print here and I’m sure it is done the same way and it really adds texture like an oil painting.
ReplyDeleteThanks for sharing
Sandy
A lovely project! The butterflies look like they've landed just momentarily.
ReplyDeleteWow! Absolutely gorgeous Rebekah!! So beautiful and elegant!!
ReplyDeletehugs...
Gorgeous, I love how you raised some of the embellishments up for a 3D effect.
ReplyDelete