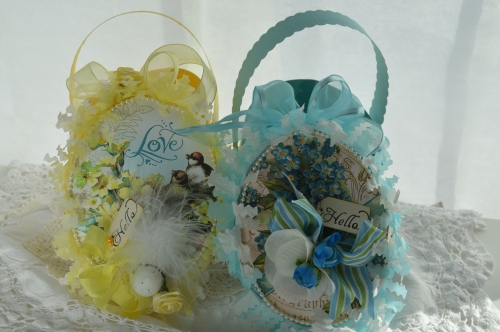
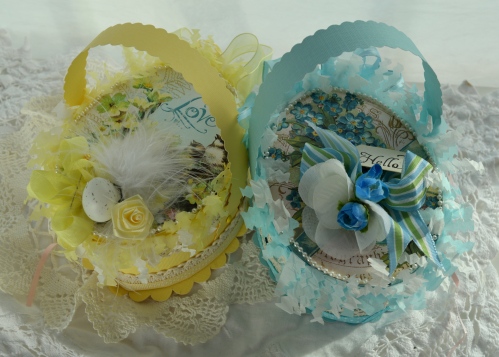
Today I'm using these fabulous Victorian Egg Digital images available from Crafty Secrets. I love their vintage look, it was hard choosing which pretty image to use on the top of my boxes. Begin with using an oval shaped box or make your own as I have done here. You can buy a great and easy template here. Once assembled choose your image and cut to size(or presize them before printing) and stick to the top of your box. It's perfectly ok if it doesn't fit exactly right. We have a couple finishing touches up our sleeves :)
I
added some glitter to a few spots on top of the flower images, just to
give a little extra sparkle. To hide the edge of my printed image I ran a
bead of hot glue around the edge, working about 2-3 inches at a time,
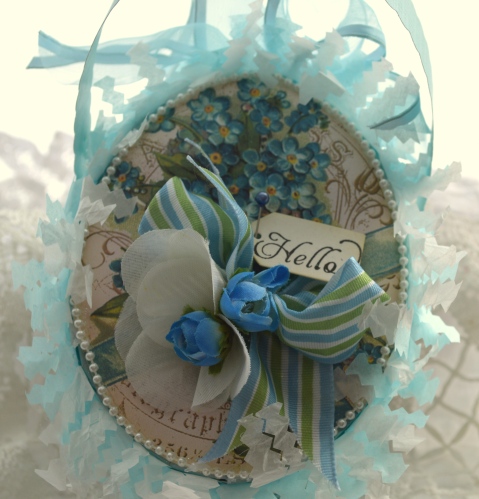
and gently pushed a string of pretty pearls all the way around.
Next take a crepe paper trim and glue it to the outer edge of the lid. Or, make your own out of tissue paper as I have done here. All I did was cut inch wide strips of 2 colours of paper and glued them together, right down the middle. Then, taking pinking shears I just cut random slits in the paper(not all the way through) on both sides of the middle glue line to make its frilly and mimic the filler in the Easter baskets. Position it as high up on the sides of your lids and glue into place. If you place it too high up, don't worry-just give it a little hair cut to achieve the right height.
Just under your paper trim to hide the
raw edge I added a piece of pretty crocheted trim right below and glued
all the way around. Overlapping the trim and the edge of the paper trim I
added a piece of polka dot ribbon to tidy it all up. I repeated the
crocheted trim and ribbon around the edge of the bottom of my box to
match the top, being sure to use the ribbon to hide the edge of the trim.
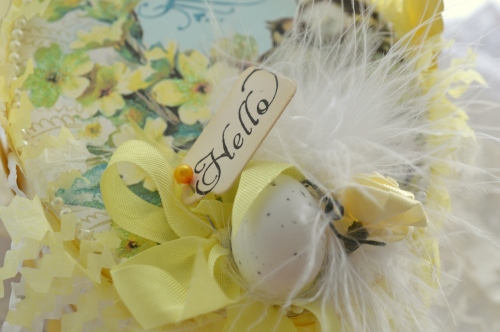
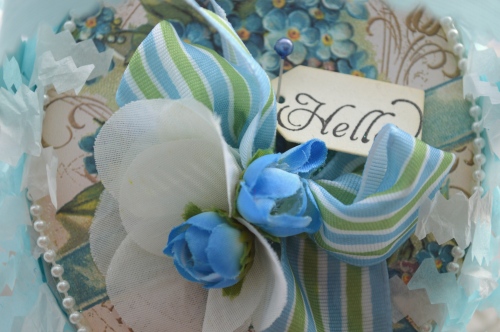
Decorate the tops of your boxes how ever you choose. I went with eggs and feathers for the birdies, and flowers and ribbons for the other. I added a big bow to the very top of my box. The tags use sentiments from Crafty Secrets Postcard stamp.
To create a moveable handle, take a long strip of the same colour card stock and scallop the edges. Poke level holes on either side of the base of your box and through the ends of your long handle strip. Using a similar coloured brad, piece the strip and base together, closing the end of the brad snug, but not so snug so that the handle can't move. Fill with shredded tissue paper and goodies and you've got a sweet handmade gift to give away!
Don't forget over at Crafty Secrets Blog we are having our monthly linky party! Come and join us and win an awesome Crafty Secrets prize:) and everyone who enters will get a $6 coupon code:) Woo hoo!
~Becks
Stunning creation!!! *_*
ReplyDeleteWow Rebekah.....so so pretty! Love all the gorgeous details:)
ReplyDeleteOh my gosh! I just about fell over! This are amazing, each one is so beautiful. You've created 2 little treasures!
ReplyDeleteThese are so adorable!! Love all the frills
ReplyDelete