After 11 and a half years together, my guy and I have decided to tie
the knot. While there are so many decisions to be made, I knew right from the get-go
I wanted to do as much ourselves as we can.. I think our wedding will
be a reflection of who we are at this stage in our lives and I want our
decor, theme, invitations etc to really speak to who we are. Of course
this means involving my crafty side, and for our Save the Date cards I
knew I wanted a post card style card. After searching and pricing and
getting ideas I decided to jump right in and start our DIY with simple
and easy Save The Dates.
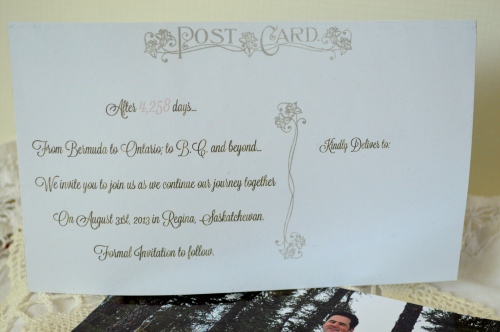
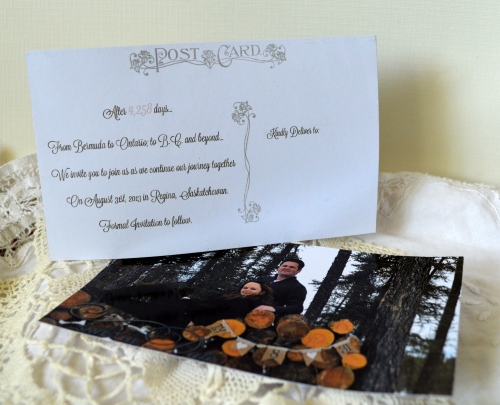
Using blank
backed photo papers in a 4x6 size I printed a photo that we had taken
earlier in the year. It was such a fun time to find a great spot and
have a photo shoot using a camera remote... thank goodness for my new
DSLR!
In
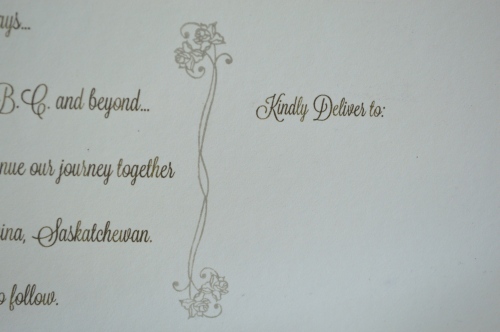
my Word program I used columns and a 4x6 template to add my written
details and to leave an address spot and to write a little note to the
recipient. Originally I just wanted to stick a stamp on them and mail
but we decided to put them in envelopes instead to protect them.
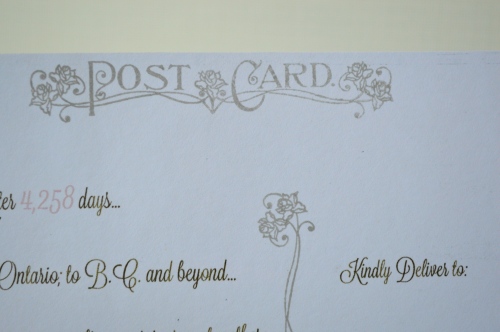
My Crafty Secrets Postcard stamps were perfect to add some finishing touches and the "postcard" image. I just love the delicate flower pattern..
SO
easy and you can customize the stamps to your colour schemes too. I
chose not to heat emboss the images, but that would also be fabulous.
I'm
so pleased with the end result. They came together fast after all the
printing was done and a fraction of the cost of getting them done
elsewhere..and if I need to add more guests I can simply click, print
and stamp.
Hooray for DIY!
~Becks


Many congrats to you and your guy! Lovely 'save the date' cards ...
ReplyDelete